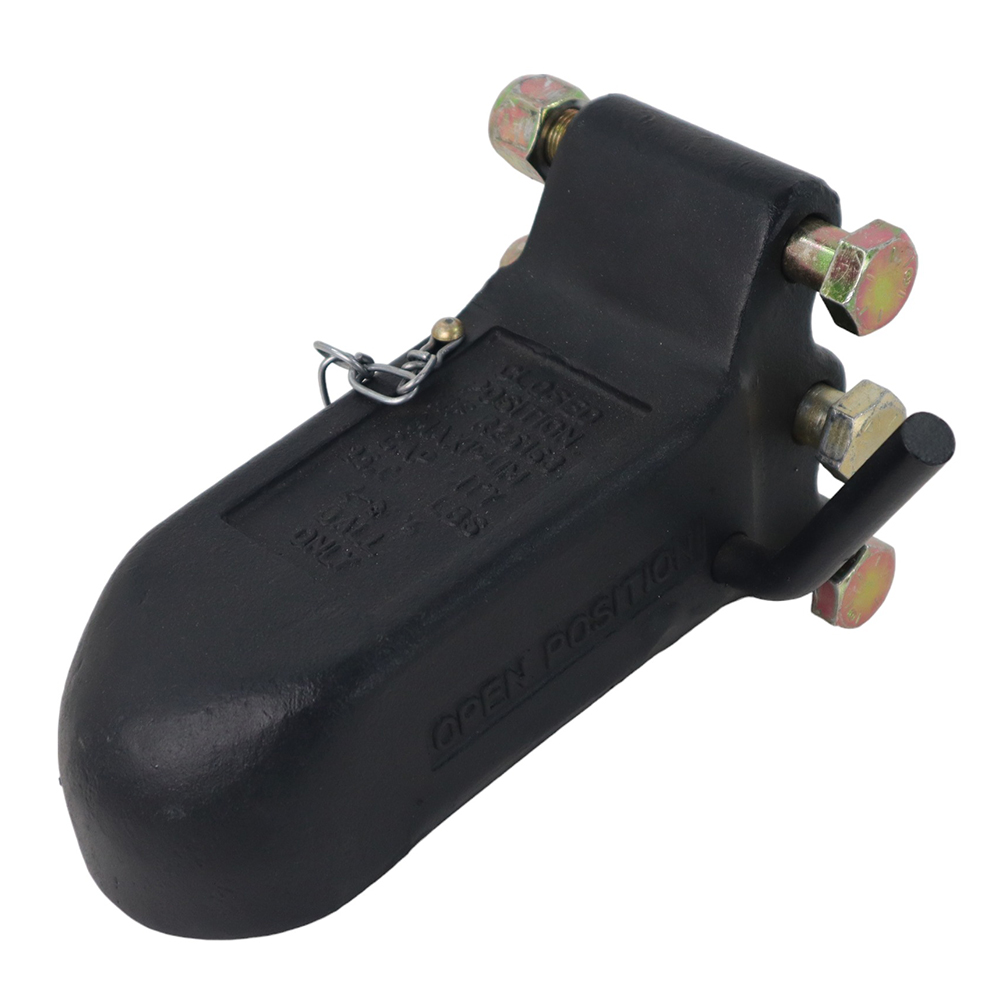
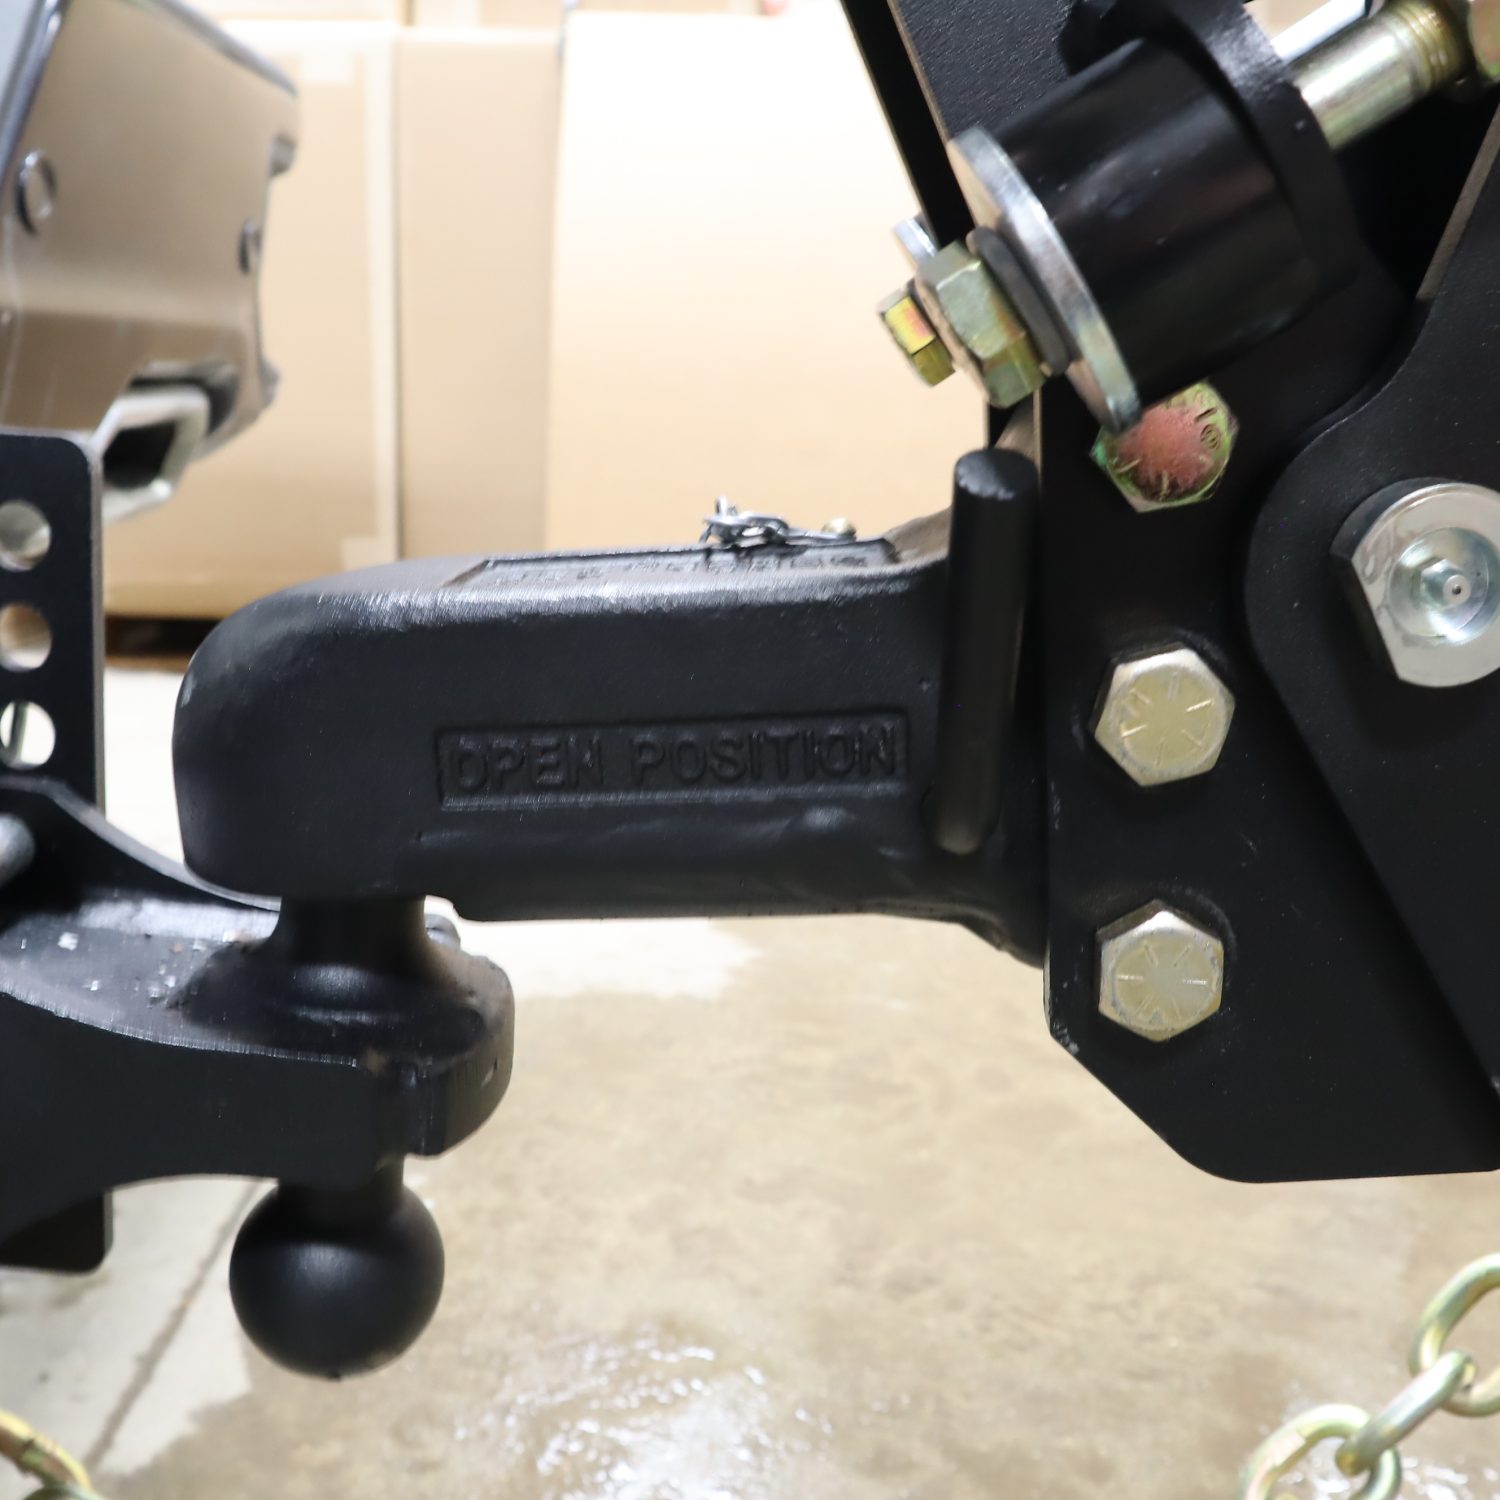
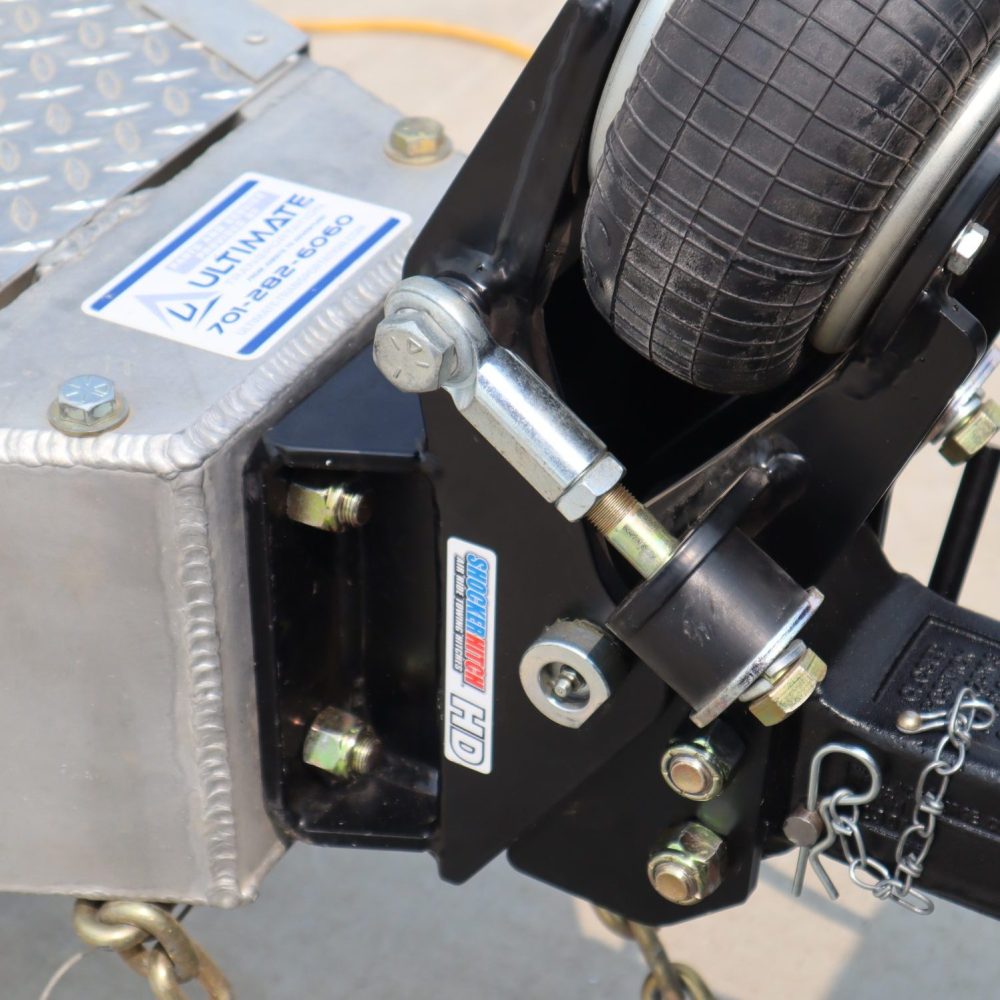
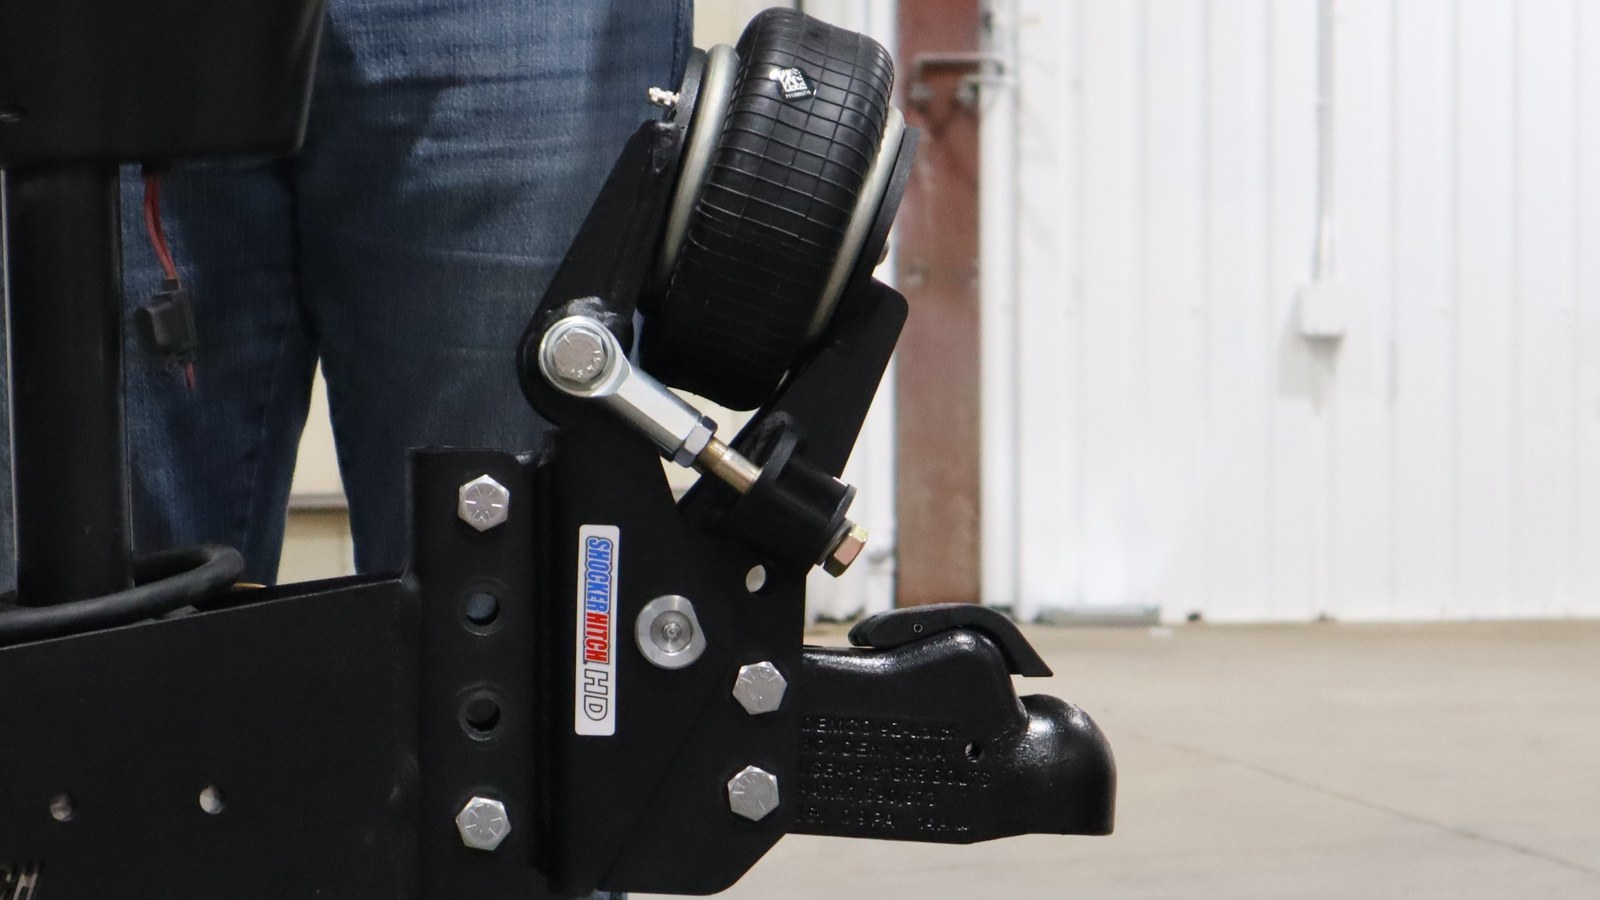
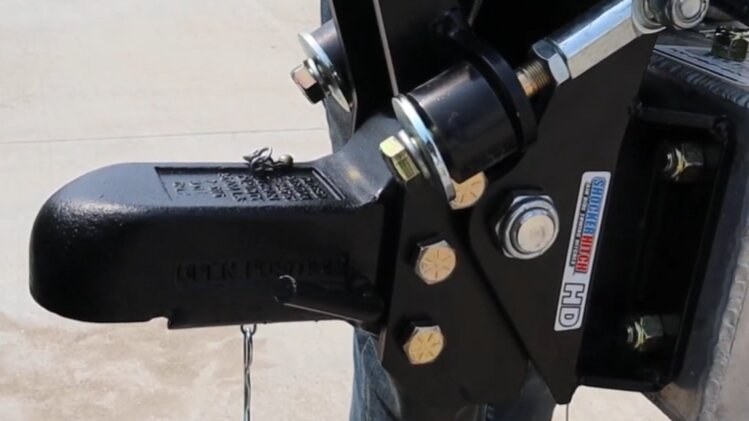
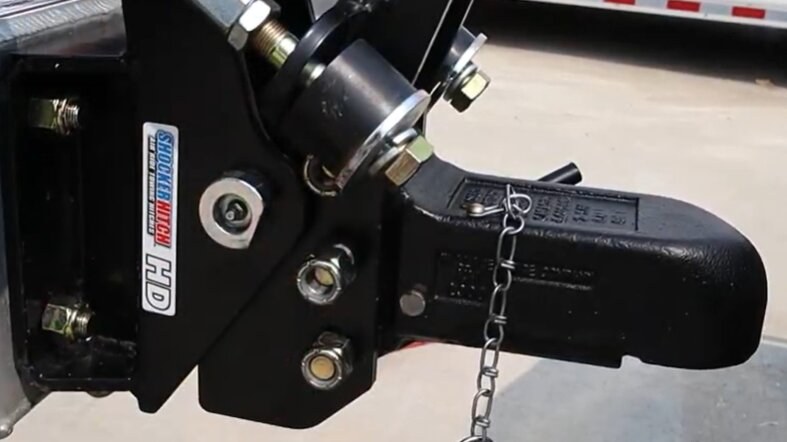
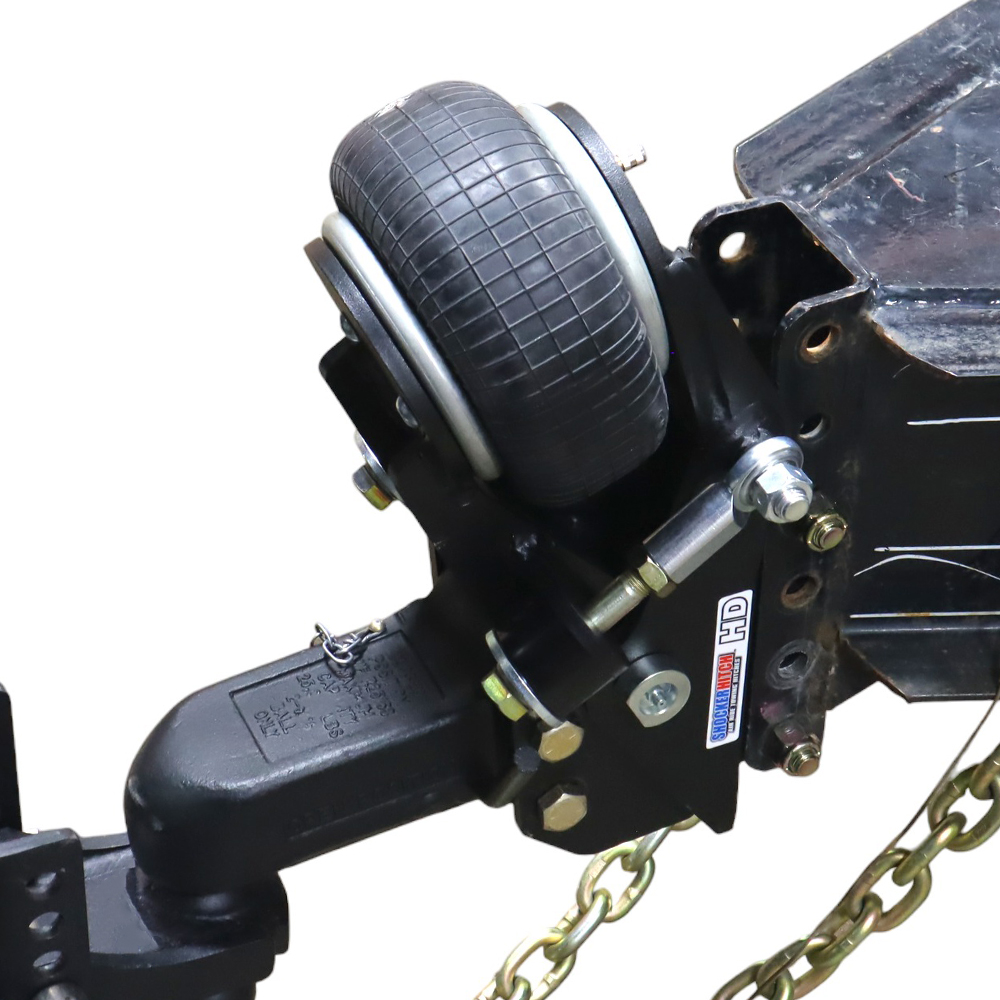
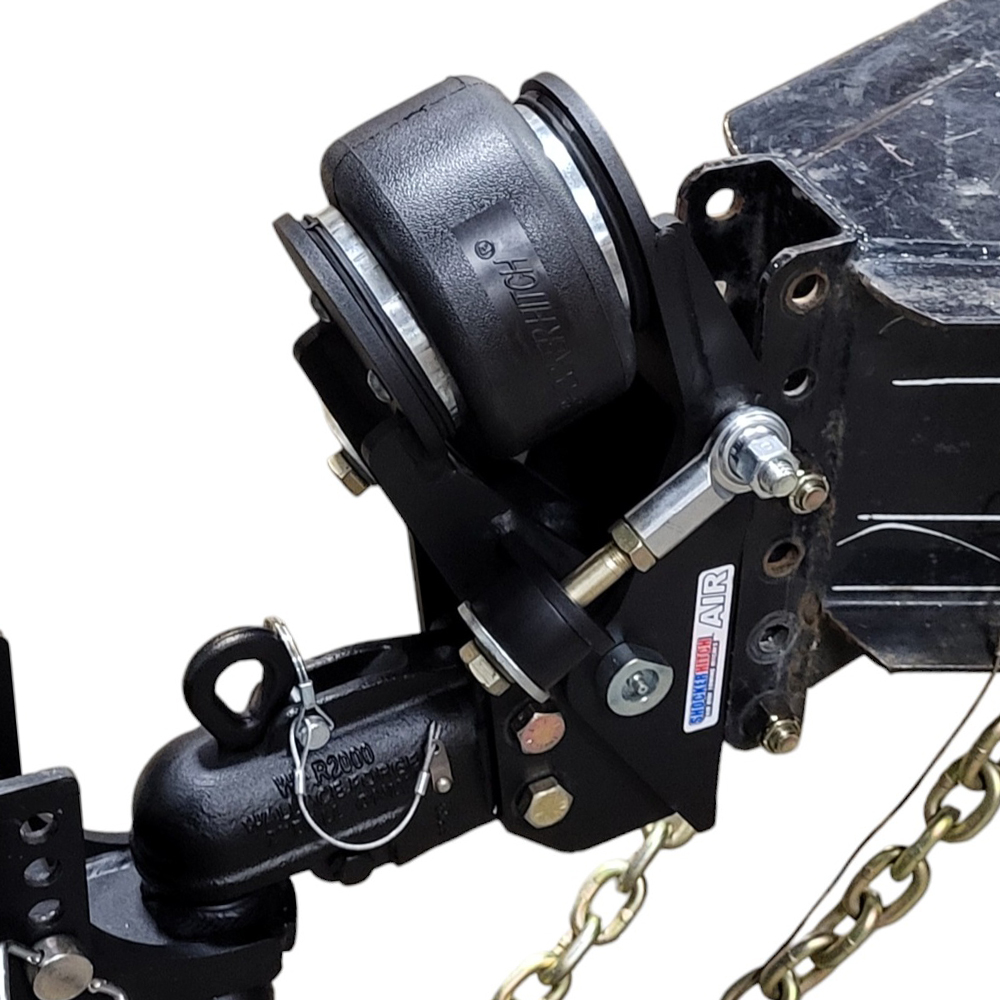
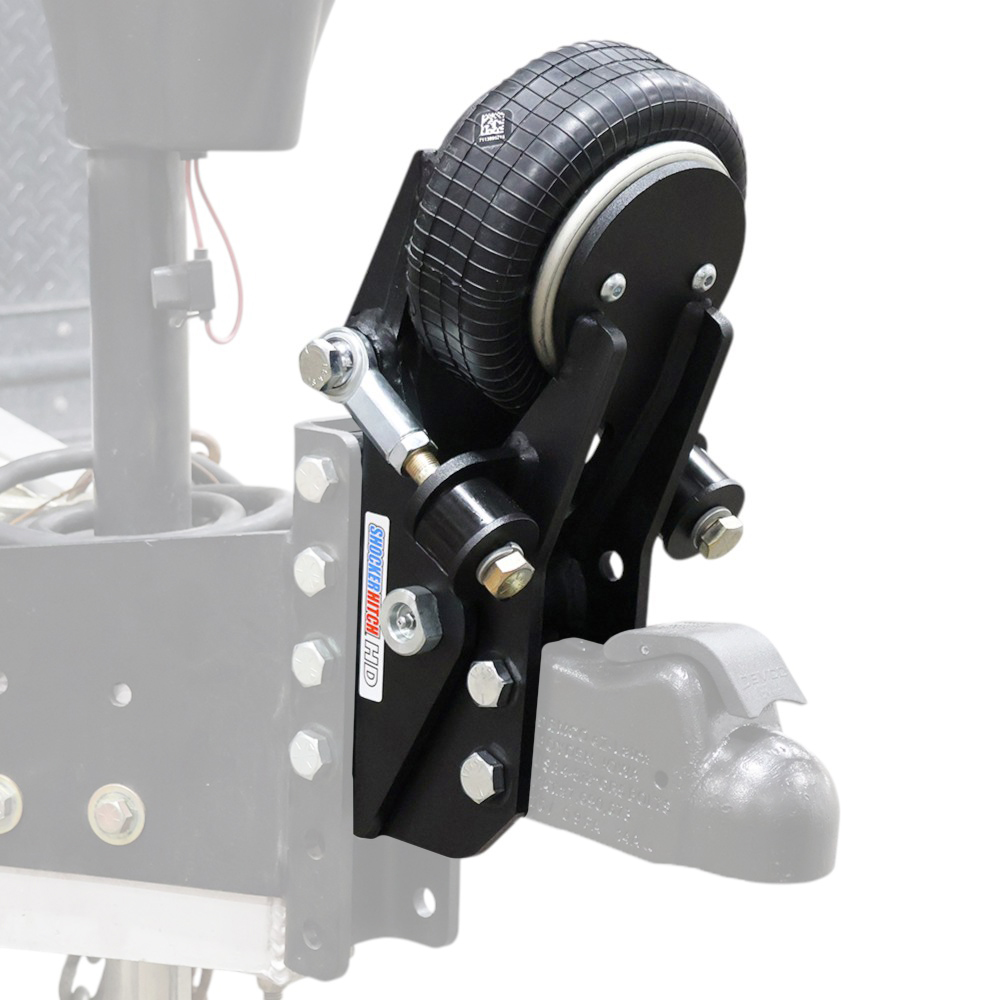
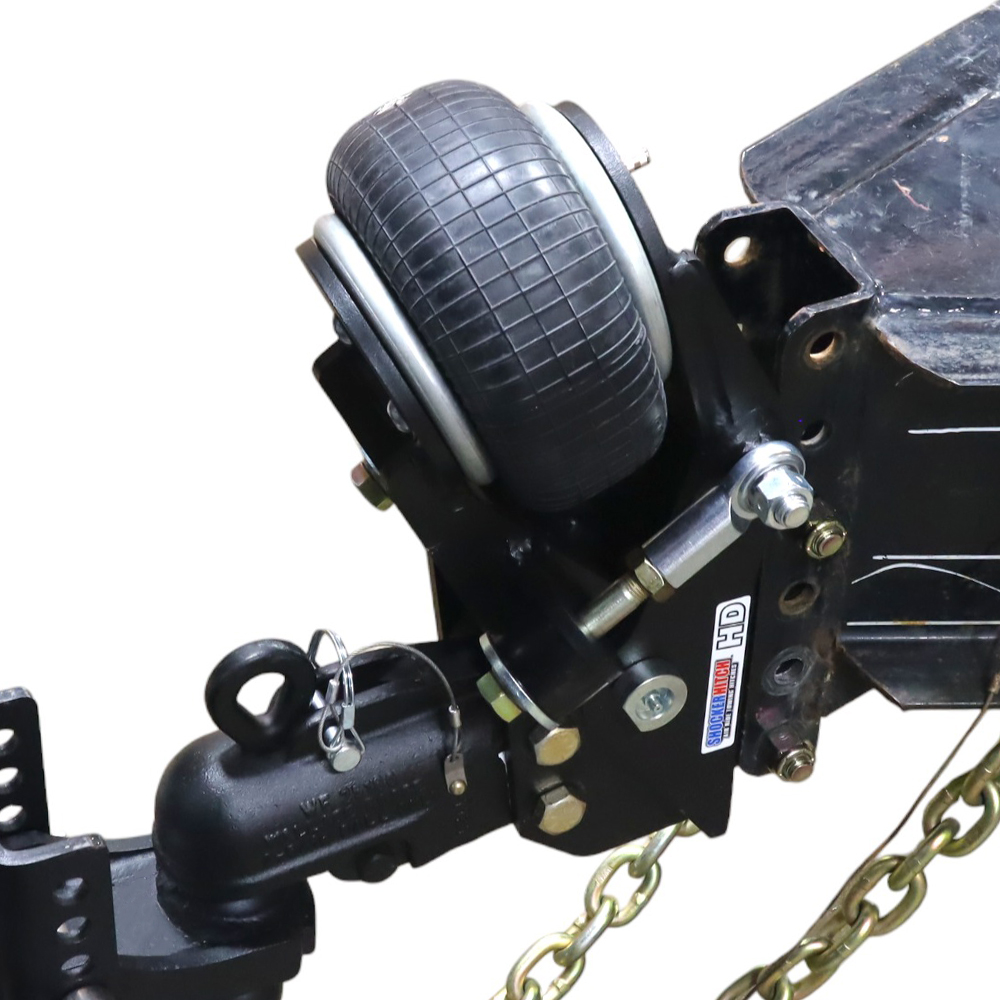
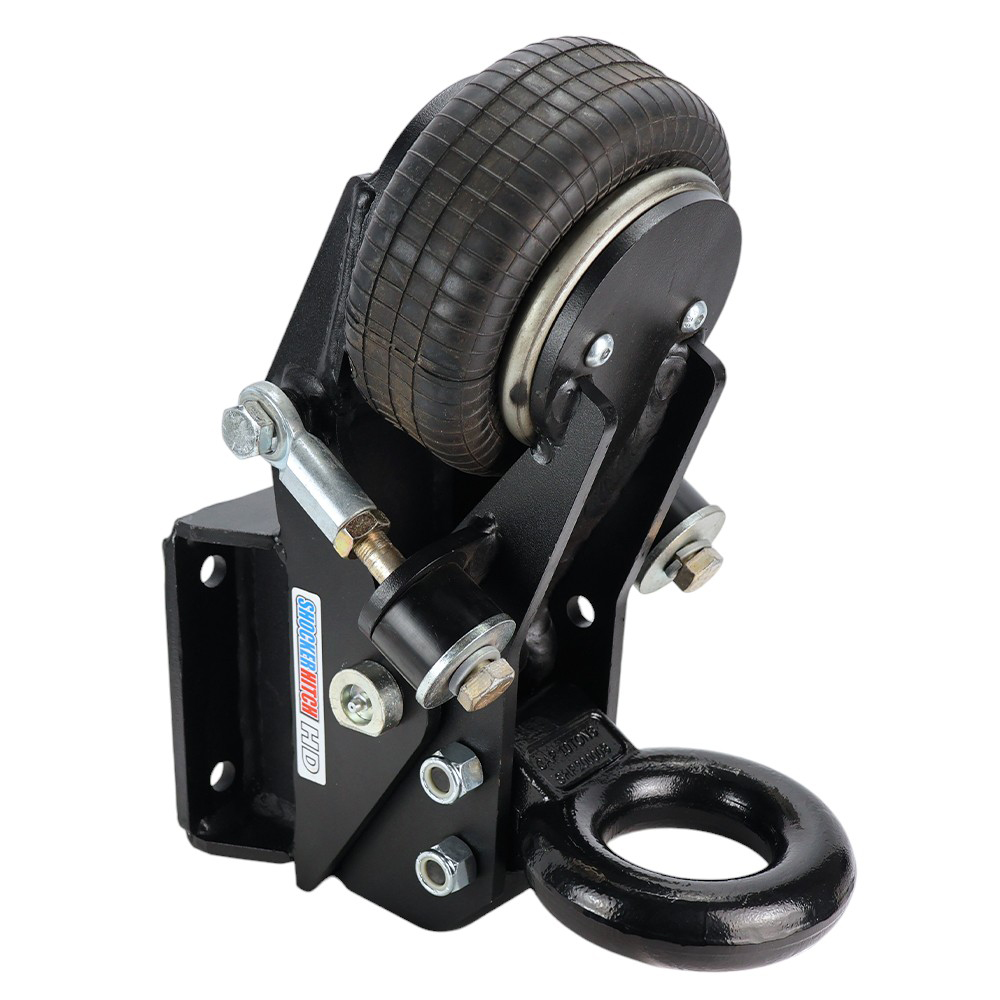
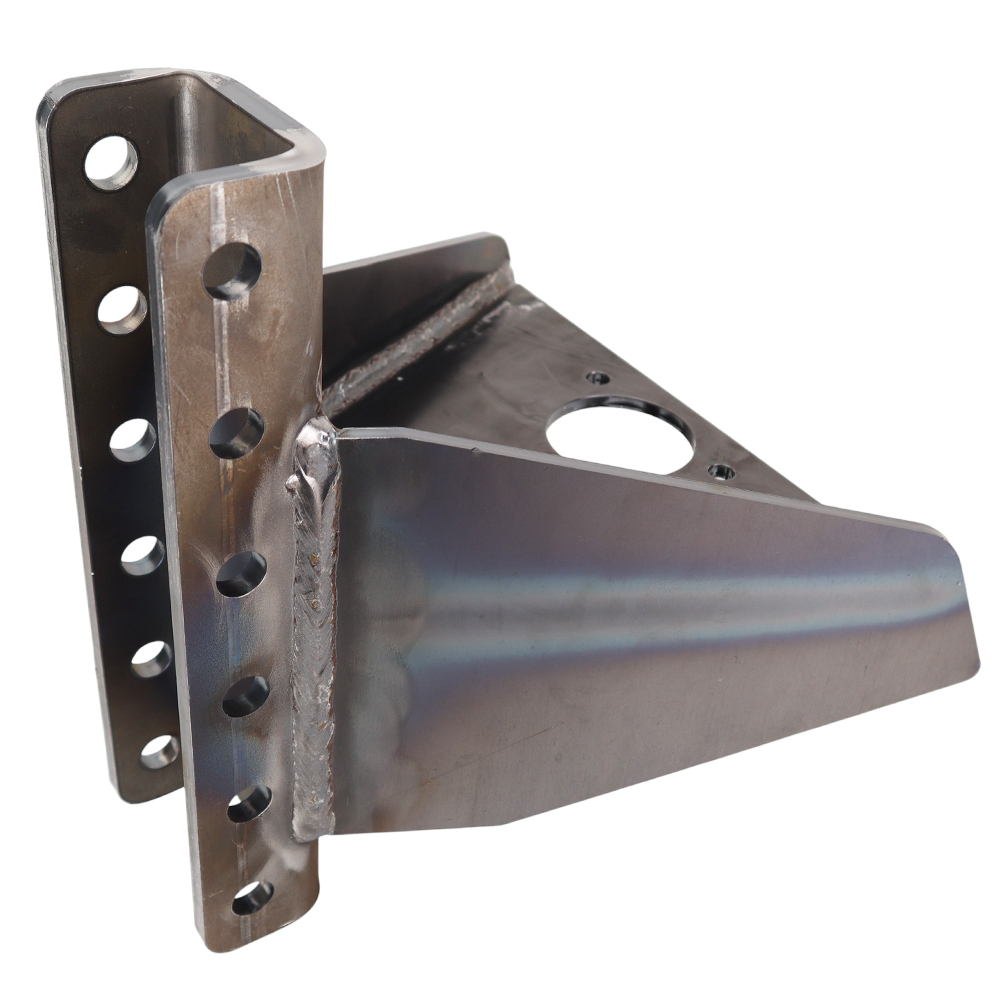
Adjustable for Channel Mounting: Designed for Trailer A-Frames with Vertical Channels along with Shocker Hitch air trailer tongue mount.
Up to 25,000 lbs GTW: 25,000 lbs Tow Rating and 2,500 lbs Tongue Weight.
Side Lever Design: Drop the trailer down and lock the ball in place with the side lever.
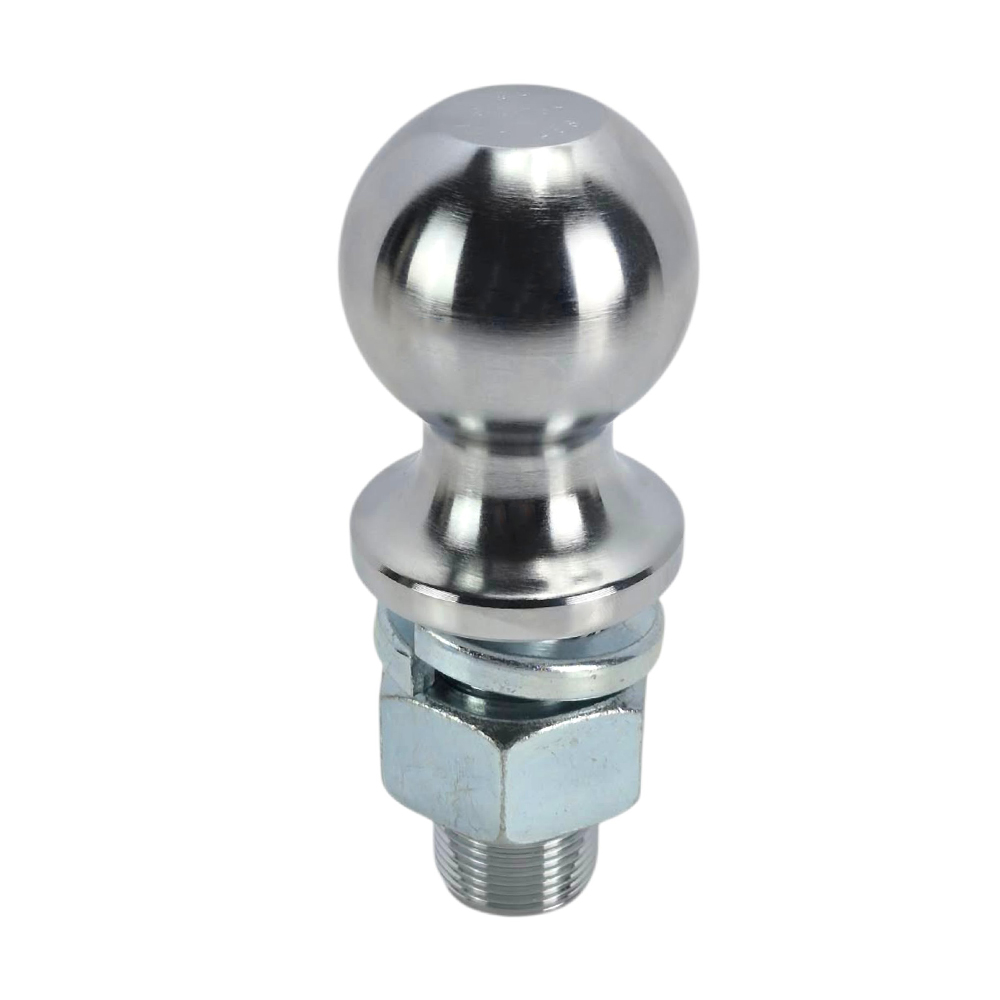
Fits 2-5/16" Trailer Hitch Ball: Only fits 2-5/16" Hitch Ball.
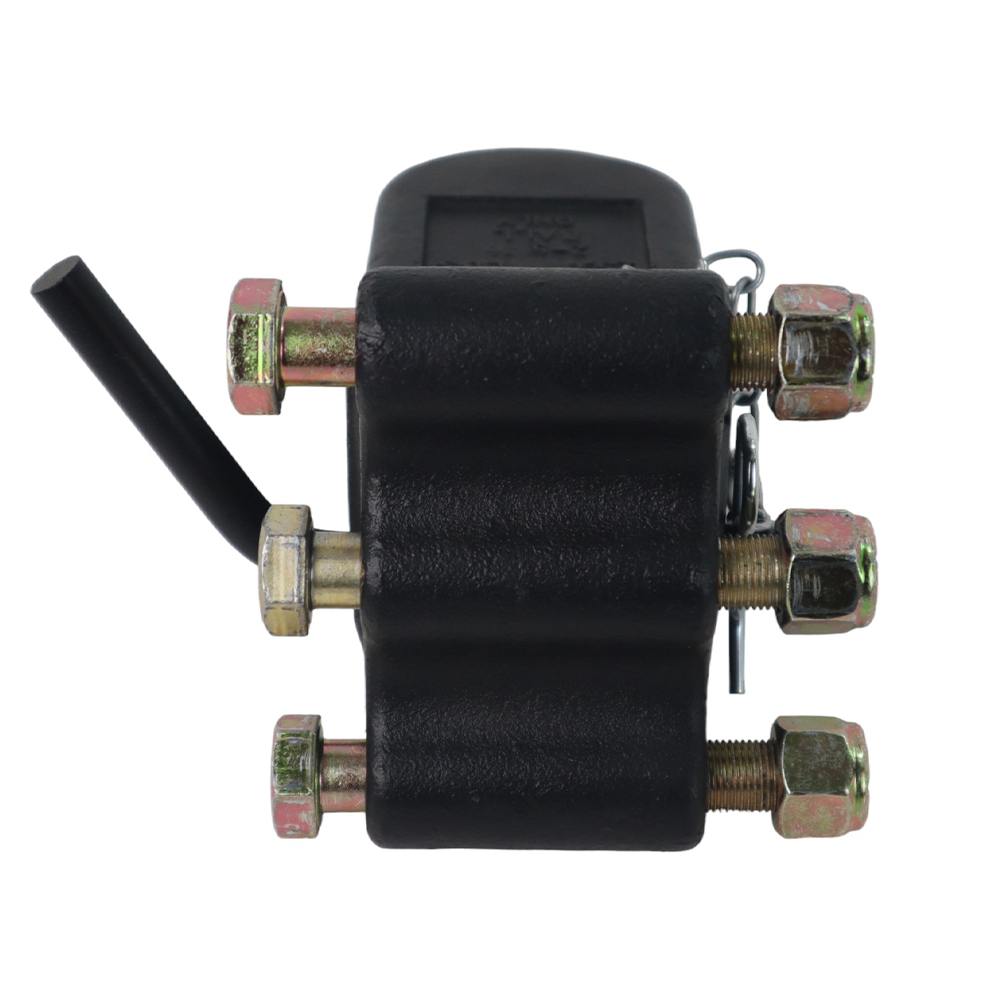
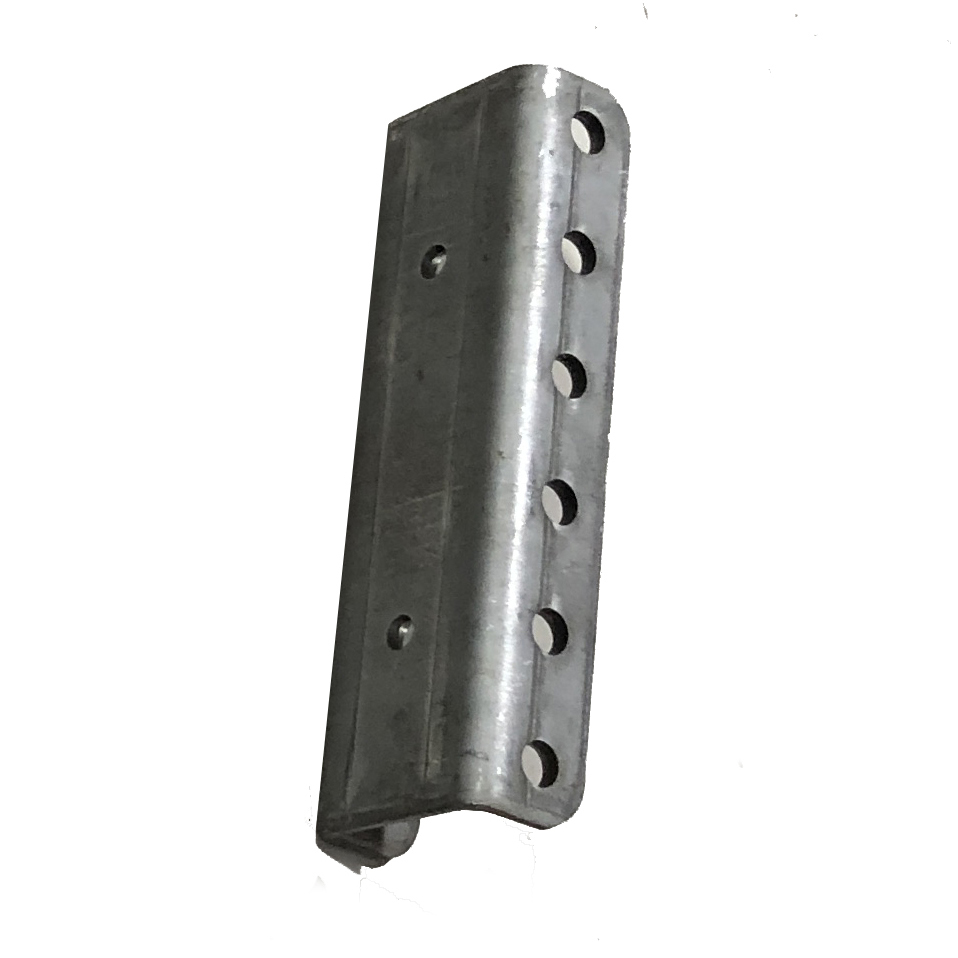
Fits 3" ID / 3.5" OD Channel: With 2" on 2" center holes.
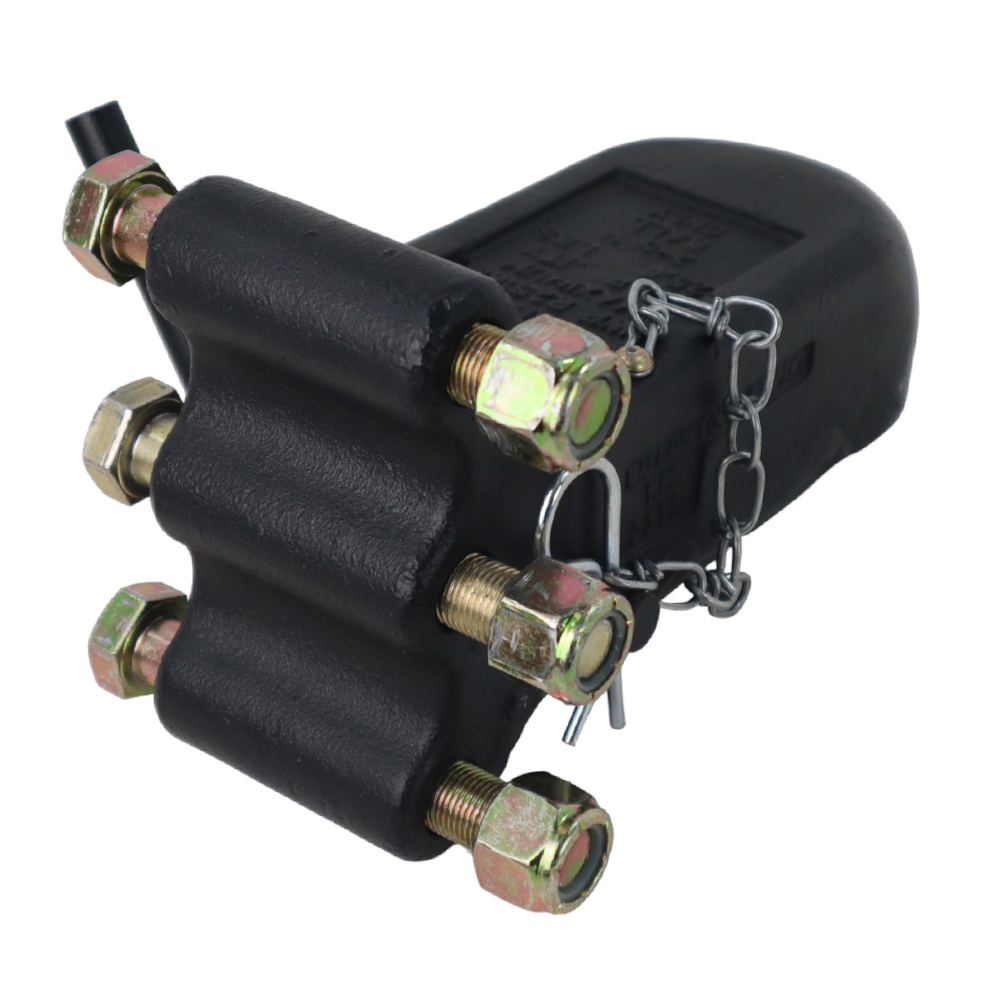
Channel Mount Installation: Use three 5/8" Bolts to Secure to Channel – Three 5/8" x 4-1/2" Long Bolts & Three Lock Nuts are included.
Strong Construction: Made by Wallace Forge.
Powder-Coat Finish: Completely black powder coated for protection from salt and other debris.
Safety Notice:Tow capacity is limited by the lowest-rated component.
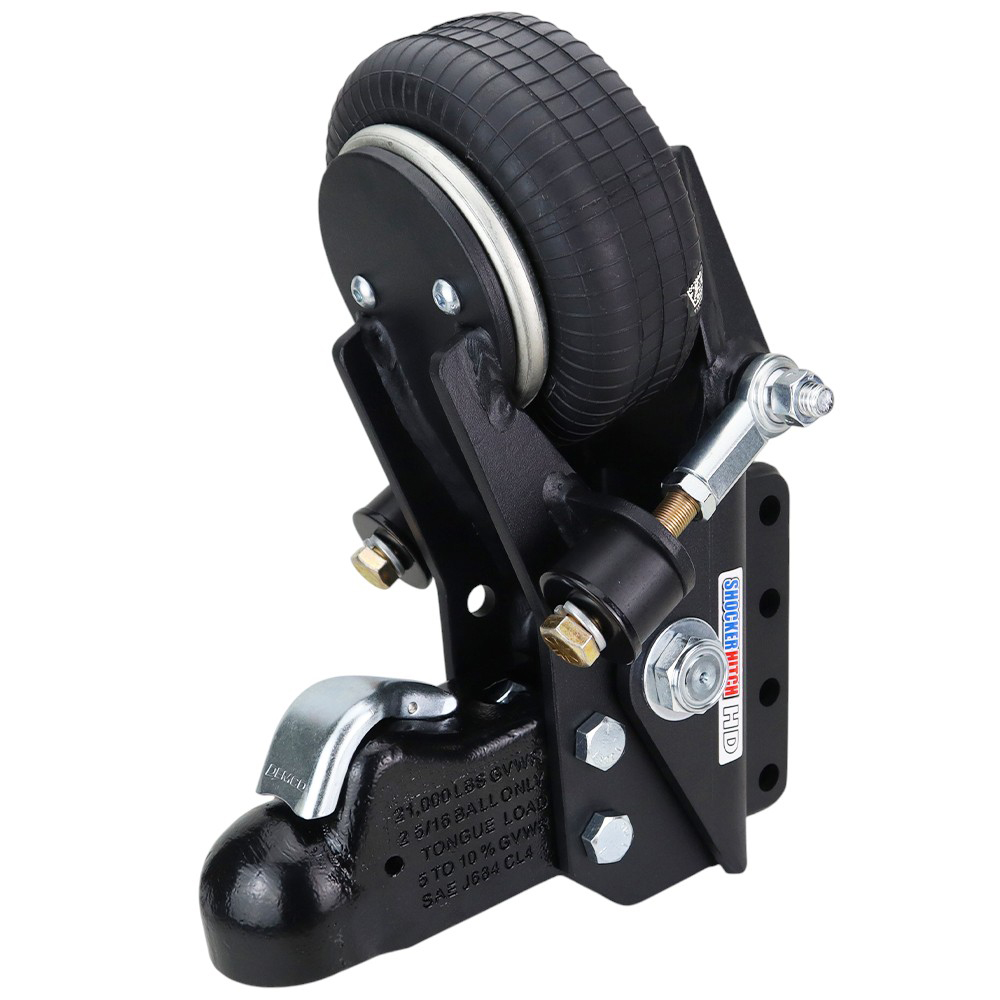
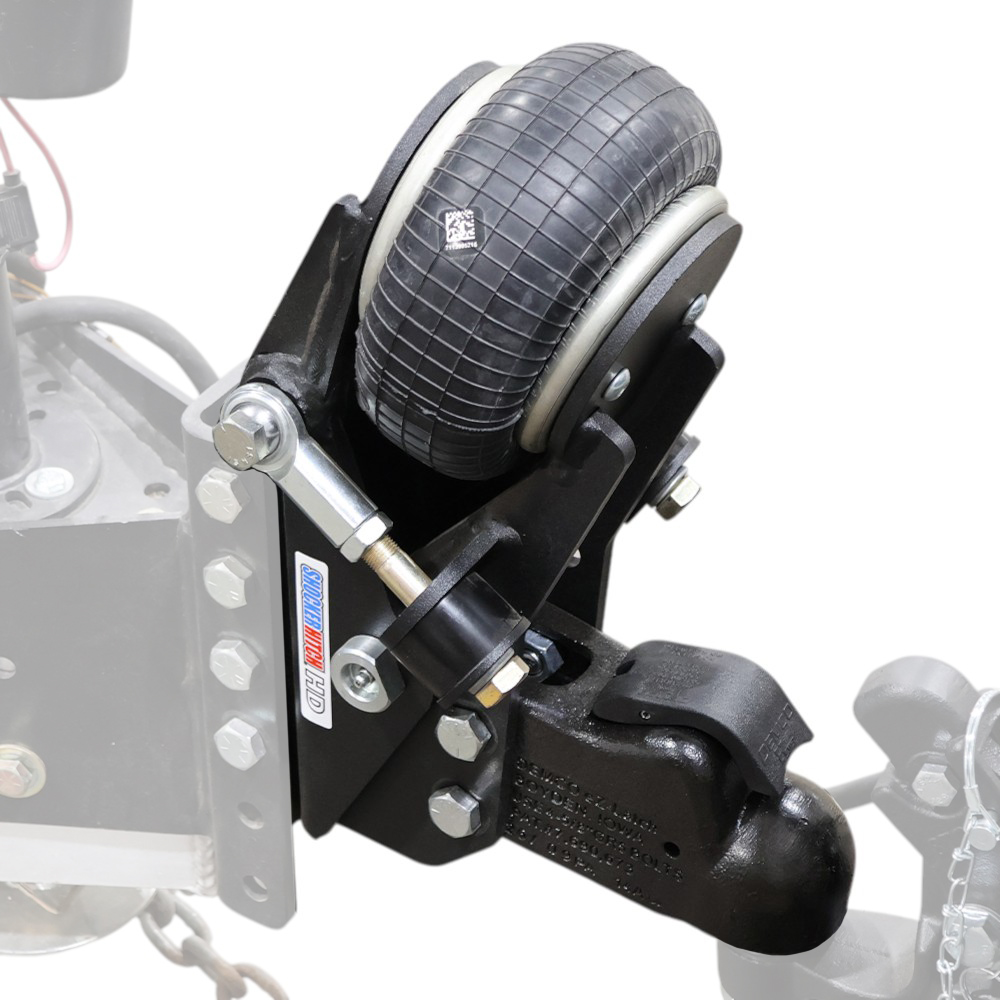
This heavy-duty Wallace forge trailer coupler is commonly used on trailers a-frames with vertical channels along with our air trailer tongue mounts. Its designed to fit a 2-5/16" hitch ball only. The leveler system makes it simple to connect and disconnect your trailer from your ball mount. Just drop the coupler over your hitch ball while the coupler is in the open position and pull the lever to lock it into place. The heavy-duty powder-coat will prevent rust and corrosion. The 3-hole adjustable channel mount design allows you to bolt this onto the vertical channel of your trailer and adjust the height to where you need it. Often used on Shocker air tongue mounts for race haulers and toter homes towing stacker trailers.
Follow these Shocker Air Trailer Tongue Mount installation and set-up instructions for vertical-channel and four-bolt square-plate mounts with a Demco coupler, Wallace Forge coupler, or pintle ring. Choose your mounting style below, install your attachment, then set the air pressure with the trailer loaded for towing.
4-page illustrated manual • Revision A, September 3, 2026
Before you start
This guide applies to the products in our Air Trailer Tongue Mount collection, including mounts sold without a coupler and assemblies with 2-inch or 2-5/16-inch ball couplers or a pintle ring. Match the installation steps to your mounting style and attachment.
Vertical-channel mount
SH-HD4000 / SH-4000
Tools: impact driver with 15/16-inch socket, 15/16-inch wrench, and a torque wrench capable of 100 ft-lbs.
Mounting hardware: four 5/8-inch-11 × 4-1/2-inch Grade 8 hex bolts and four 5/8-inch-11 Nylock hex nuts.
Check the hardware and ratings. Do not reuse hardware that is bent, damaged, corroded, worn, or undersized. Never exceed the lowest-rated component in the complete towing system. See the mount and attachment ratings below.
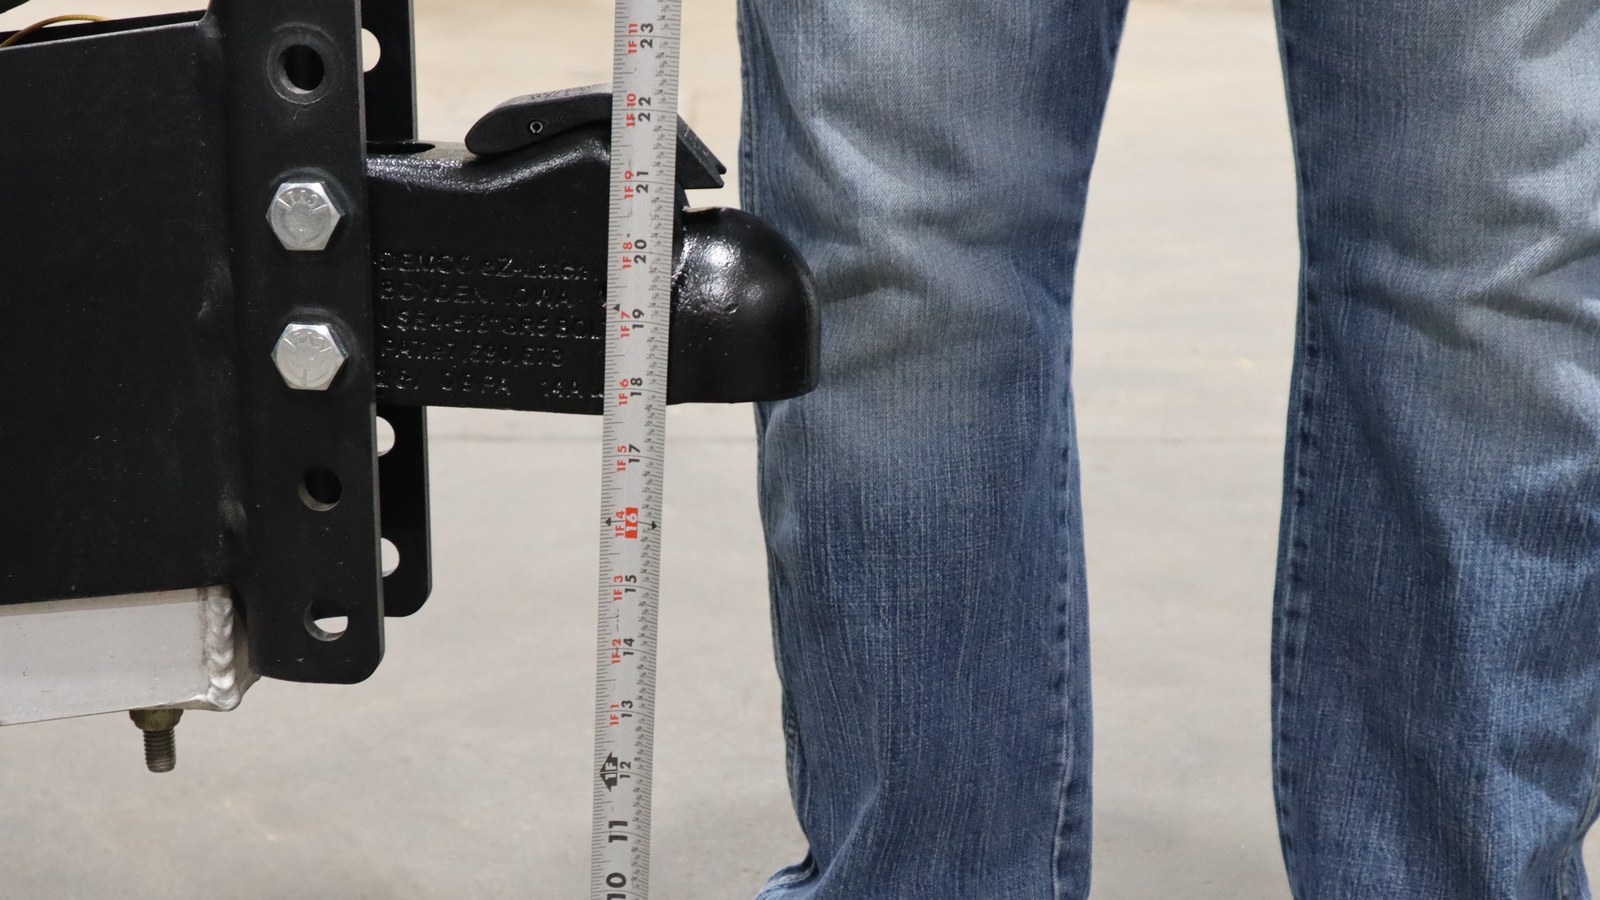
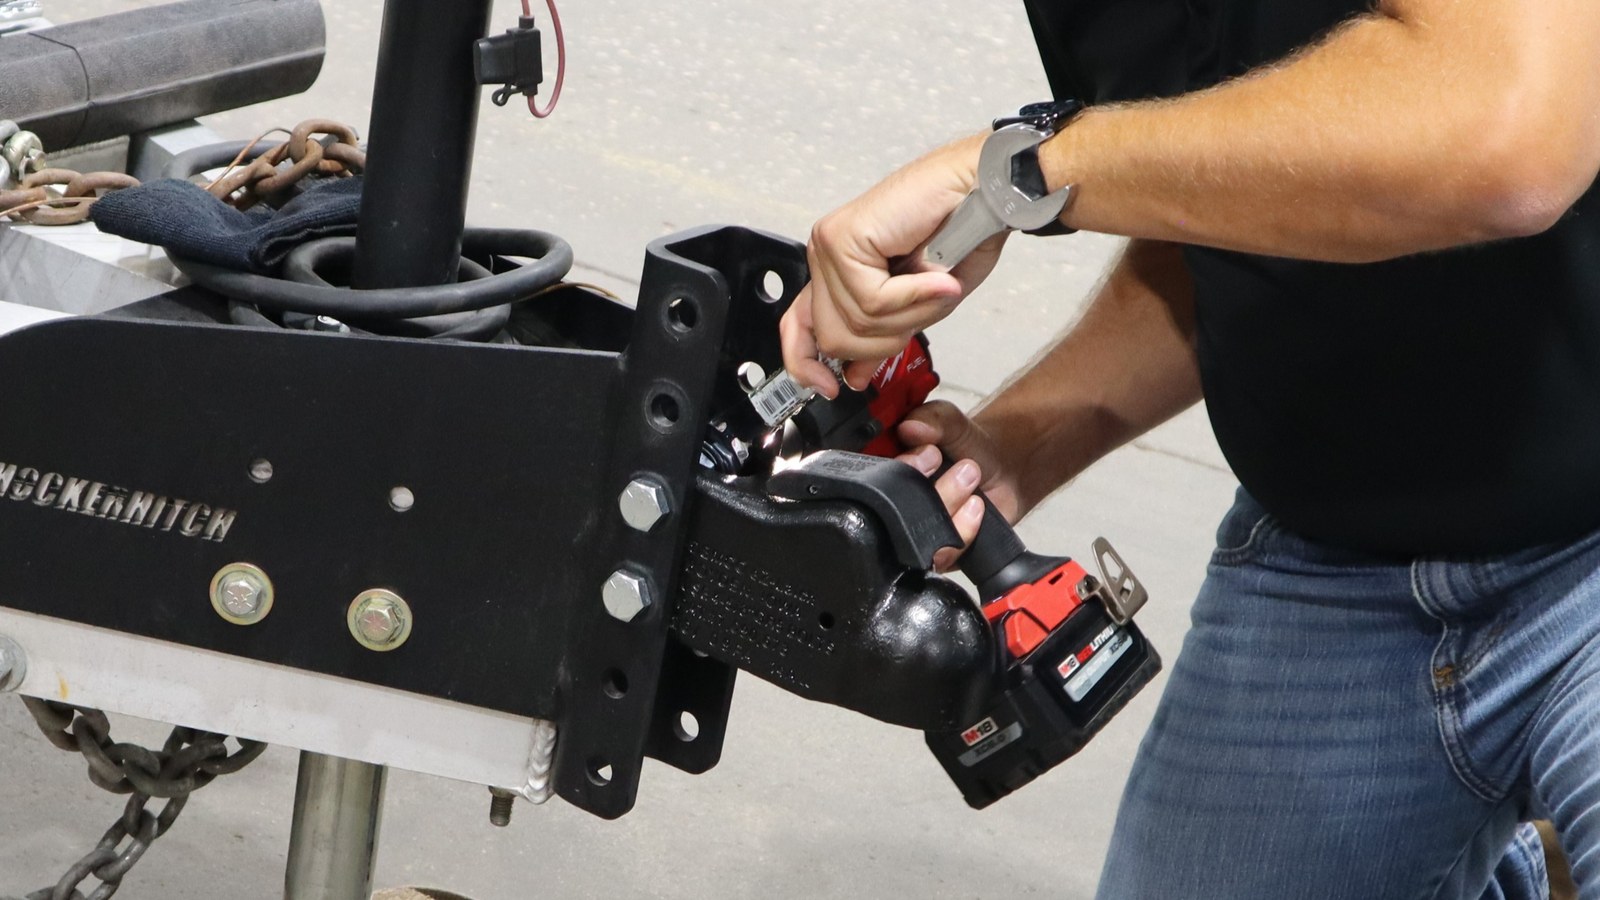
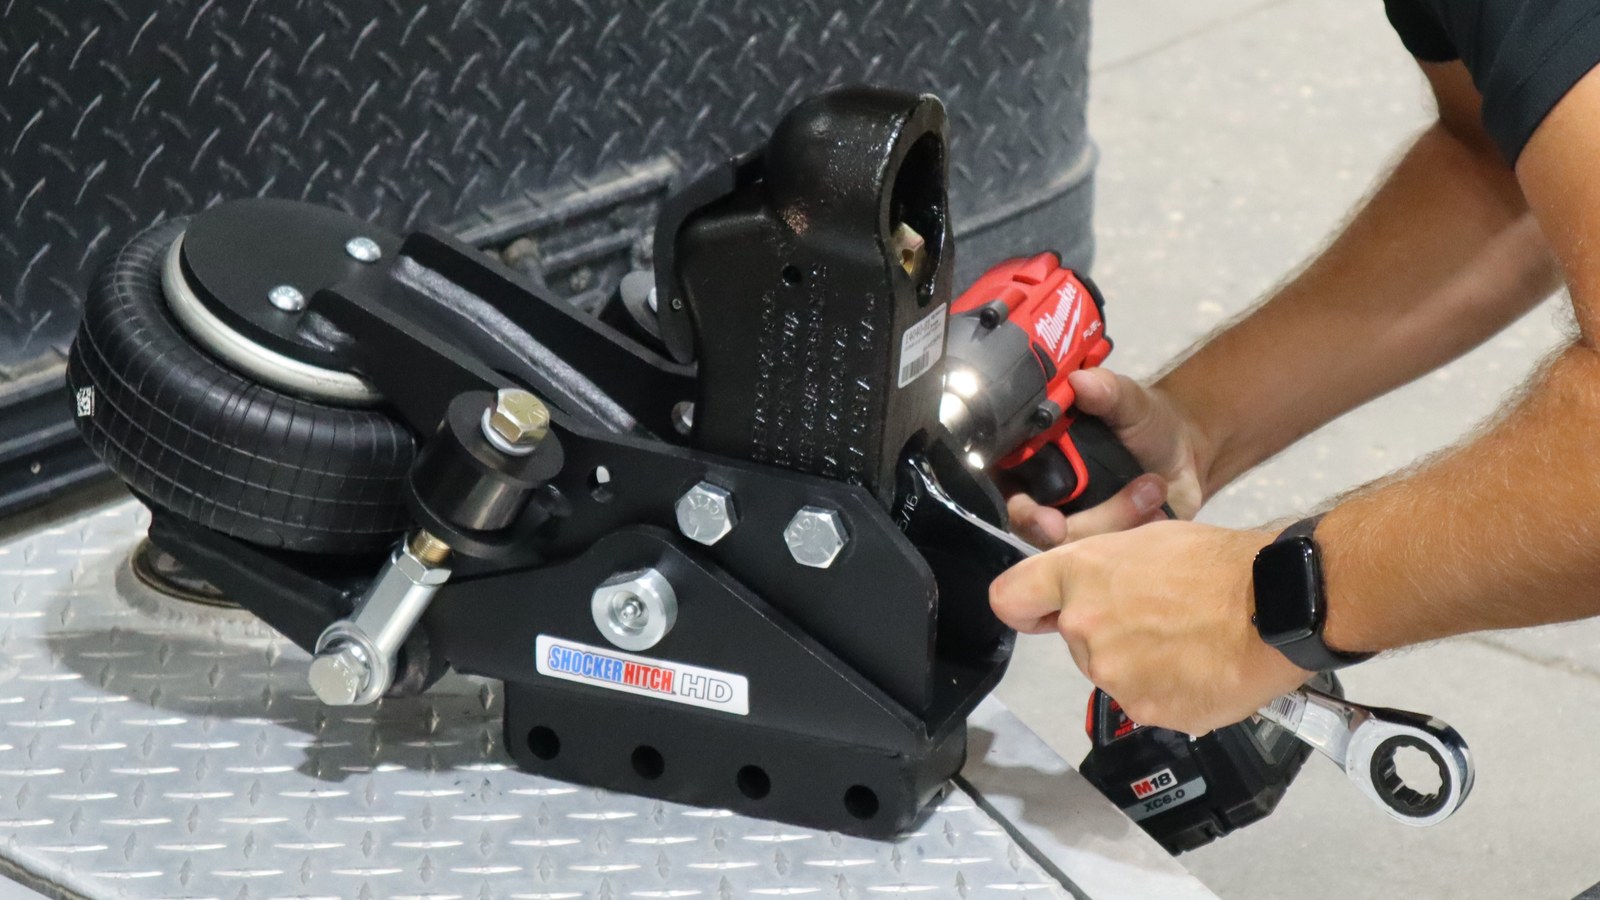
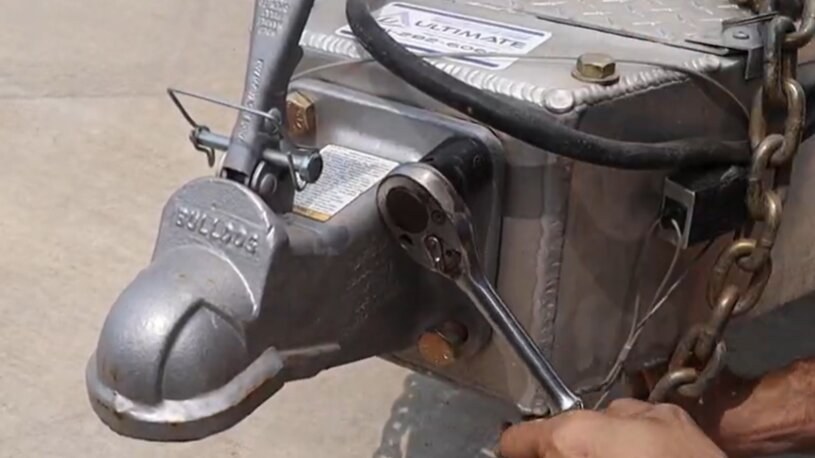
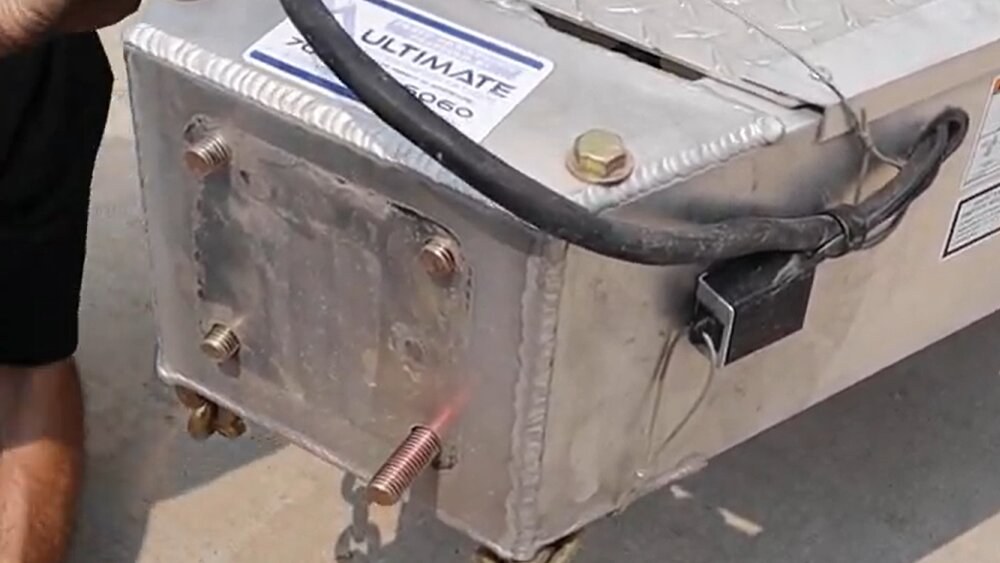
Measure and remove the existing coupler. Park the tow vehicle and trailer on a level surface. Measure the front and back of the trailer and adjust as needed to level it. Record the height from the ground to the top of the truck’s hitch ball and from the ground to the bottom of the trailer coupler. Remove the coupler bolts using an impact driver with a 15/16-inch socket and a 15/16-inch wrench on the nut, then remove the coupler from the vertical channel.
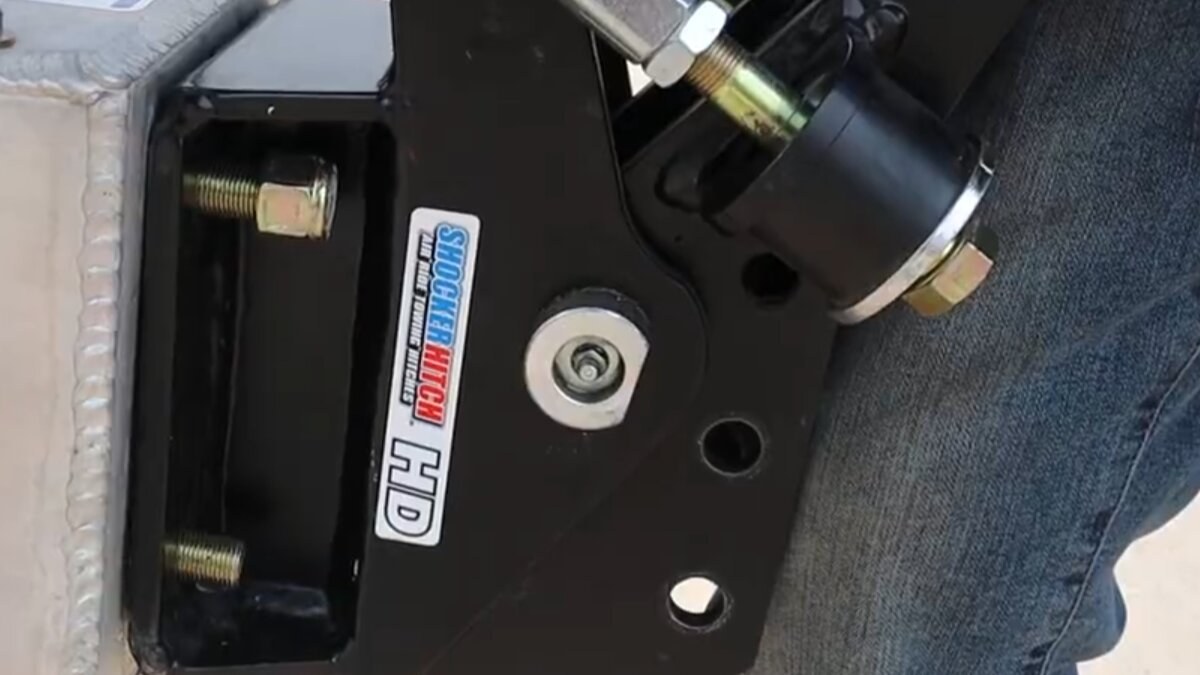
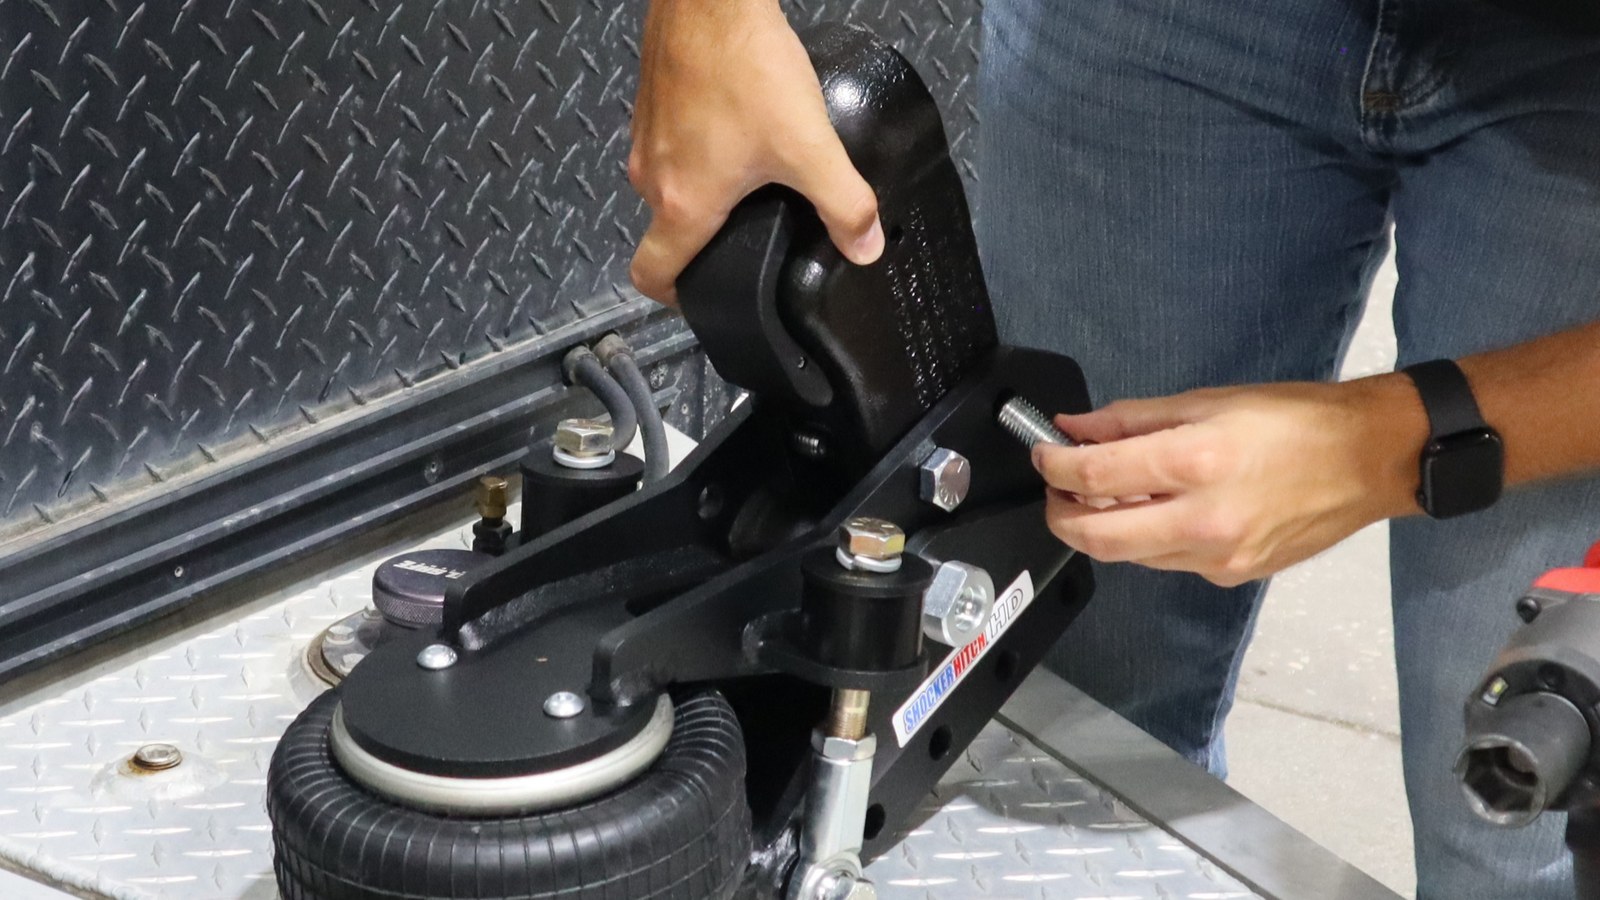
Position the assembly and check the height. Align the Air Tongue Mount in the trailer channel. Insert two 5/8-inch-11 × 4-1/2-inch bolts in the top and bottom holes. Measure from the ground to the bottom of the coupler. Move the mount up or down in the channel as needed to match the original coupler-height measurement.
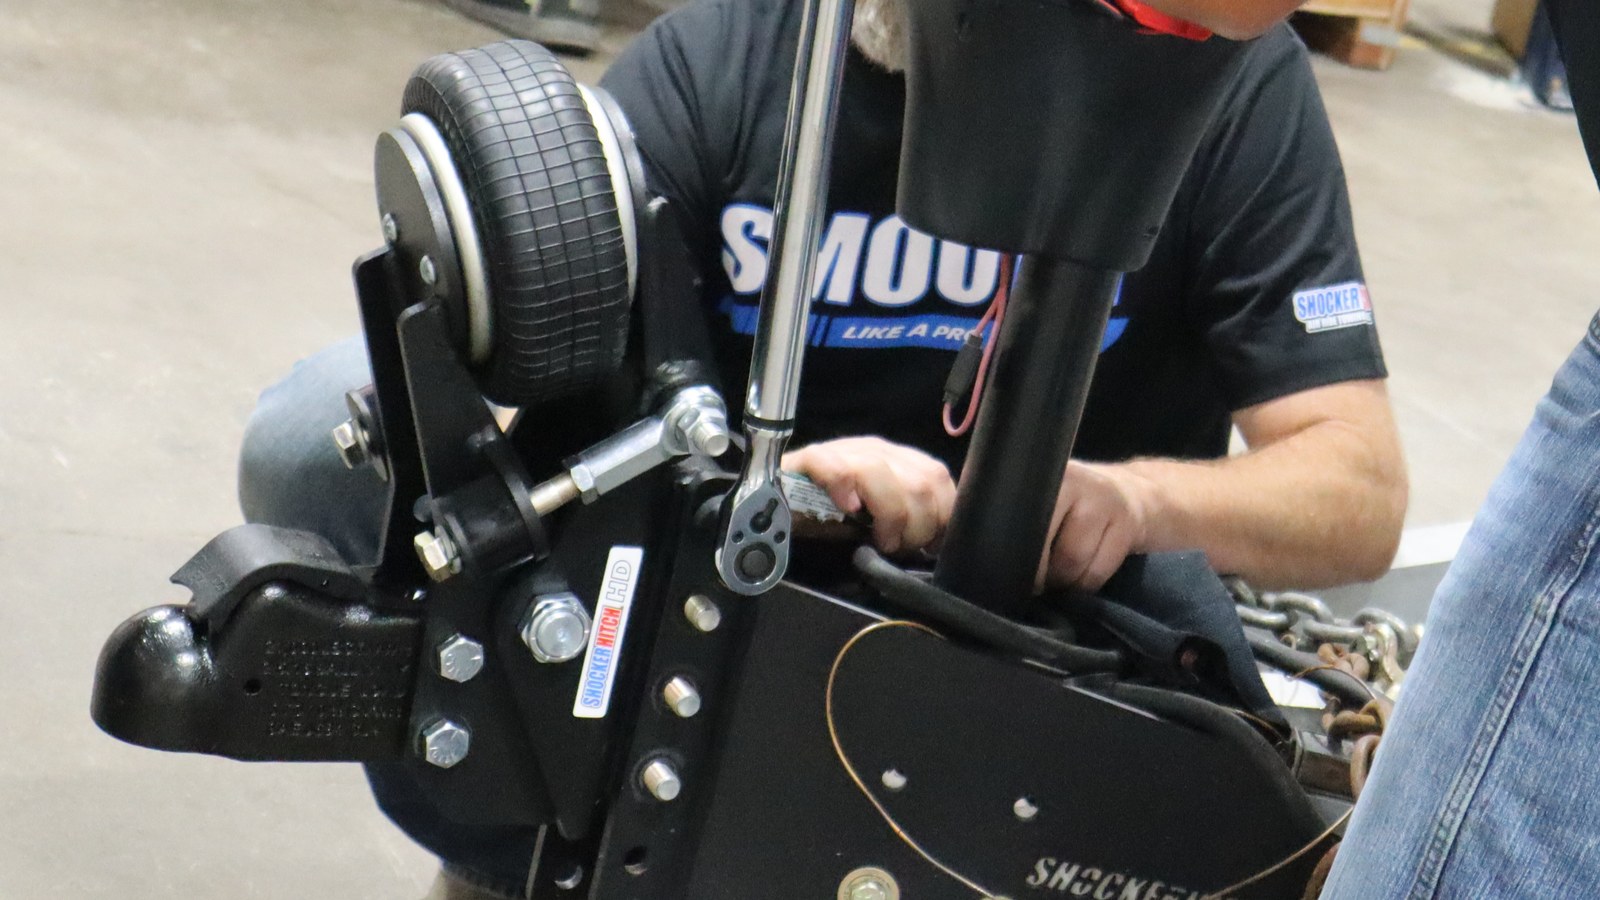
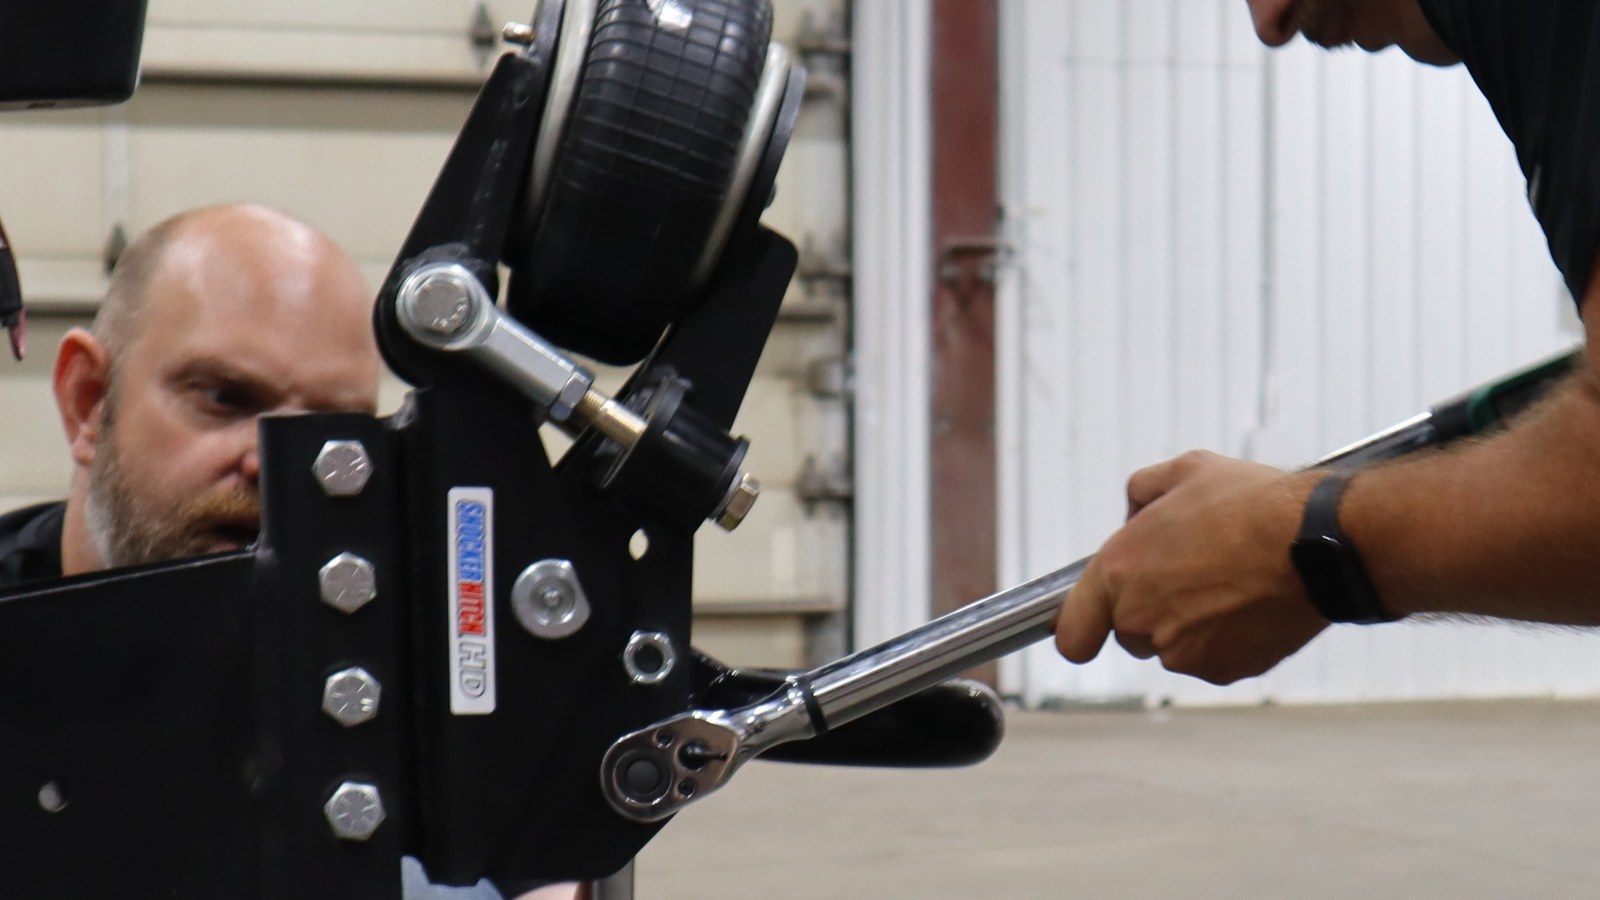
Install the remaining hardware and torque. Insert the remaining two 5/8-inch-11 × 4-1/2-inch bolts through the vertical-channel adapter and Air Tongue Mount. Hand-thread all four 5/8-inch-11 Nylock hex nuts onto the protruding threads. Torque the vertical-channel bolts to 100 ft-lbs, using a torque wrench with a 15/16-inch socket on the nut and a 15/16-inch wrench on the bolt.
Measure from the ground to the bottom of the trailer coupler before removing it.Remove the mounting bolts and lift the existing coupler out of the trailer’s vertical channel.Fit the selected coupler to the Air Tongue Mount before positioning the assembly in the trailer channel.Position the Air Tongue Mount in the vertical channel and check the coupler height against the original measurement.Torque the vertical-channel mounting bolts to 100 ft-lbs using a torque wrench.
Mounting style 02
Four-bolt square-plate Air Tongue Mount installation
SH-HD4500 / SH-4500
Remove the existing coupler. Use an impact driver or ratchet with a 15/16-inch socket and a 15/16-inch wrench on the nut. Remove the bolts and the coupler from the trailer’s square mounting plate.
Fit the Air Tongue Mount to the square plate. Insert the existing serviceable bolts through the trailer square mount so the threaded ends face forward. Align the Air Tongue Mount with the bolts and slide it into place until the plate sits flush against the trailer. Hand-thread the existing nuts onto all four bolts, then tighten using a wrench on the bolt head and another on the nut.
Install the coupler and finish tightening. Follow the appropriate attachment instructions below. Torque the tongue-mount bolts to 100 ft-lbs using a torque wrench with a 15/16-inch socket on the nut and a 15/16-inch wrench on the bolt head.
Check towing height on a level surface. Measure the front and back of the trailer and adjust as needed to level it. Compare the height from the ground to the top of the truck’s hitch ball with the height from the ground to the bottom of the trailer coupler. If the measurements do not match, adjust the height of the hitch ball on the truck to achieve the required height.
Remove the existing coupler from the trailer’s square mounting plate.Insert the existing serviceable bolts through the trailer square mount with the threaded ends facing forward.Slide the Air Tongue Mount over the four bolts, seat the plate flush, and hand-thread the nuts.Install the selected coupler, torque the tongue-mount bolts to 100 ft-lbs, and recheck the towing height.
Install your coupler or pintle ring
Use the instructions for your exact attachment kit. These are attachment-to-mount counts, separate from trailer-channel mounting bolts. For other styles or brands, follow that attachment manufacturer’s specified bolt count, size, grade, hole positions and torque; confirm compatibility. Do not apply the listed kit specifications to an unidentified attachment.
Demco couplers — SH-D15791-81-B and SH-D14040-81-B
Hardware: four 5/8-inch-11 × 1-1/2-inch Grade 5 hex bolts and four 5/8-inch-11 Nylock hex nuts.
Align the Demco attachment with the holes in the Air Tongue Mount. Use the bottom holes in the Air Tongue Mount for the Demco coupler.
Insert four bolts, two through each side of the Air Tongue Mount. Hand-thread all four locknuts until snug.
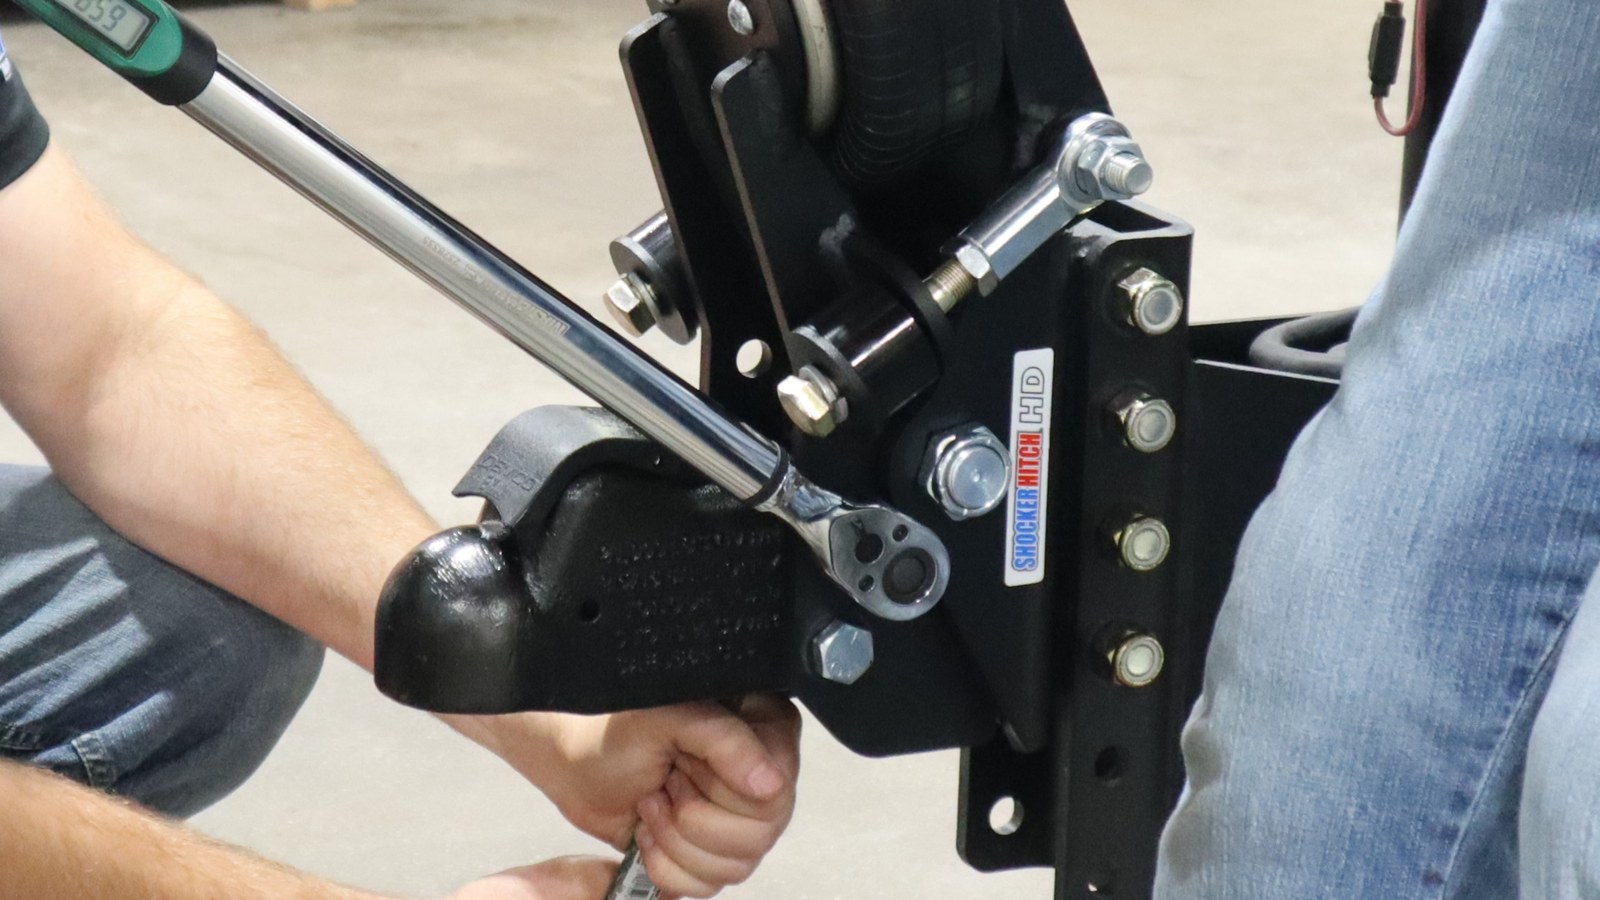
Torque the bolts to 100 ft-lbs, using a torque wrench with a 15/16-inch socket on the nut and a 15/16-inch wrench on the bolt head.
Align the Demco coupler in the Air Tongue Mount and insert four attachment bolts, two through each side.Hand-thread the four locknuts onto the Demco coupler attachment bolts before final tightening.Torque the Demco coupler attachment bolts to 100 ft-lbs.
These kits include 5/8-inch-11 × 4-1/2-inch Grade 8 bolts and matching Nylock nuts. Use the quantity for your exact kit.
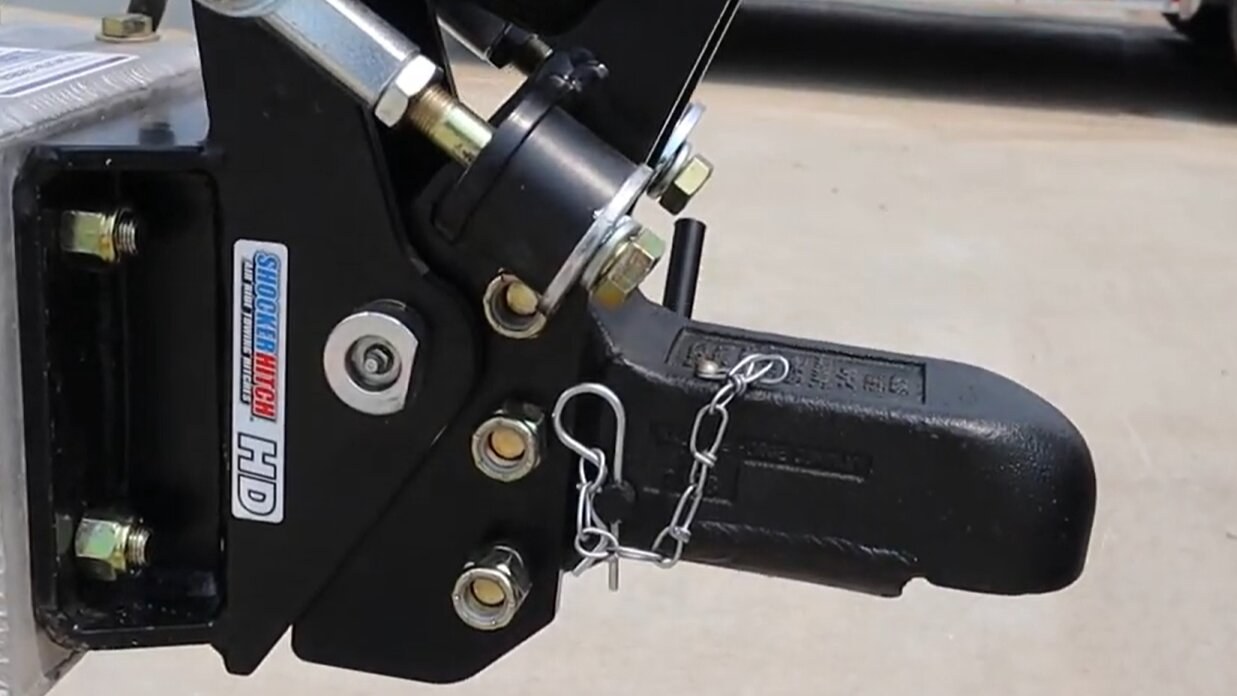
Align the Wallace Forge attachment with the holes in the Air Tongue Mount. Insert all required bolts: three for SH-W25625-B; two for SH-W25620-B or SH-W20012-B.
Hand-thread one matching locknut onto each bolt until snug: three nuts for the 25K kit, two for the 20K or 12K kit.
Torque the bolts to 100 ft-lbs, using a torque wrench with a 15/16-inch socket on the nut and a 15/16-inch wrench on the bolt head.
SH-W25625-B 25K configuration shown: three attachment bolts. The 20K and 12K kits use two.SH-W25625-B 25K configuration shown: three locknuts. Use the exact kit quantity, then torque the listed Wallace coupler bolts to 100 ft-lbs.
Hardware: two 5/8-inch-11 × 4-1/2-inch Grade 8 hex bolts and two 5/8-inch-11 Nylock hex nuts.
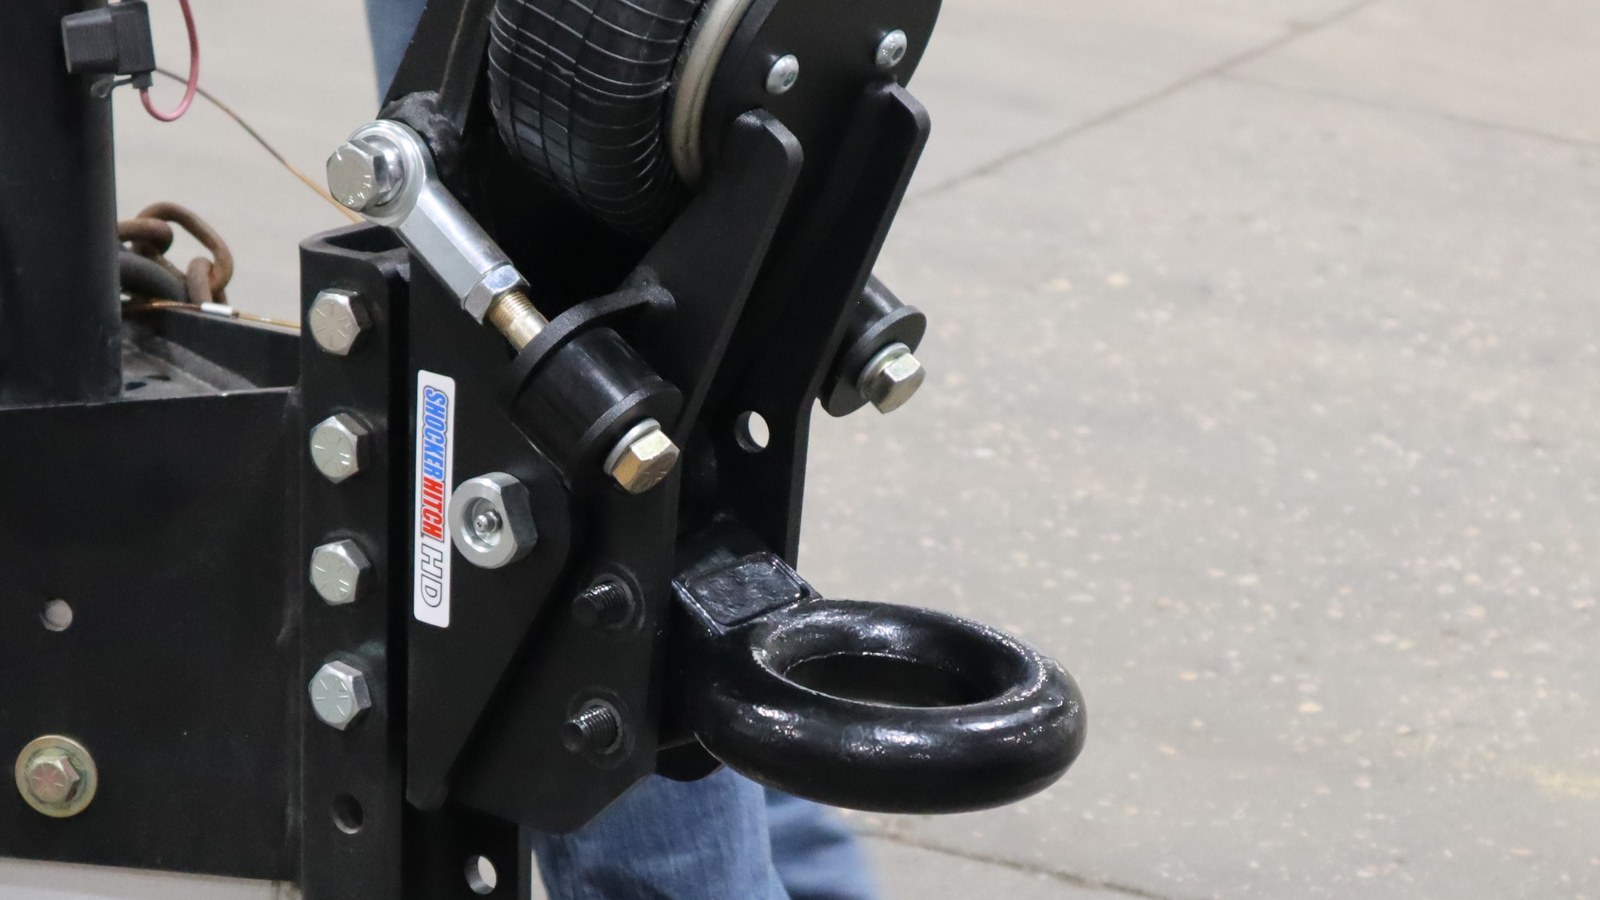
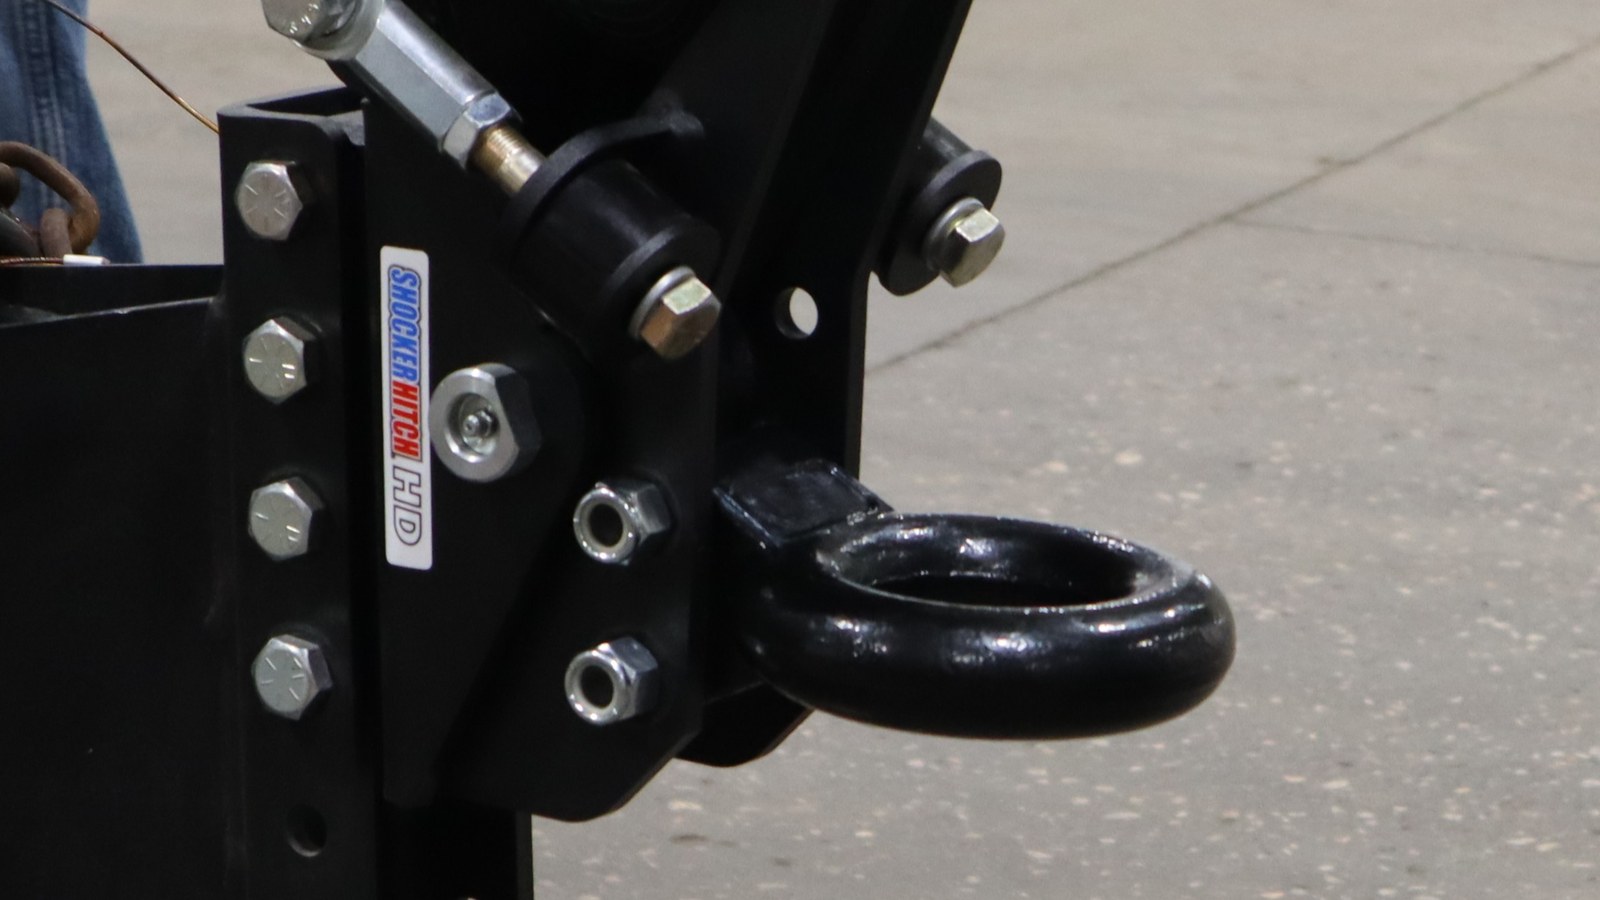
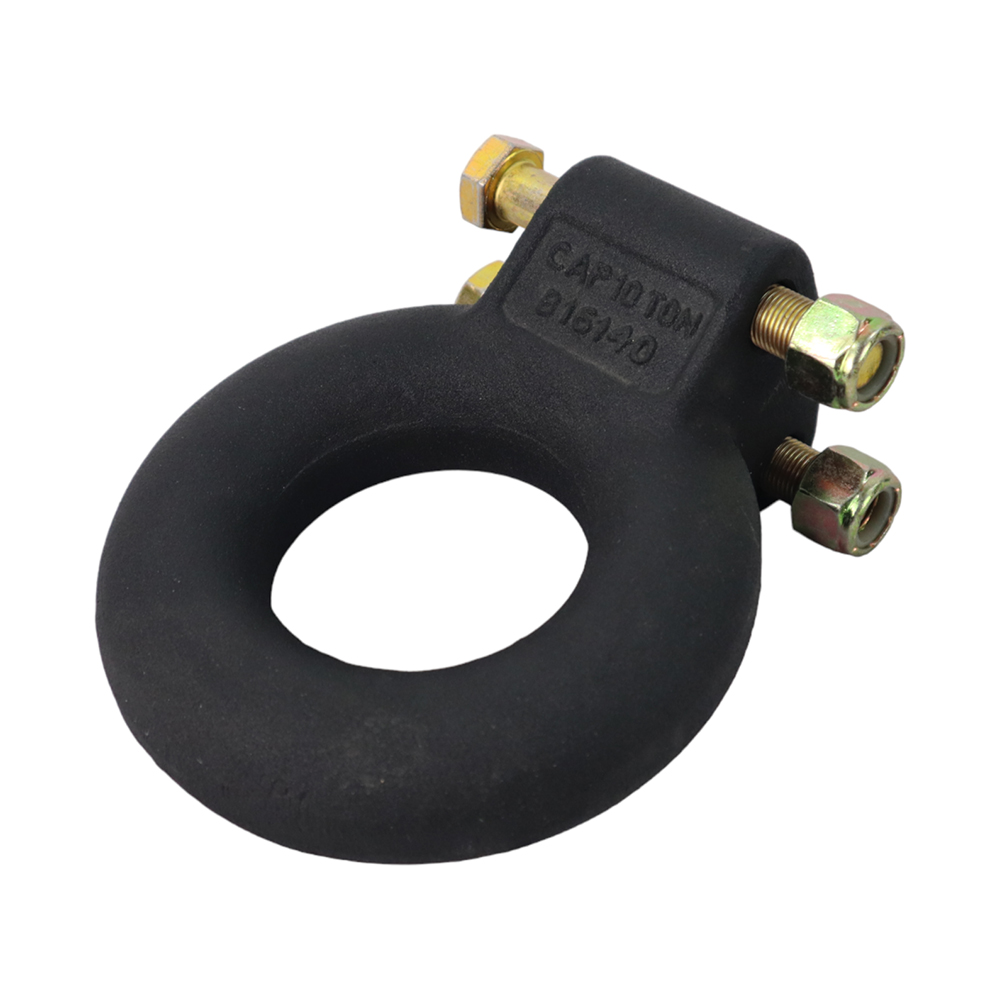
Align the pintle ring with the bottom two holes in the Air Tongue Mount and insert both bolts through the mount and ring.
Hand-thread both locknuts onto the bolts until snug.
Torque both bolts to 100 ft-lbs, using a torque wrench with a 15/16-inch socket on the nut and a 15/16-inch wrench on the bolt head.
Use the bottom two attachment holes and insert the two pintle-ring bolts.Hand-thread the two locknuts onto the pintle-ring attachment bolts until snug.Torque both pintle-ring attachment bolts to 100 ft-lbs.
Set the Air Tongue Mount with the trailer loaded as it will be towed. The correct setting is based on the position of the bump stops and washers.
Keep hands and clothing away from moving hitch parts. Do not exceed 100 PSI in the air spring bag.
Load the trailer and secure the cargo.
Couple the trailer to the tow vehicle on level ground.
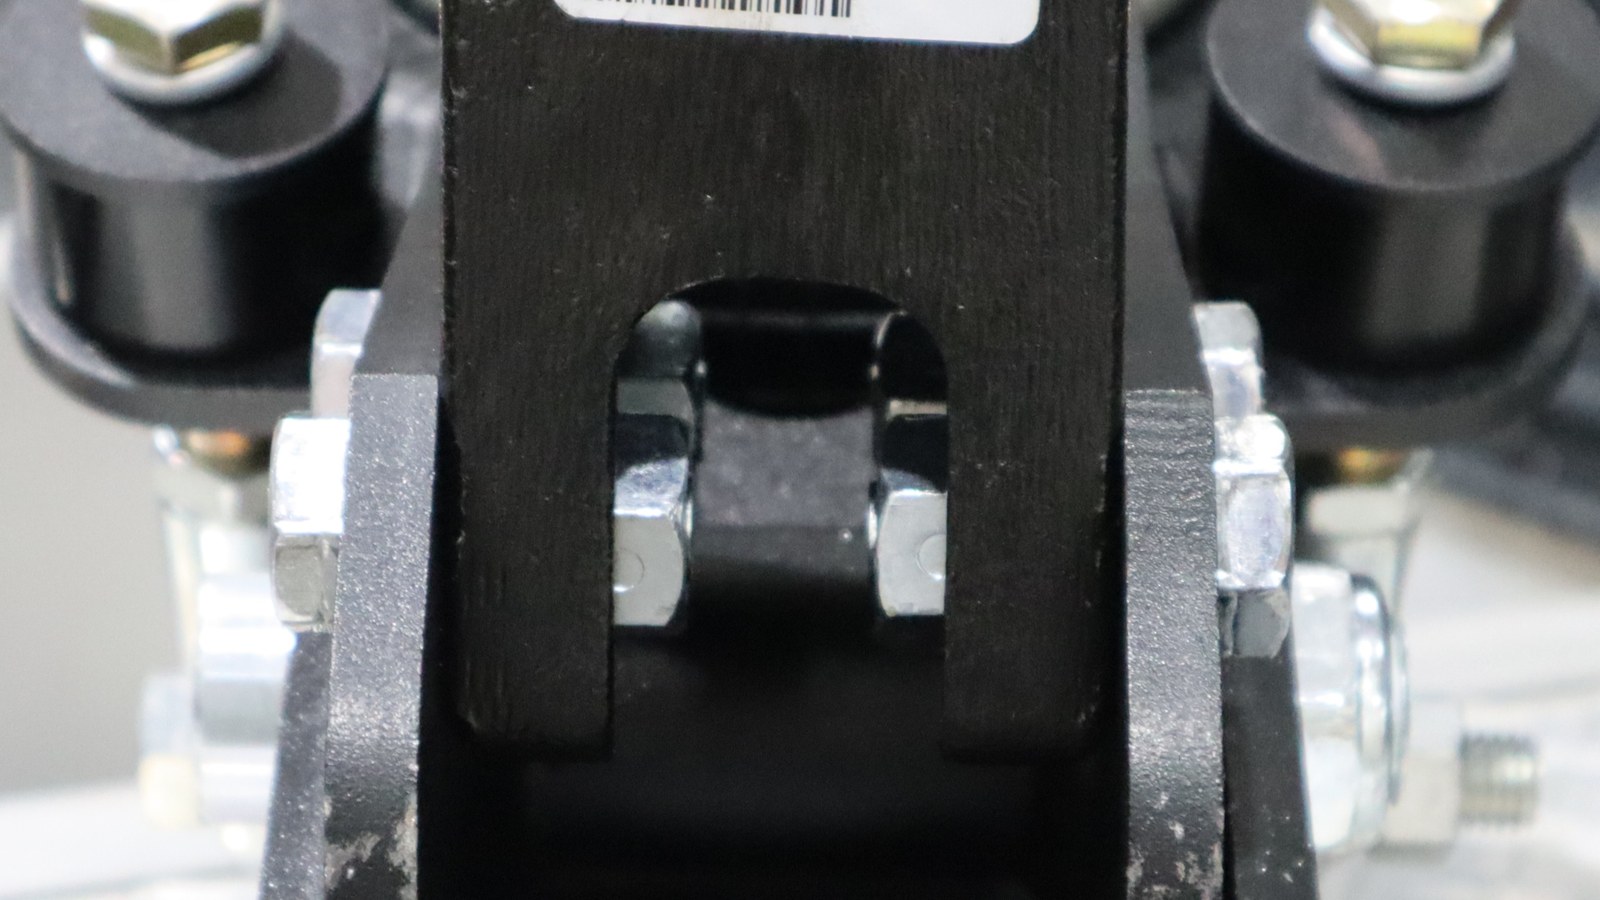
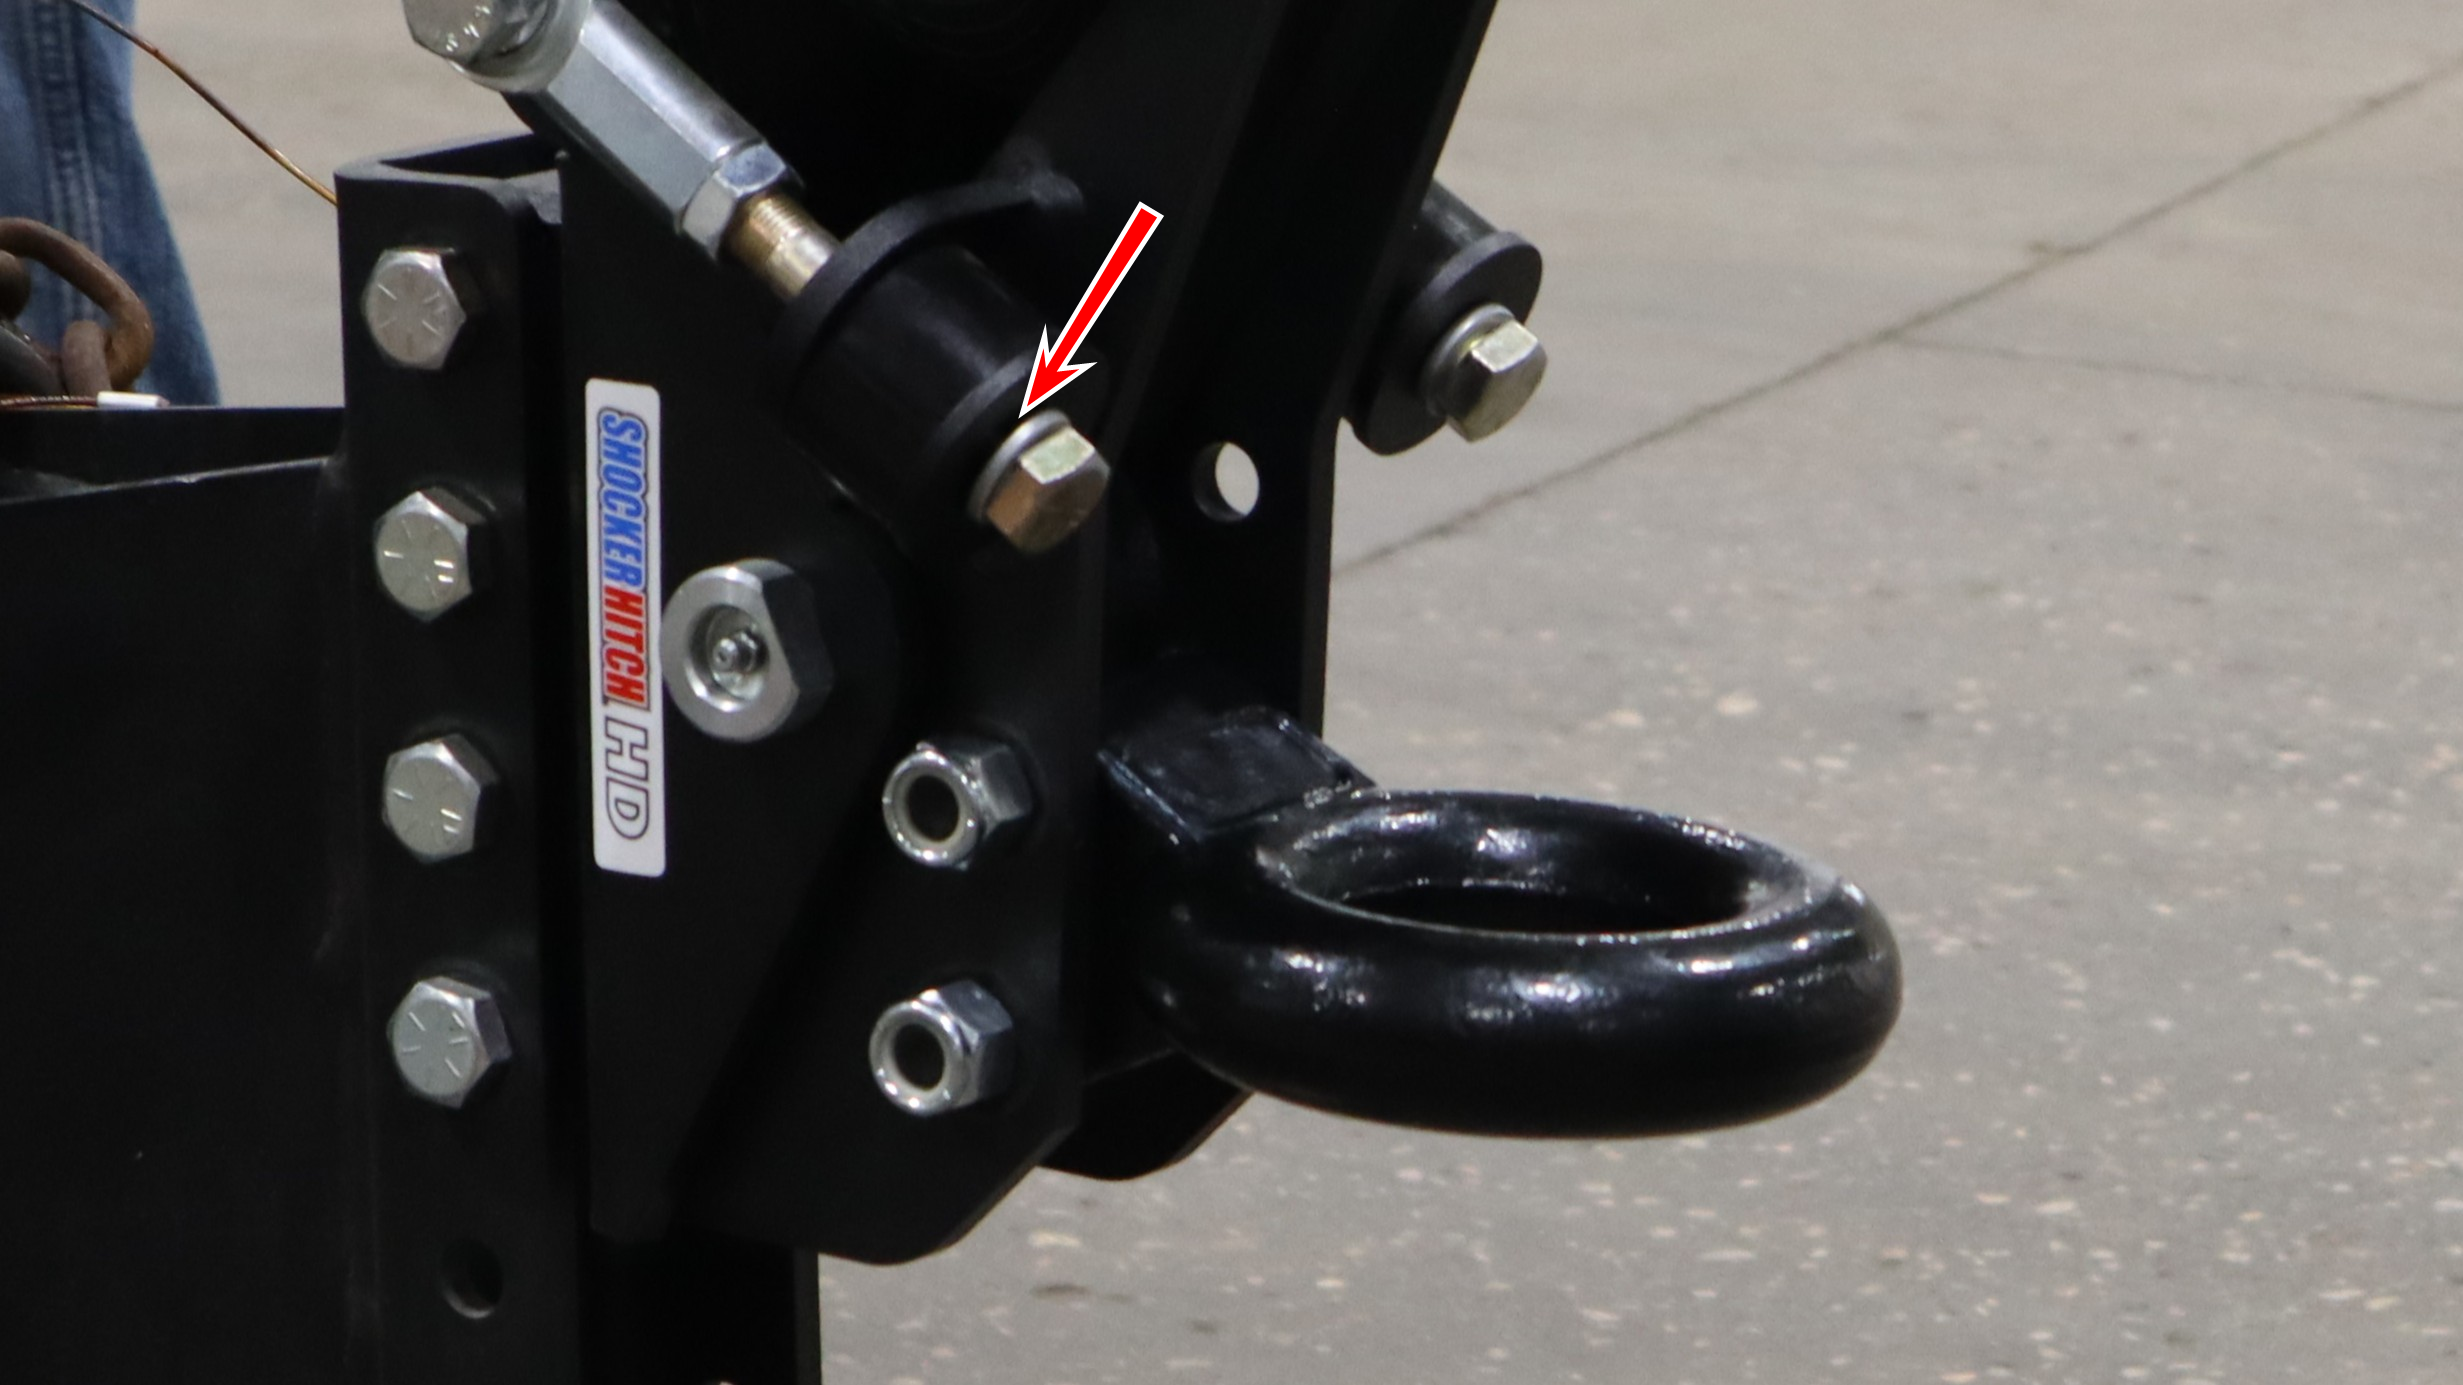
Add air to the air spring bag until the black bump stops contact the black-painted tabs on the hitch frame, or until the split lock washers are compressed flat.
Adjust for demanding conditions if needed. In strong headwinds or unusually demanding conditions, a small pressure increase may improve support and stability. Stay within the 100 PSI maximum.
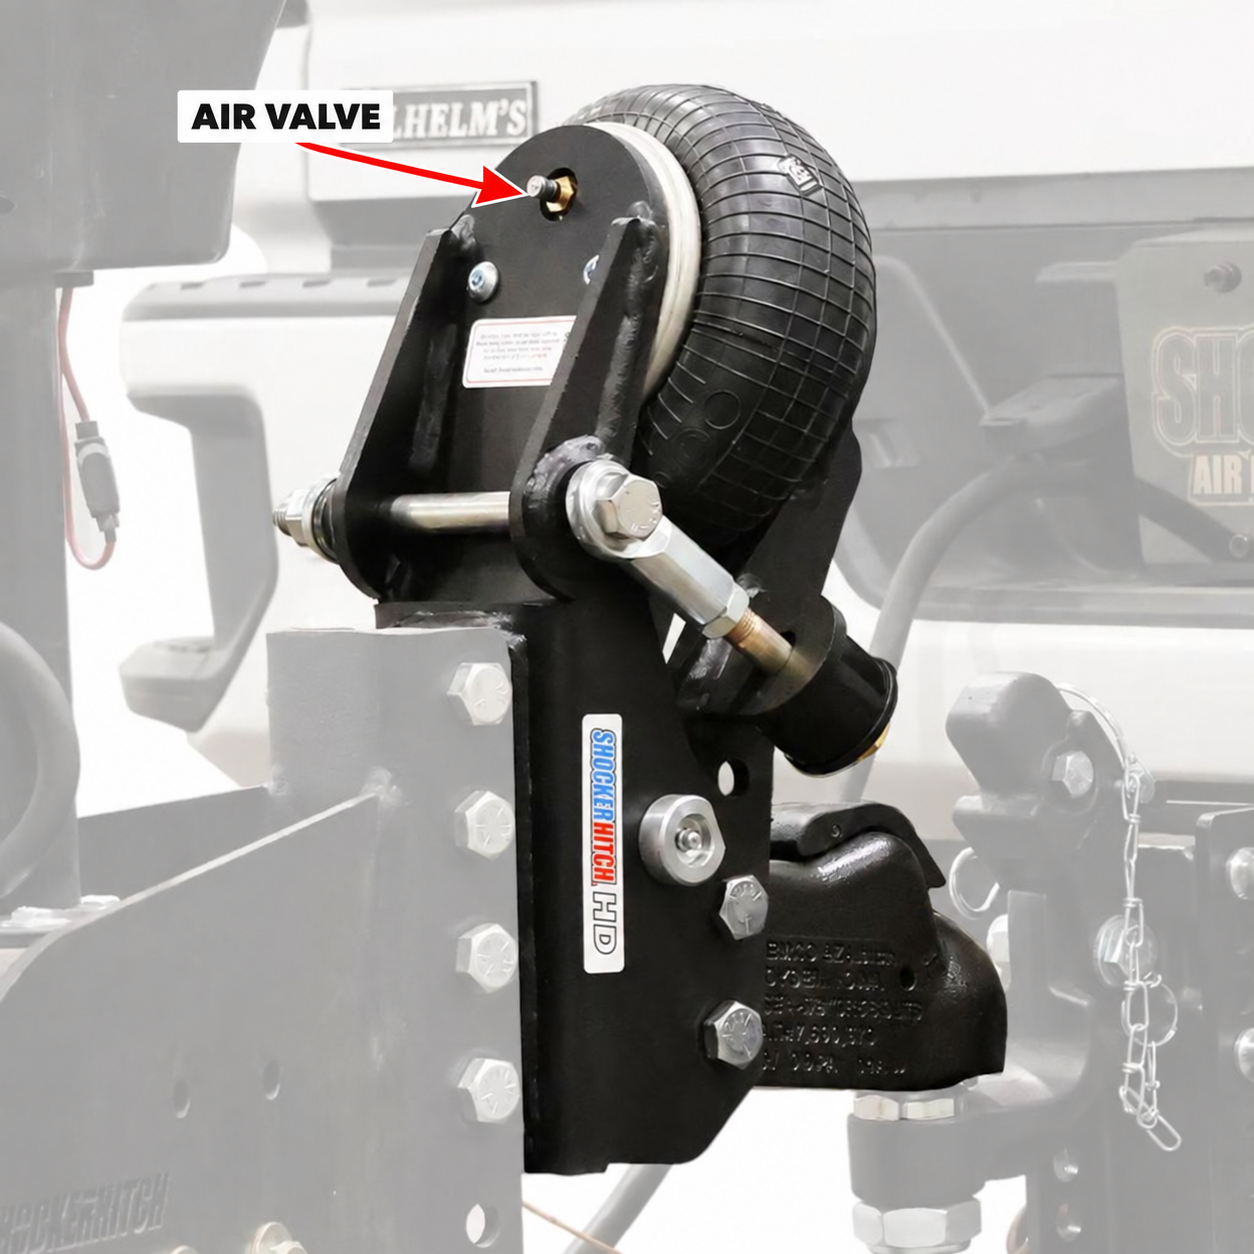
Where to add air: Connect your air hose to the inflation valve marked by the arrow.Washer reference: The arrow points to the top of the washer between the bolt head and bump cushion. With the loaded trailer coupled, add air until the split lock washers are compressed flat, as described above. Tap the photo to enlarge.
Do not use air pressure to compensate for an overloaded trailer, inadequate tongue weight, improper trailer loading, or an incorrectly rated towing connection.
Using the Air Tongue Mount with weight distribution
Load the trailer and secure the cargo as it will be towed.
Park the tow vehicle and trailer on level ground.
Couple the trailer to the tow vehicle.
Add air to the Air Tongue Mount’s air spring bag using the air-pressure steps above.
Connect the tension and weight-distribution spring bars.
Continue adding air until the desired ride and towing behavior are reached. Do not exceed 100 PSI.
Recheck the tow vehicle and trailer, weight-distribution adjustment, and Air Tongue Mount position.
Verify adequate clearance for the weight-distribution bars, brackets, safety chains, breakaway cable, and electrical wiring.
Never exceed the weight rating of any component.
Before every tow
Park the tow vehicle on level ground whenever practical.
Confirm that the Air Tongue Mount, coupler, ball or pintle connection, safety chains, trailer, tires, and tow vehicle are all properly rated for the intended load.
Ensure the coupler is fully engaged and locked on the correct hitch ball or approved pintle connection.
Before towing, slowly turn the tow vehicle fully in both directions. Check that the safety chains, breakaway cable, electrical wiring, coupler or pintle ring, and Air Tongue Mount have adequate clearance without binding, stretching, or contacting the trailer.
Raise and secure the jack properly and completely.
Inspect the Air Tongue Mount, coupler, mounting bolts, air spring bag, and trailer tongue for damage, missing hardware, looseness, cracks, or excessive corrosion.
Verify mounting and attachment fasteners against the applicable instructions: 100 ft-lbs for the listed Shocker mount and attachment kits; follow the attachment manufacturer’s torque for other styles.
Maintenance & replacement parts
Lubrication
Coupler and hitch ball: lubricate before each hookup to reduce friction, wear, and noise. After use, clean dirt, rust, and old contaminated grease from the hitch ball.
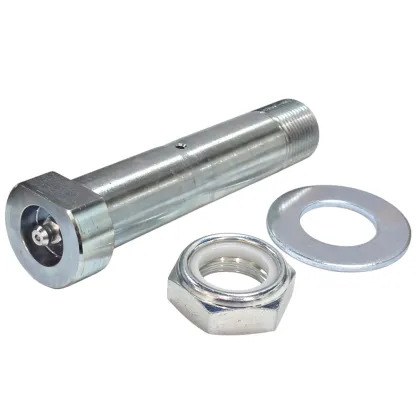
Main pivot bolt: apply grease through the grease zerk on the main pivot bolt to reduce pivot wear and maintain smooth movement.
Lubricate all applicable grease points every 2–3 months, or more often in heavy-use, off-road, wet, or dusty conditions.
Air spring inspection
Inspect the rubber bellows for rubbing, cuts, cracking, abrasion, leaks, debris, or loose fittings.
Check air pressure with the trailer loaded as it will be towed. Do not exceed 100 PSI in the air spring bag.
Replacement parts listed in the 2026 guide
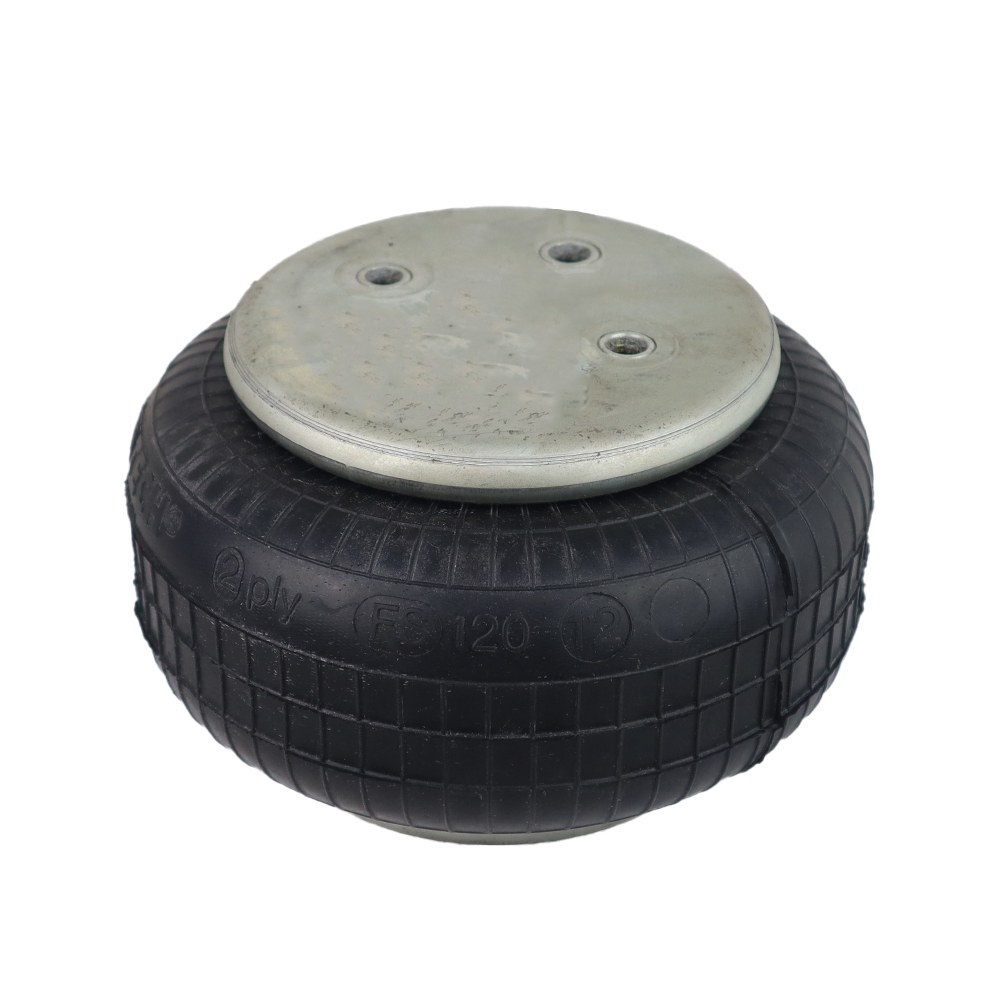
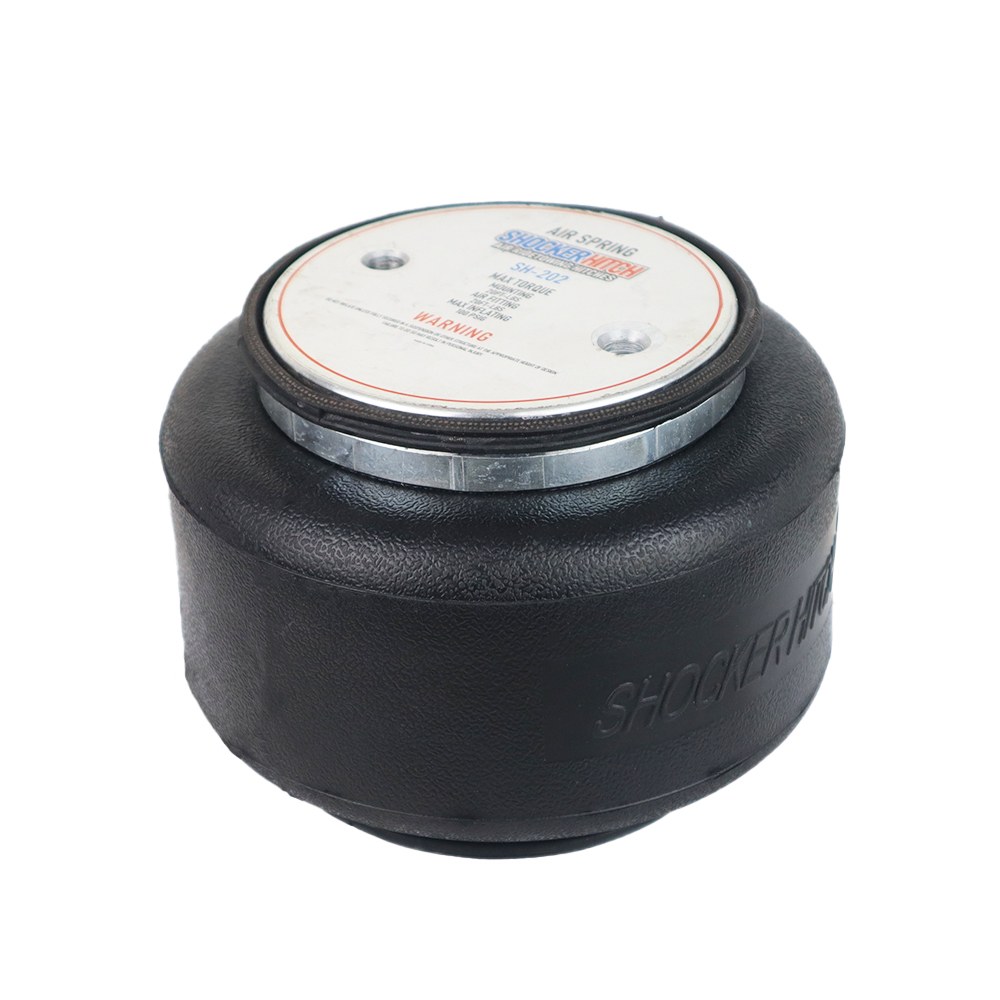
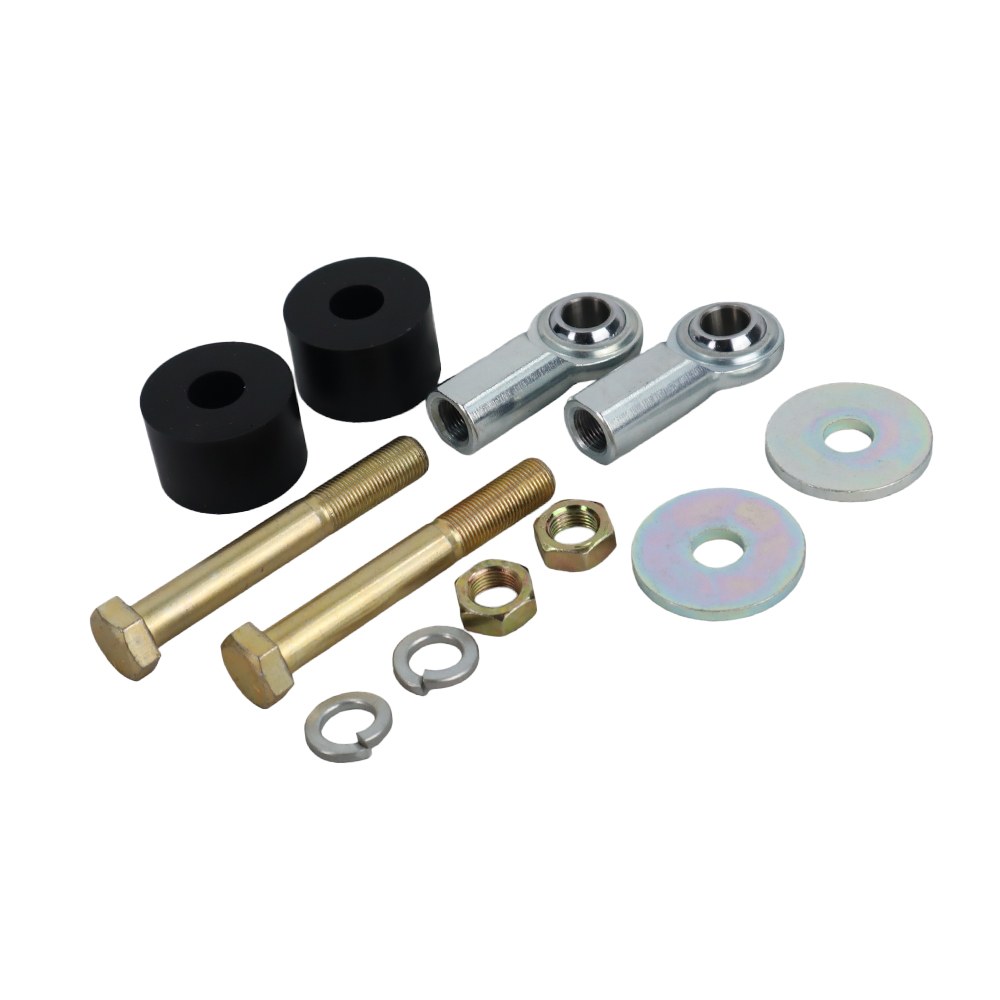
SH-204 replacement air spring bag for the 25K HD Tongue Mount, as listed in the 2026 guide.SH-202-X replacement air spring bag for the 14K Tongue Mount, as listed in the 2026 guide.SH-490 replacement pivot bolt kit for the Shocker Air Tongue Mount.SH-1170 replacement bump cushion kit for the Shocker Air Tongue Mount.
Never exceed the lowest-rated component in the complete towing system. The mount and attachment combination determines the hitch’s maximum capacity. Do not exceed the rated capacity of the hitch, tow vehicle, trailer, ball or pintle connection, or any other towing component.
HD Air Tongue Mount
SH-HD4000 / SH-HD4500
Up to 25,000 lbs gross trailer weight (GTW) Up to 2,500 lbs tongue weight (TW)
Air Tongue Mount
SH-4000 / SH-4500
Up to 14,000 lbs gross trailer weight (GTW) Up to 1,400 lbs tongue weight (TW)
Attachment ratings
Coupler and pintle-ring capacities from the 2026 installation guide
Attachment / part number
Connection
GTW rating
Wallace Forge Heavy Duty SH-W25625-B
2-5/16-inch ball
25,000 lbs
Wallace Forge Medium Duty SH-W25620-B
2-5/16-inch ball
20,000 lbs
Demco Heavy Duty SH-D15791-81-B
2-5/16-inch ball
21,000 lbs
Shocker Pintle Ring SH-P20000-B
3-inch pintle ring
20,000 lbs
Demco Heavy Duty Cast SH-D14040-81-B
2-5/16-inch ball
21,000 lbs
Wallace Forge Medium Duty SH-W20012-B
2-inch ball
12,000 lbs
Example: fitting a 20,000-lb coupler to a 25,000-lb HD mount does not create a 25,000-lb hitch. Follow the lower applicable rating.
Have your mount model, coupler type and trailer details ready. Photos of the air valve and bump cushions or washers help our team with air-pressure questions.
Instructions based on the Shocker Air Trailer Tongue Mount Installation Instructions, September 3, 2026, Revision A, with model-specific attachment clarification dated September 22, 2026.










Customer Reviews
There are no reviews yet.