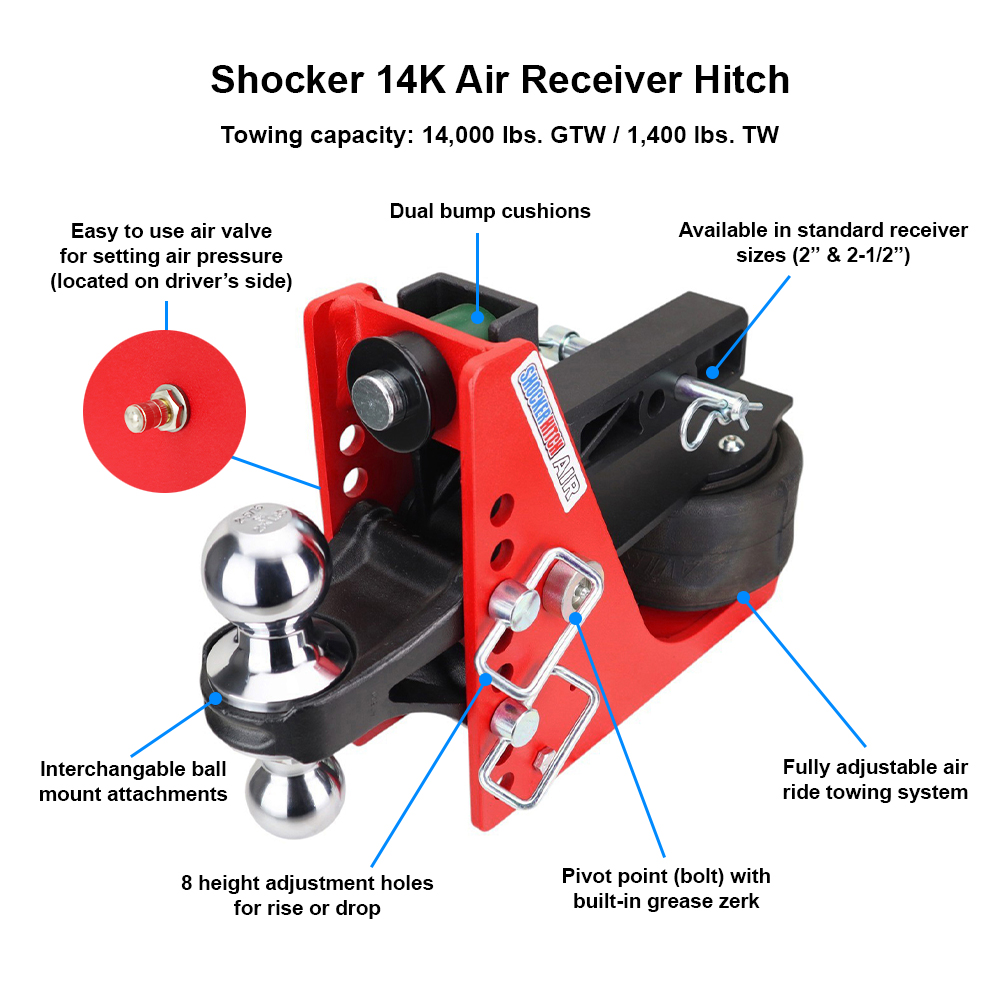
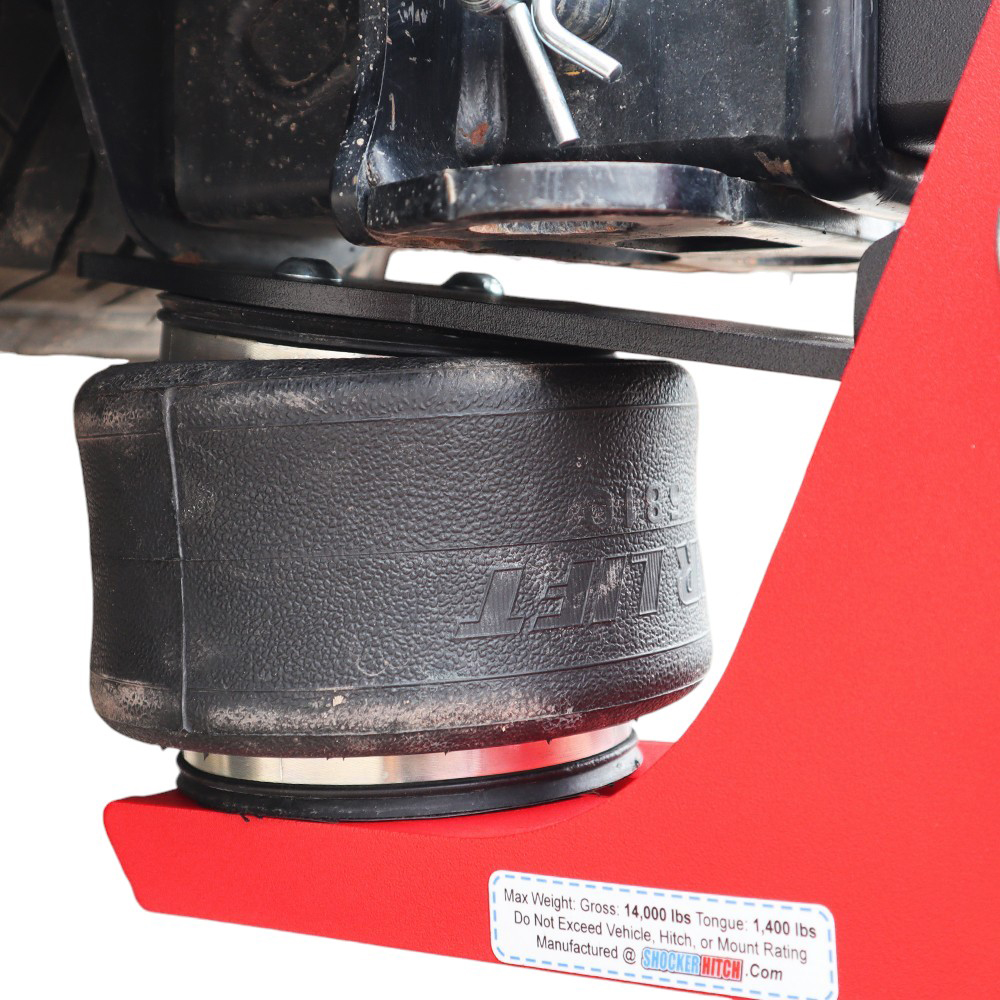
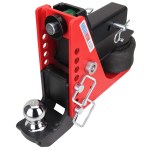
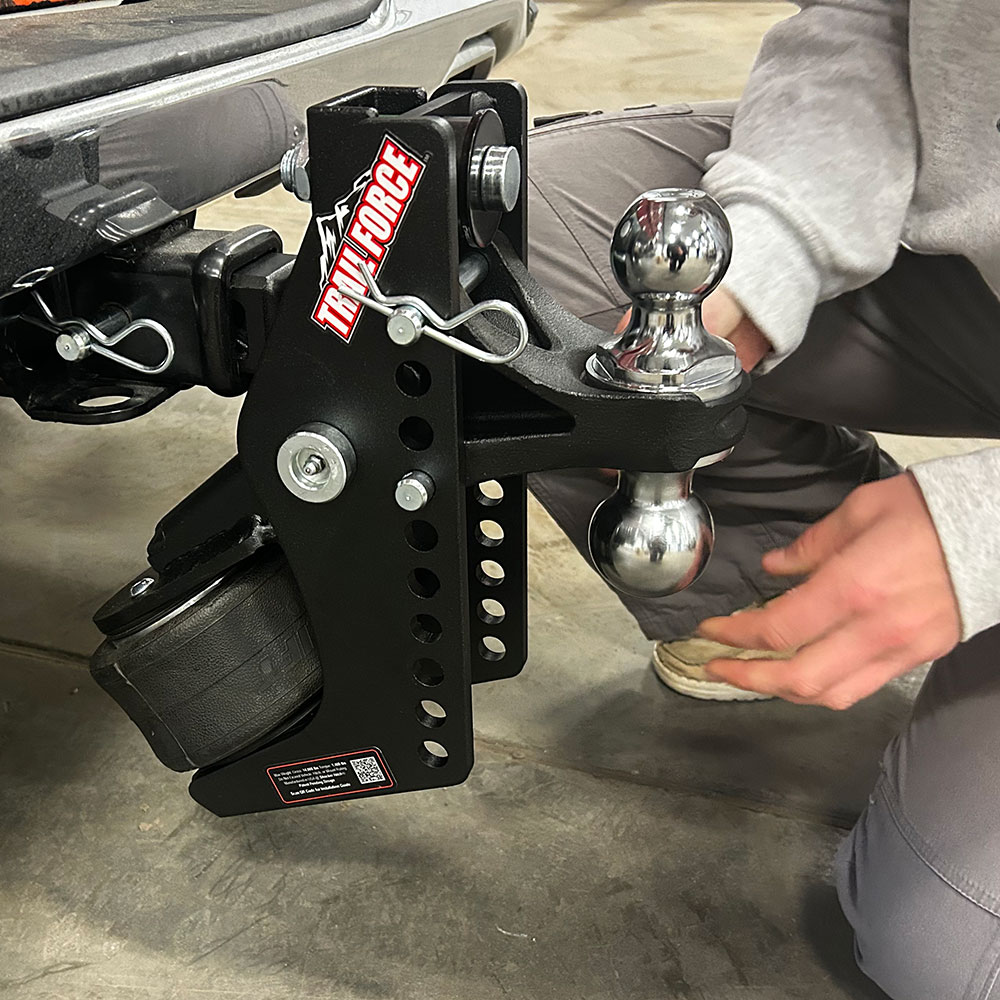
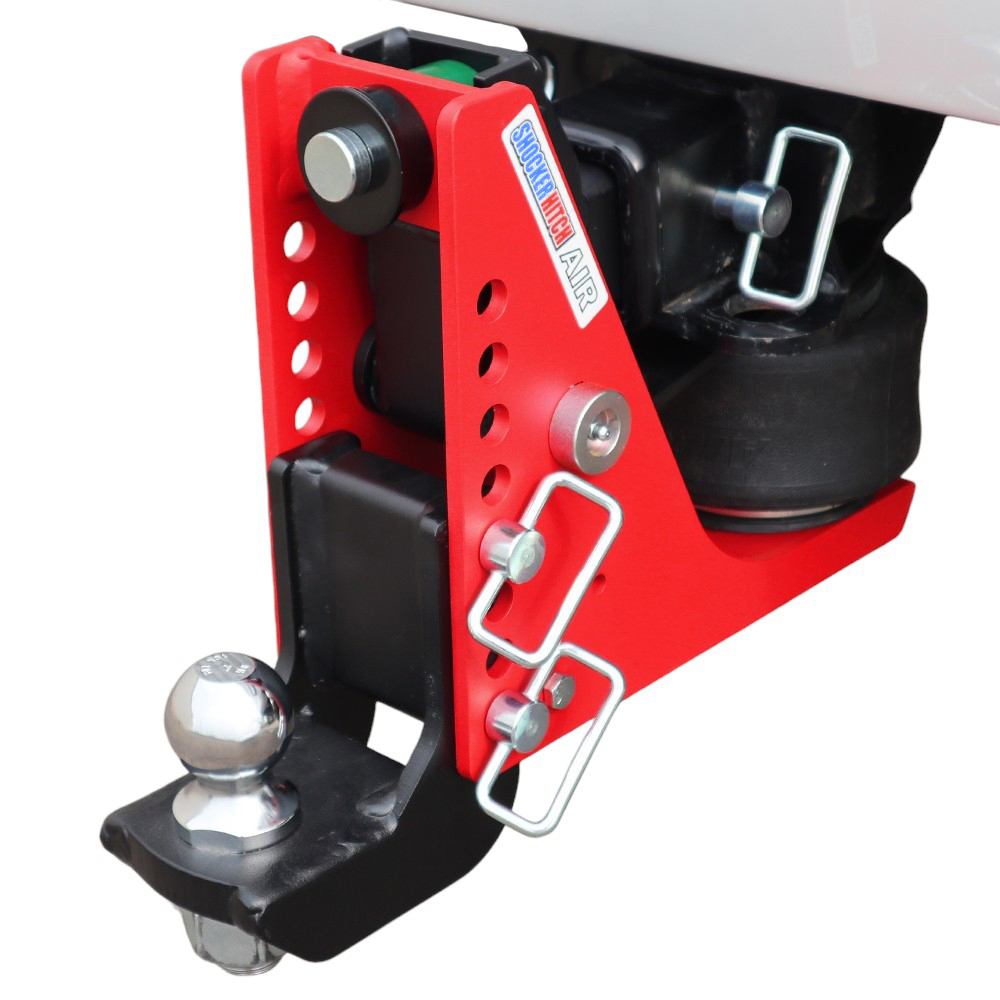
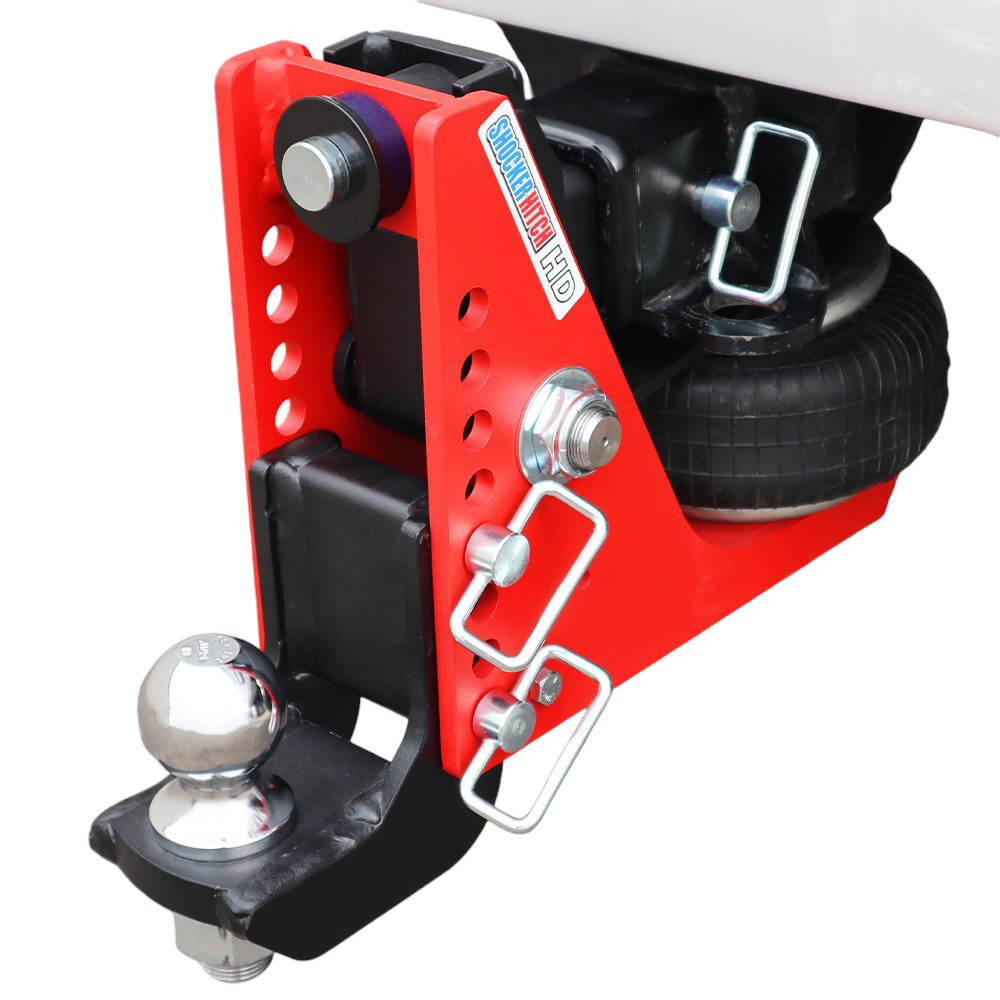
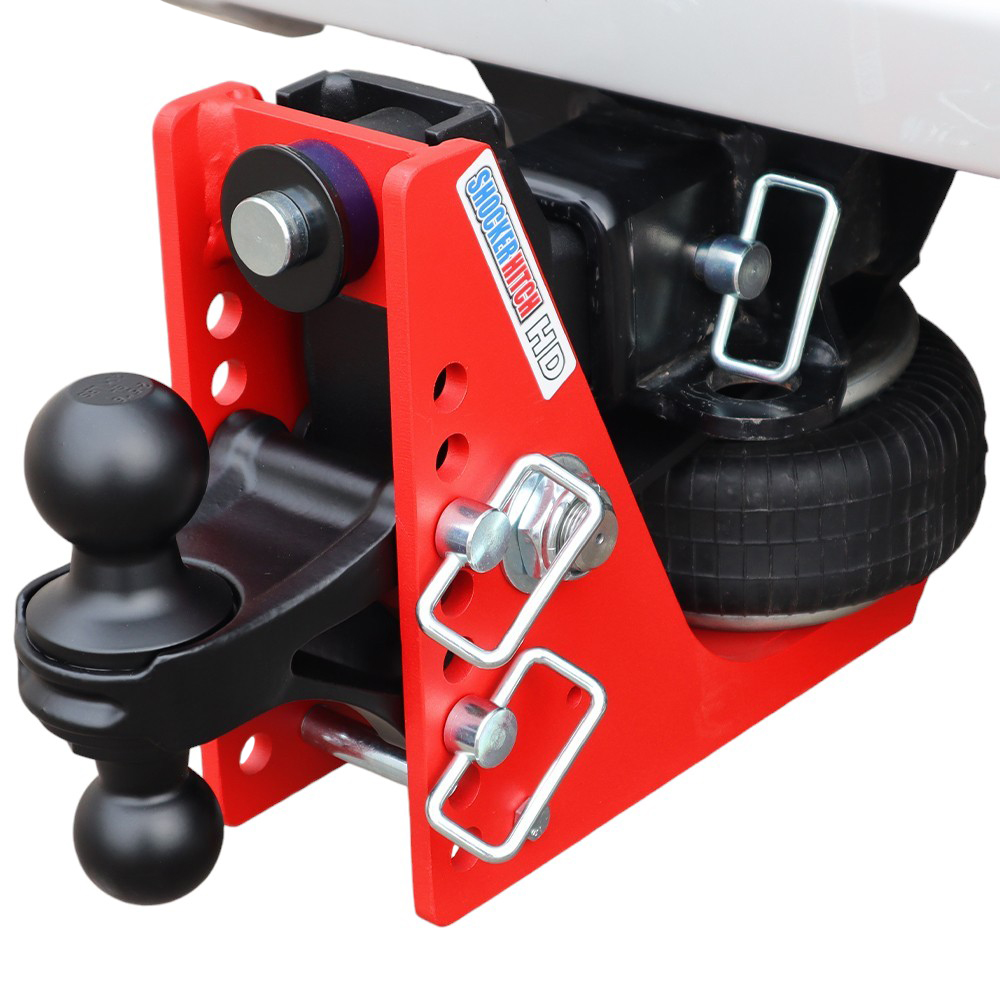
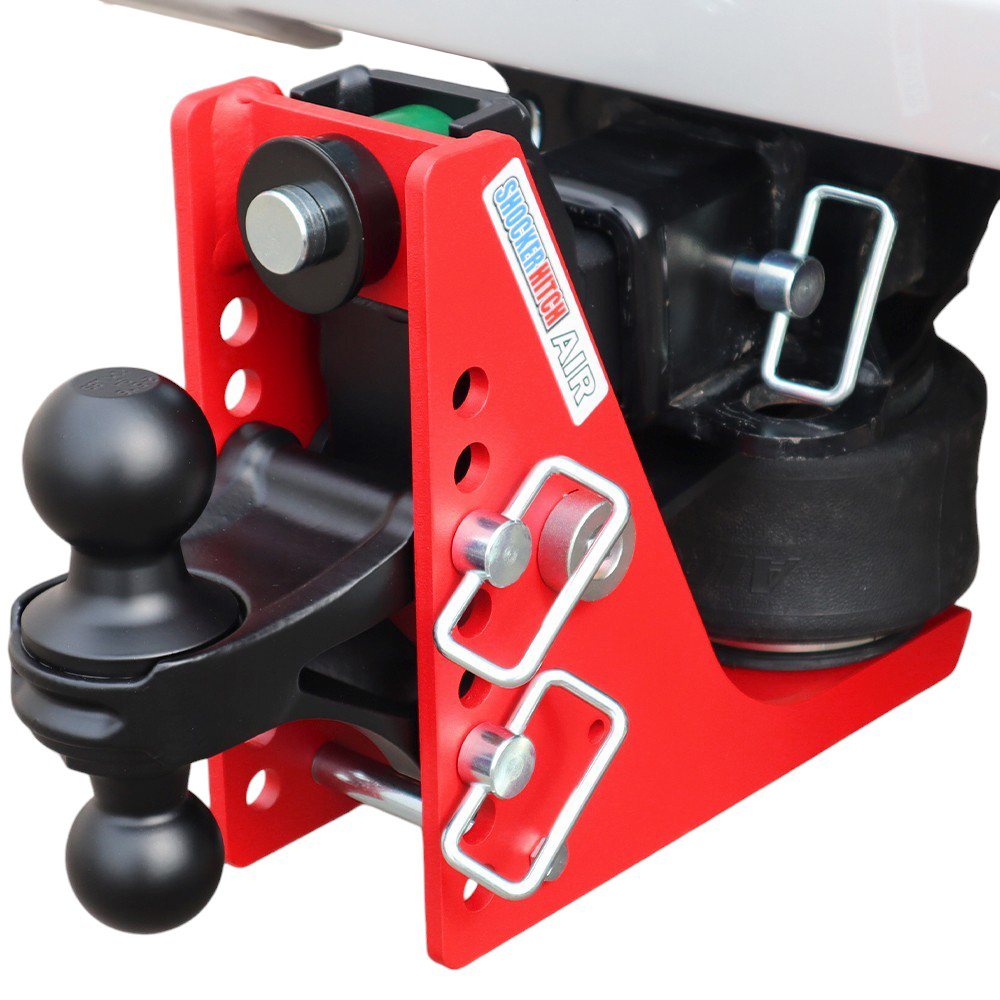
Smoother Safer Towing:Air ride towing technology with a heavy duty built in air spring to cushion the ride & absorb the road shock. Add instant air ride to your pickup & trailer.
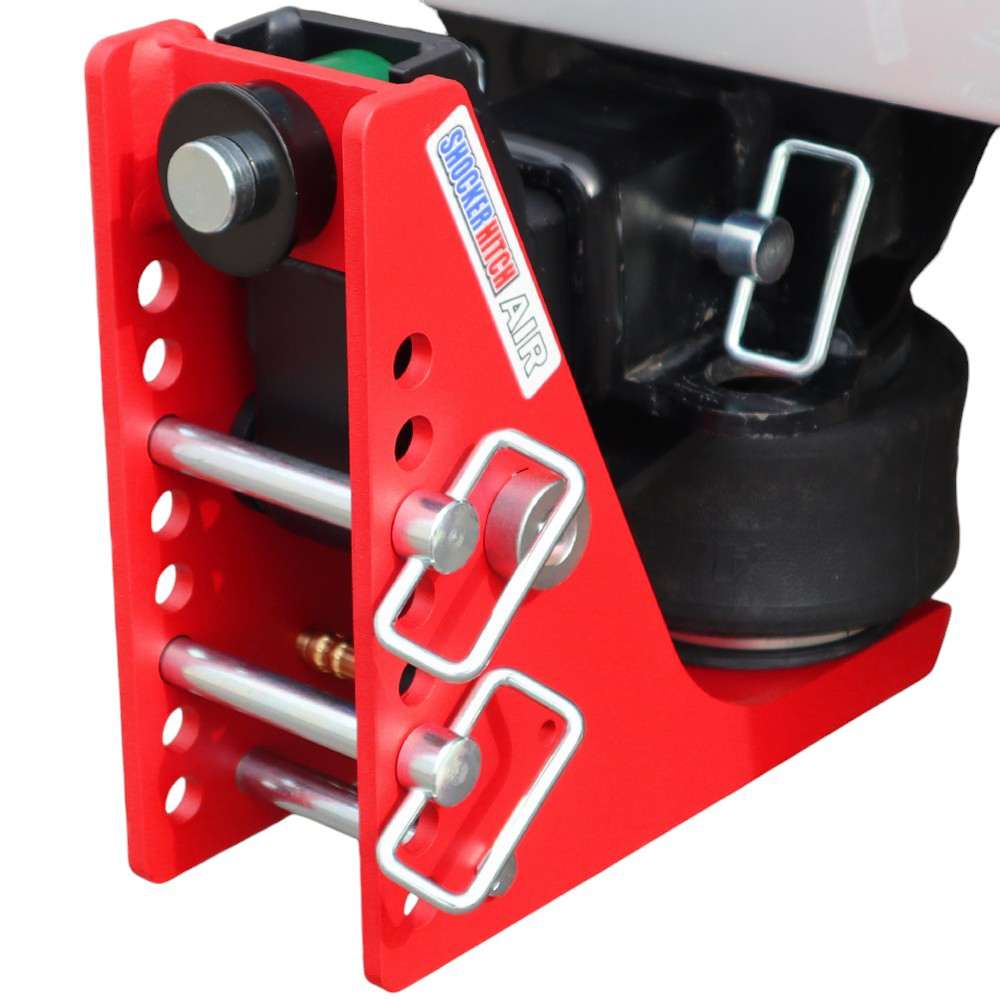
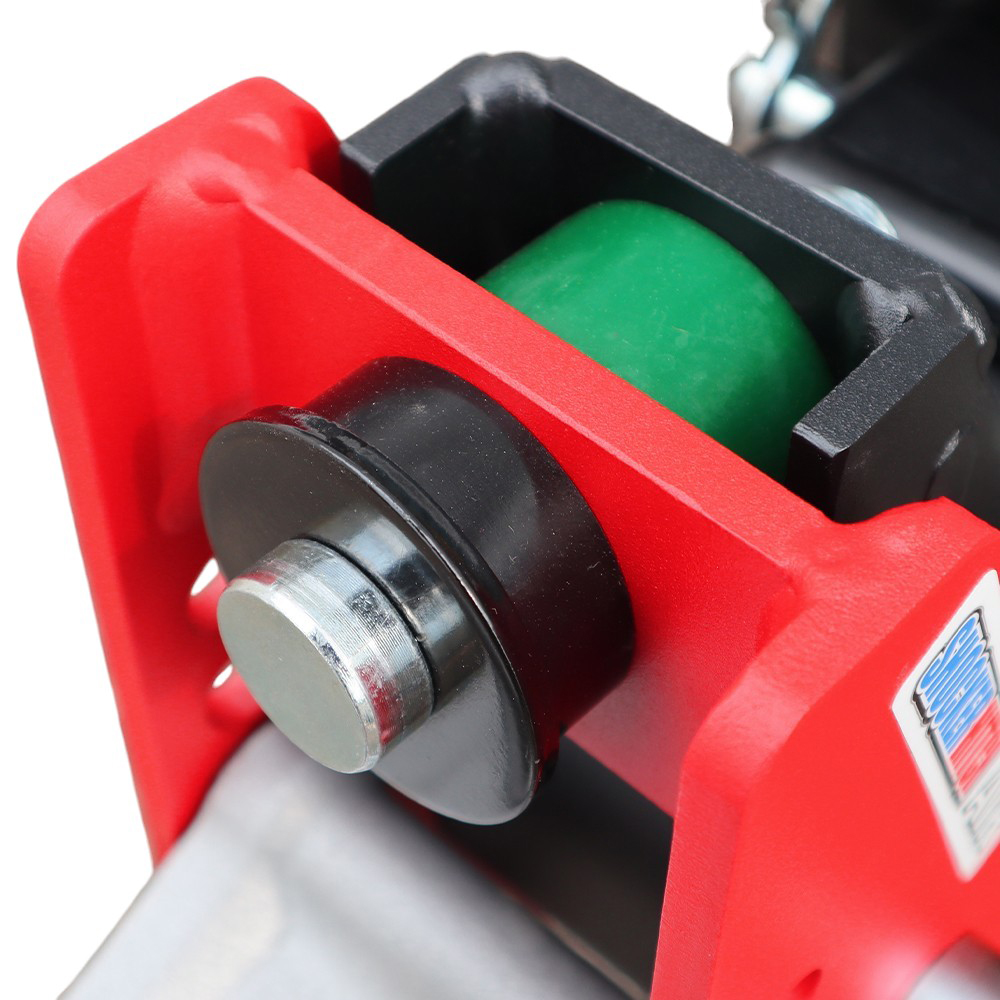
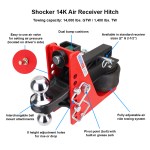
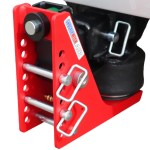
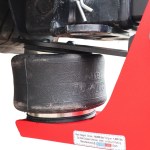
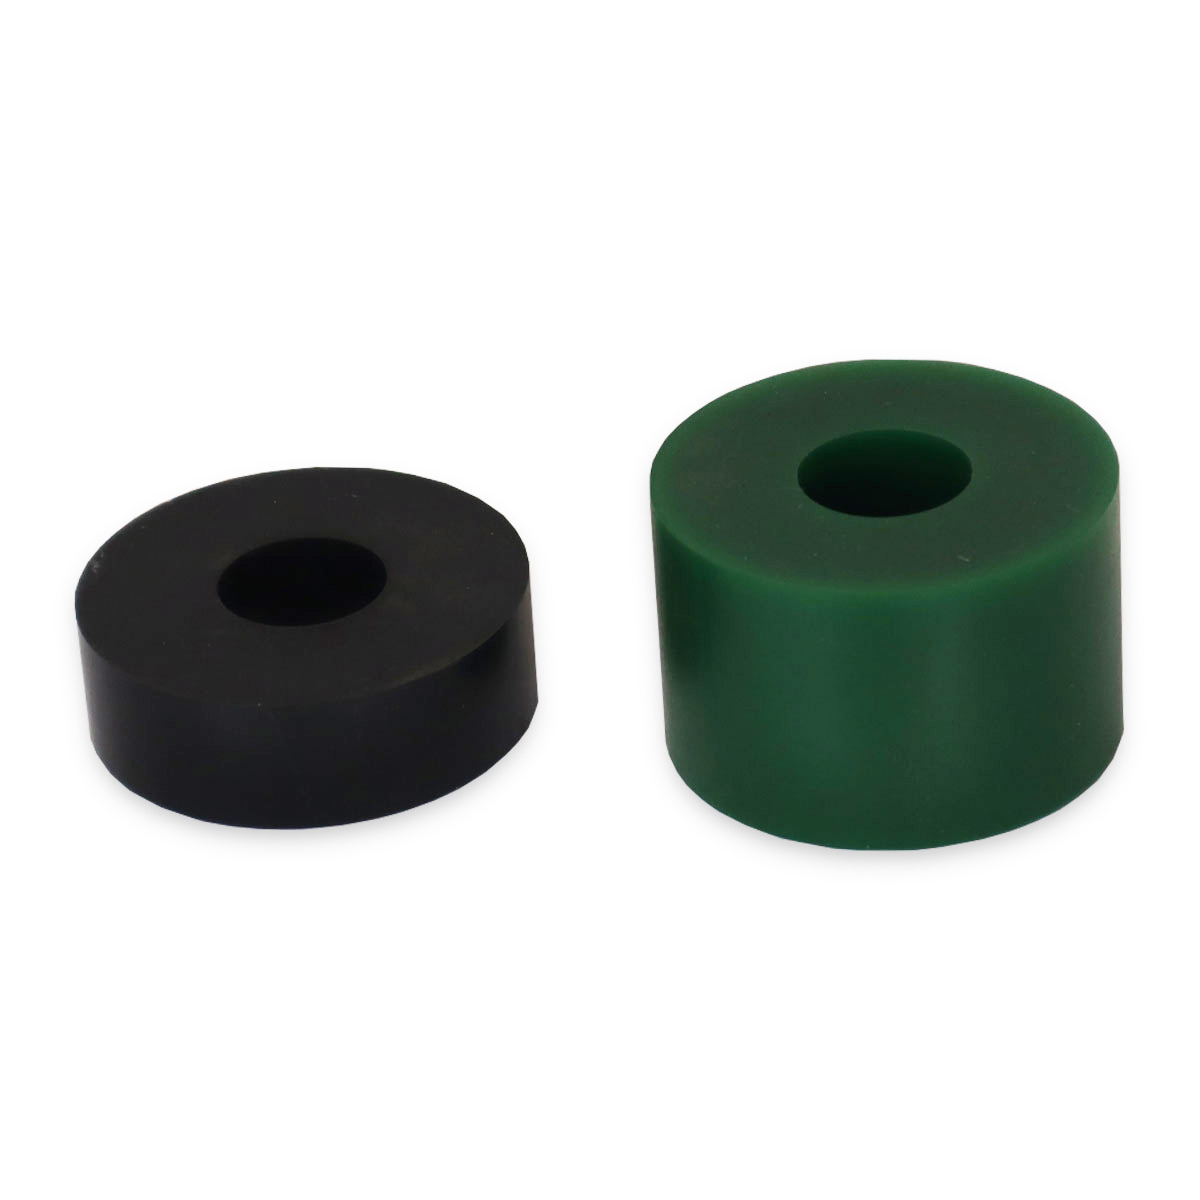
Built in Air Ride System: Absorbs road shock, bumps, bangs, jerks, tugs and sways. Creates smooth ride & reduces tendency to trailer sway. Dual urethane bump cushions also offer additional HD performance.
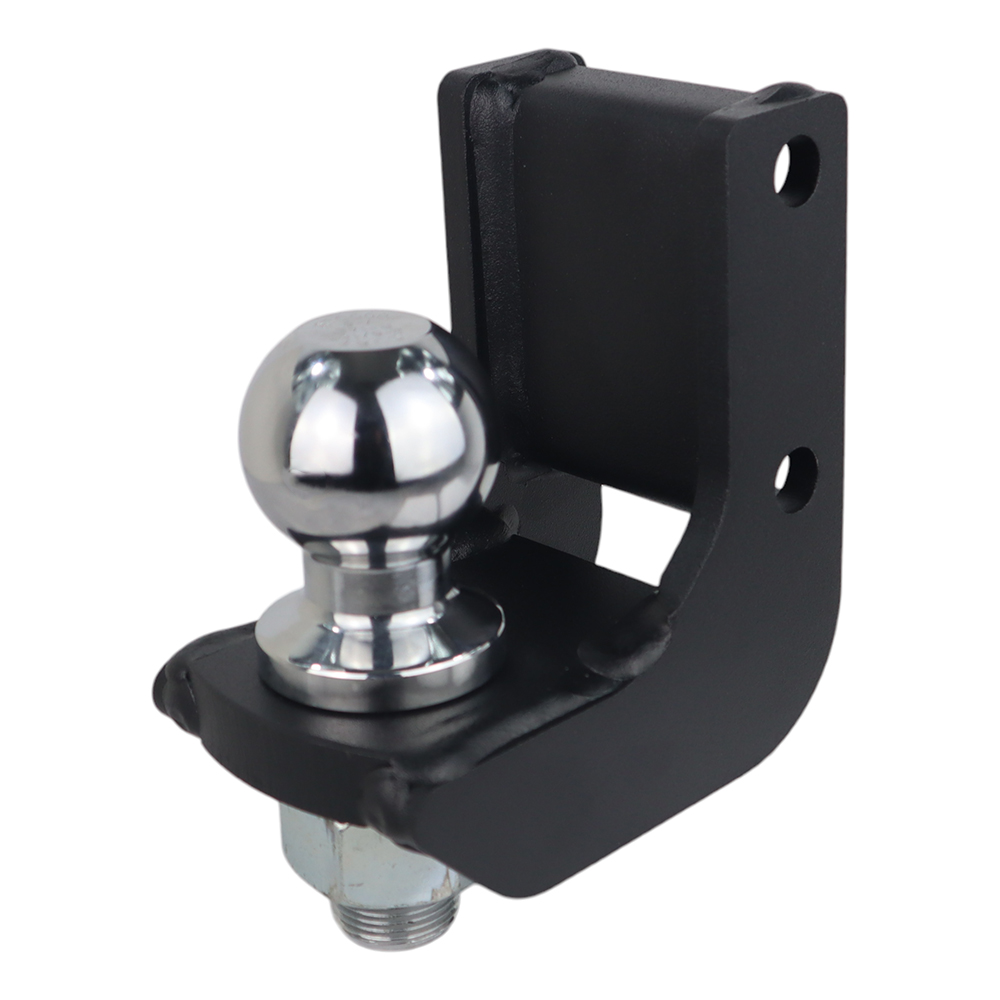
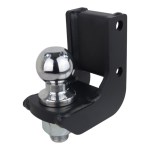
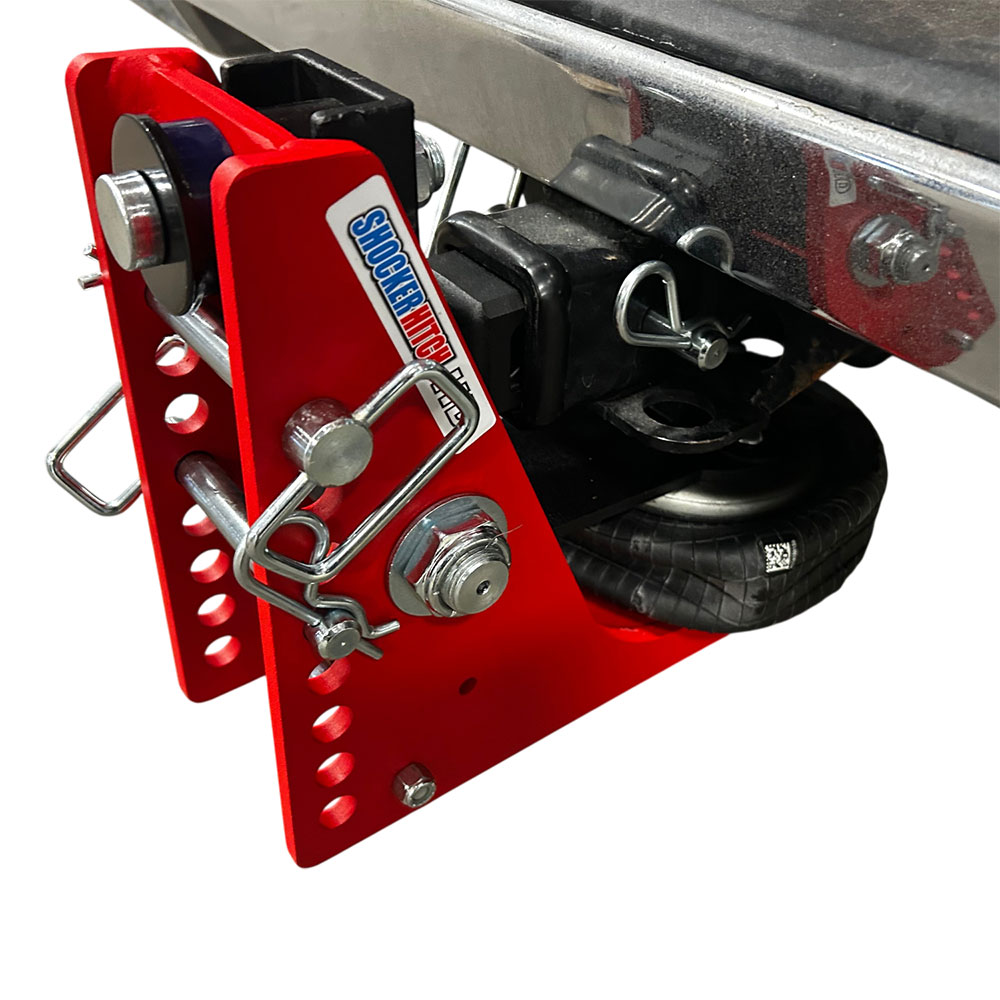
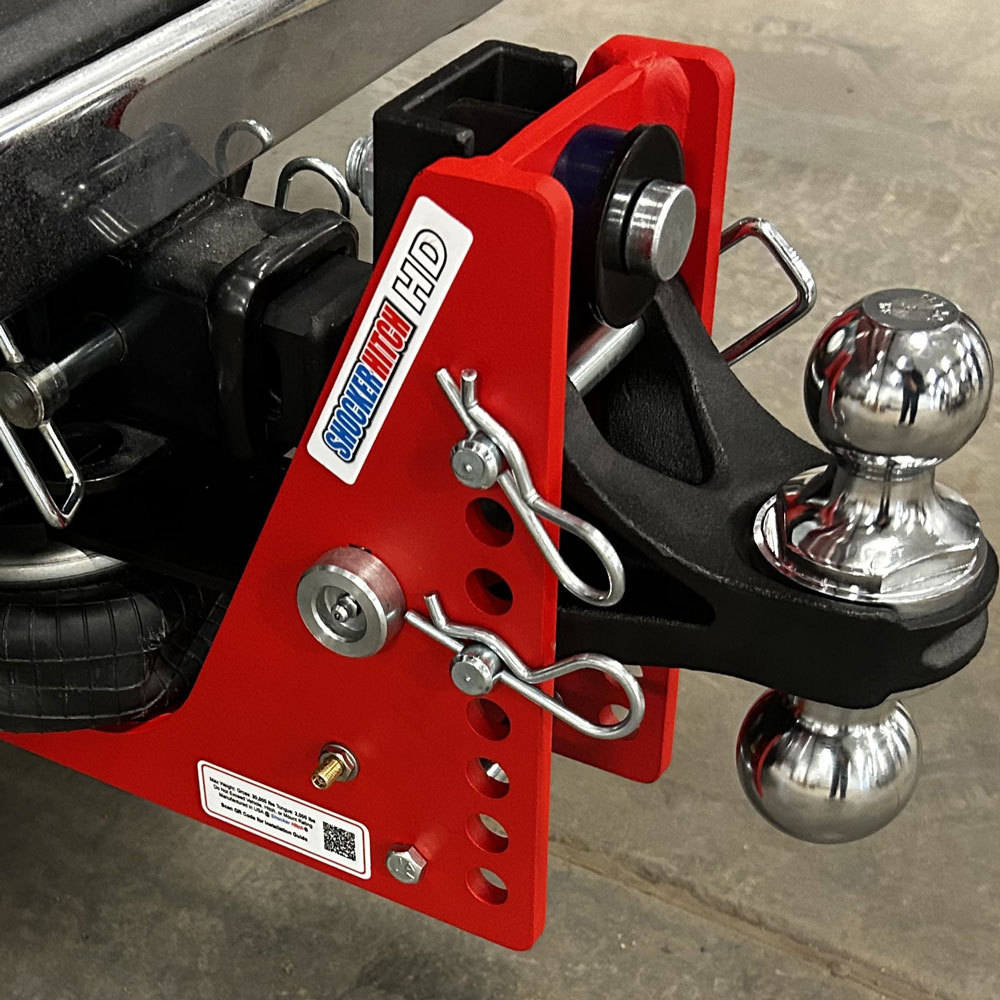
8 Adjustment Holes: For ( 4-1/2″ to 8-1/2″ of drop). Choose 2″ or 2-5/16″ ball.
Adjustable for Weight: Fine tune for your towing weight. Just add air for heavier loads.
14,000 GTW Capacity: 14,000 lbs towing capacity & 1,400 lbs tongue weight. Need for capacity? Check out our HD series air hitches.
Safety Red Powder Coat Finish: Impact Resistant Premium Powder-Coat Finish on Base Frame.
2 Hole Receiver Shank: Available for 2″ & 2 1/2″ receiver hitch tubes with two hitch pin holes for length adjustability
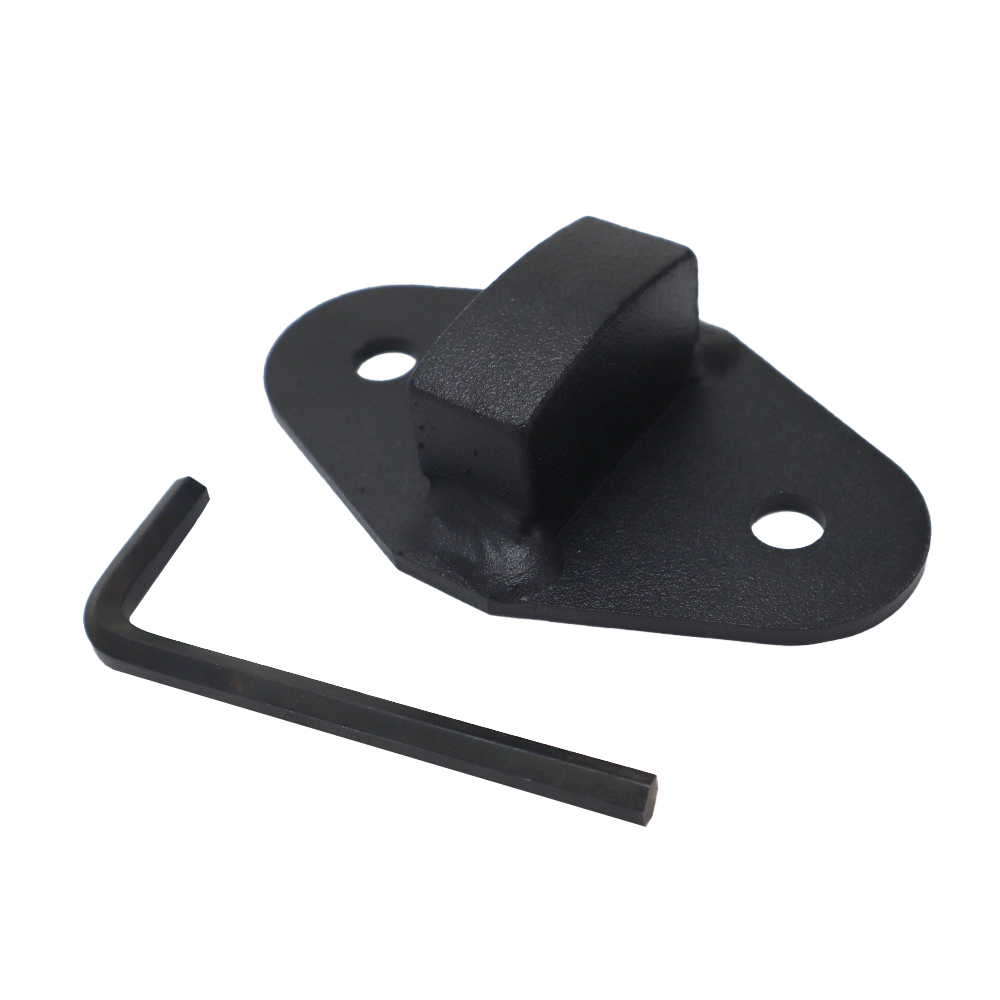
10+ Ball Options (Sold Separately): Huge selection of ball mount adapters available from Pintle hooks, draw bars, clevis, drop ball mounts, raise ball mounts, sway bar tab options, and more.
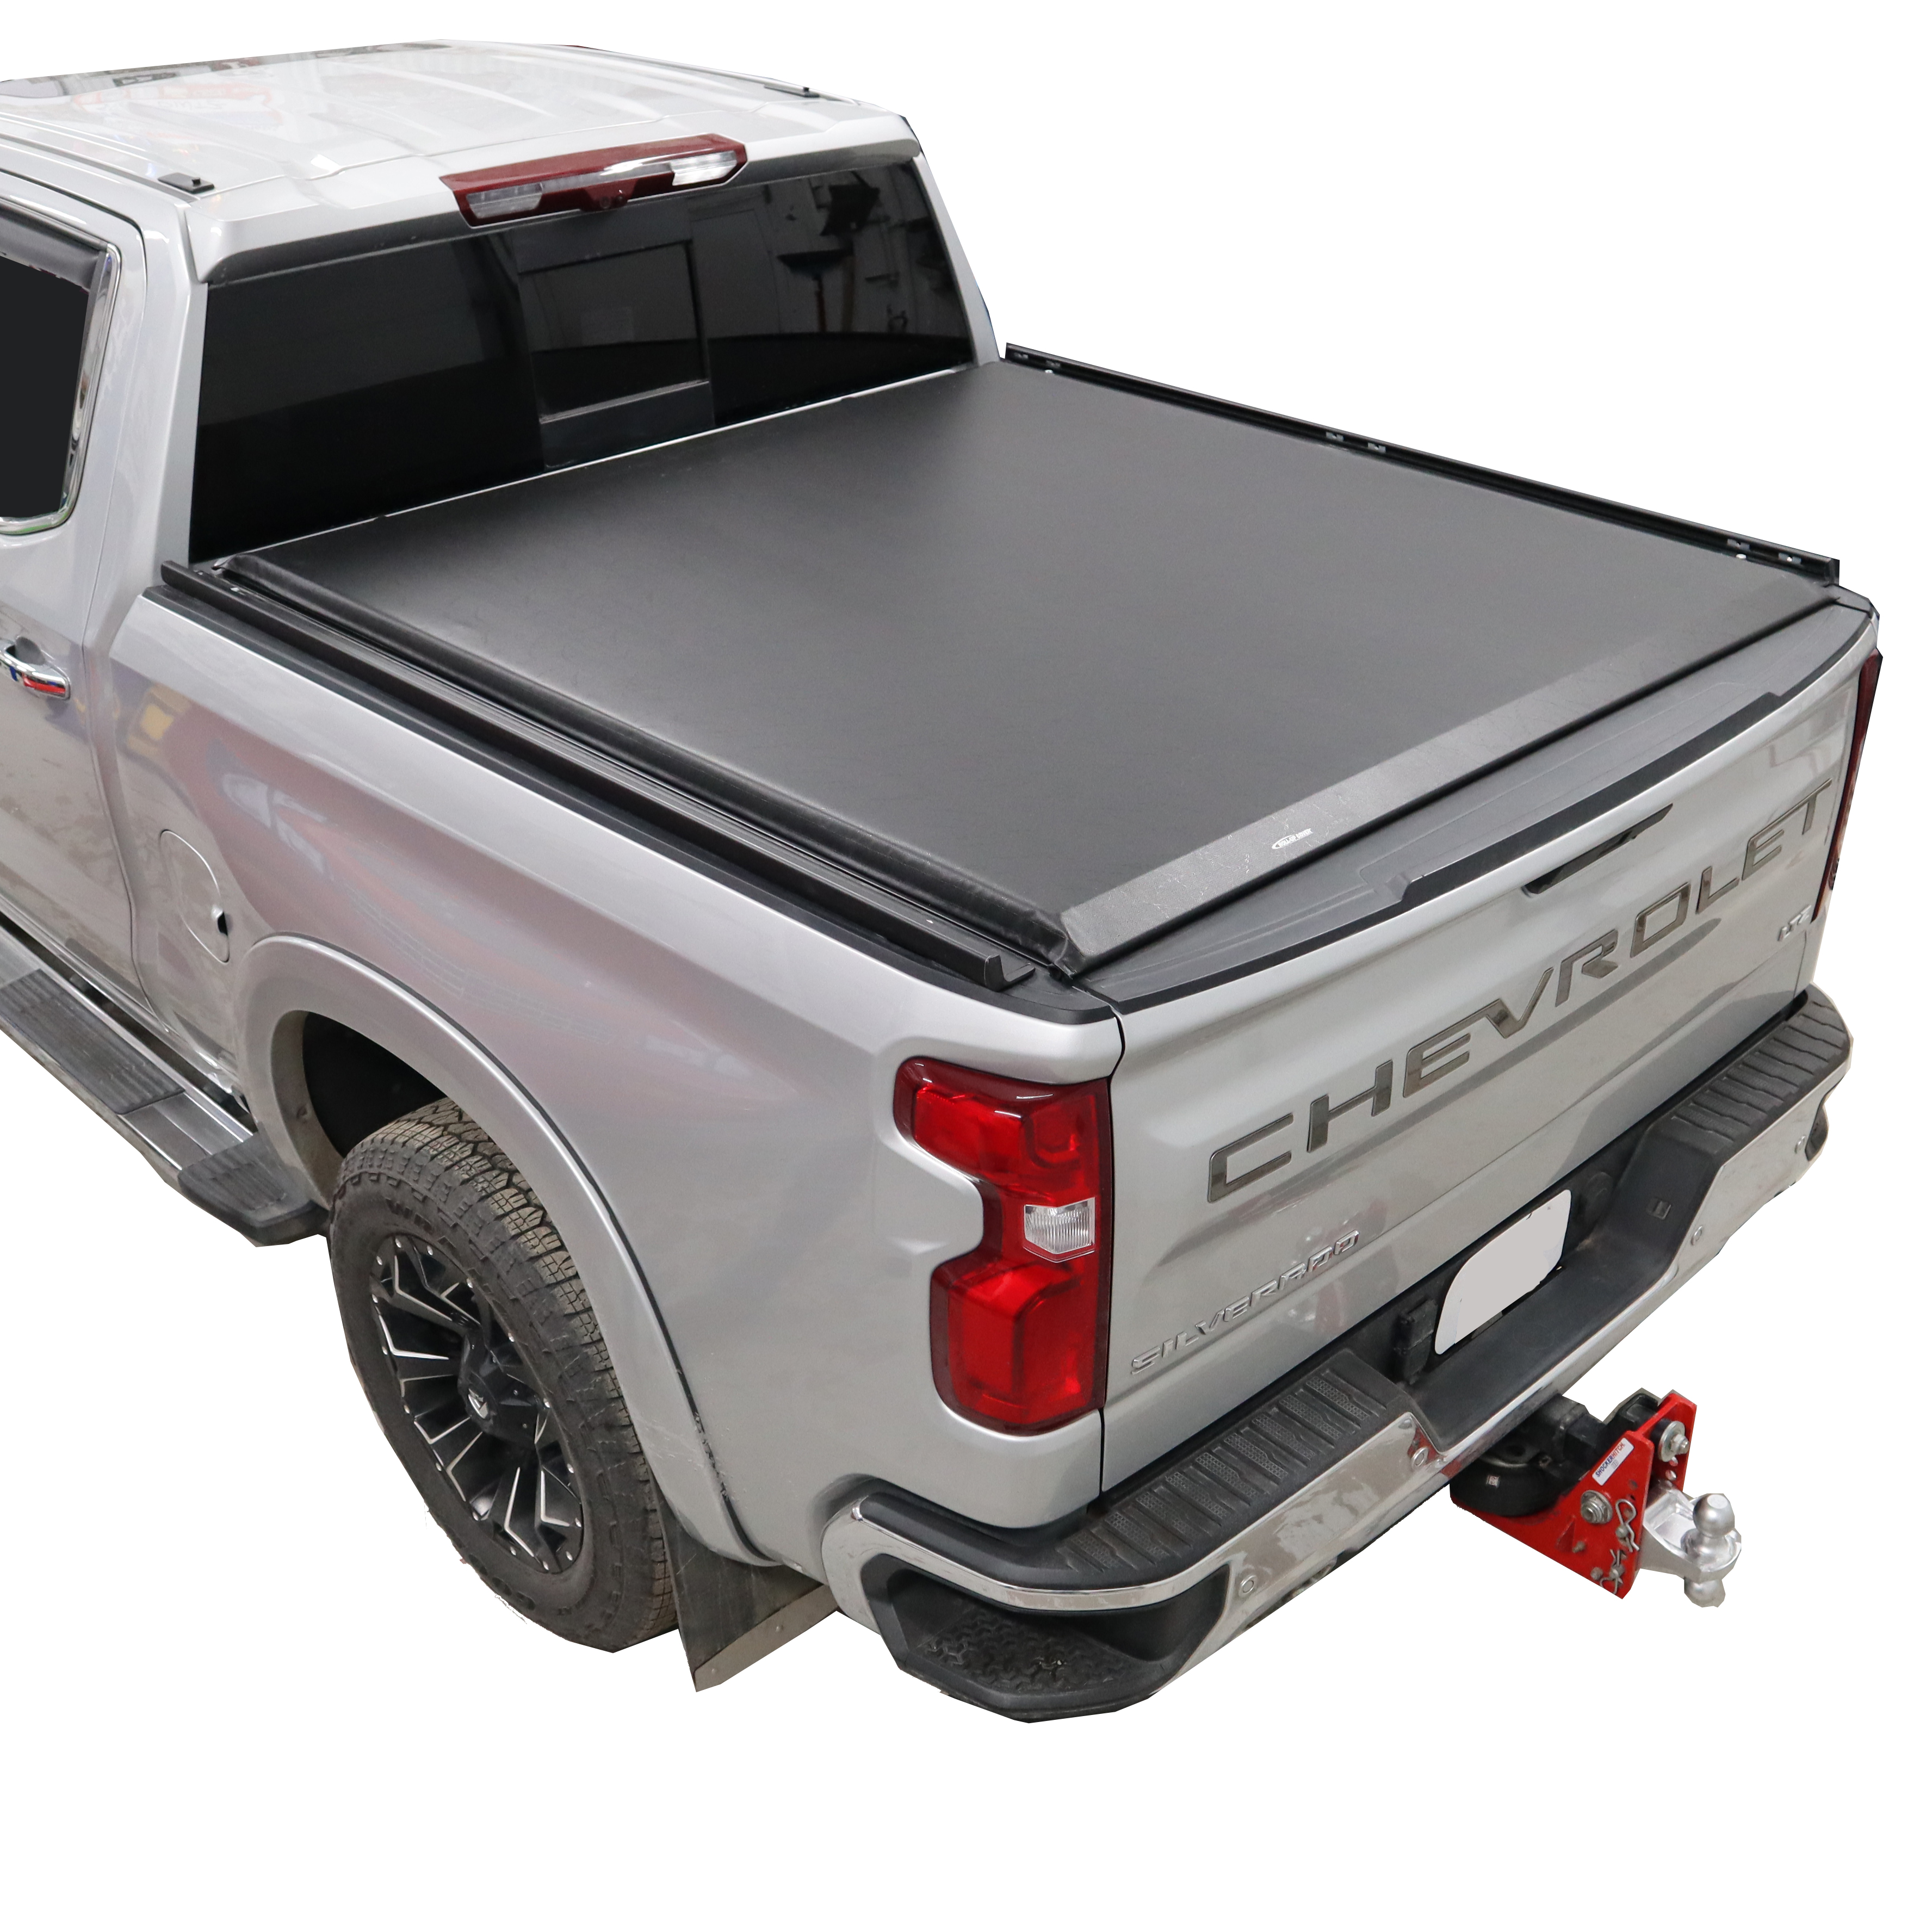
Great for Pickups: Fits Great for Full Size Pickup Trucks & Vans, Midsize Pickups & Select SUVS (with receiver under bumper). Popular installs include GMC Sierra, Chevy Silverado, Chevy Colorado, GMC Canyon, Dodge Ram, Ford Ranger, Maverick F150, F250, F350, F450, F550 Superduty, Toyota Tundra, Tacoma, Nissan Titan, Frontier, Honda Ridgeline & Hyundai Santa Cruz. Have a Jeep, minivan, SUV, or CUV?, check out our Cushion Ball Mounts.
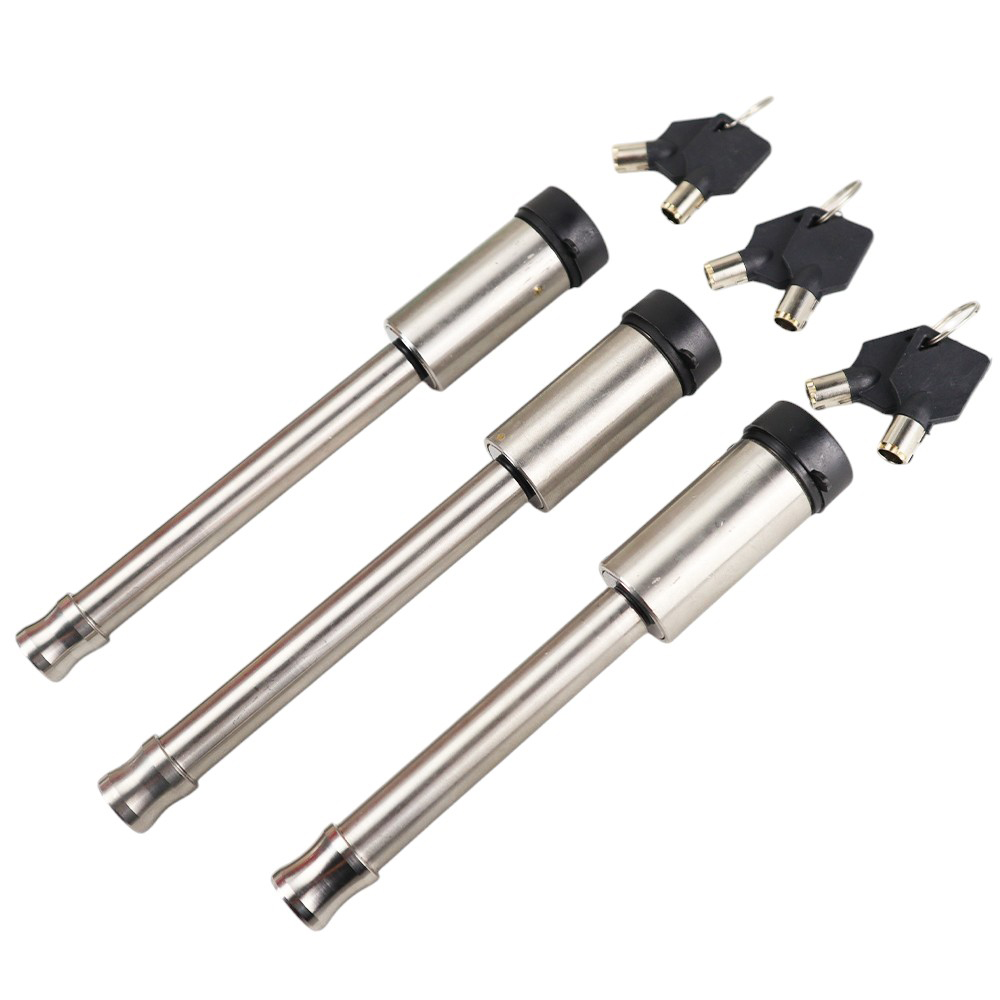
Kit includes complete Shocker air receiver hitch base frame assembly with built in air bag & dual bump cushions, drop ball mount with ball size selected and three d-handle ball mount hitch pins.
Safety Notice: Towing capacity is limited by lowest rated component. Manufactured by Shocker Hitch® USA in Jamestown, ND. 2″ Ball is 10,000 lbs GTW & 1,000 lbs TW / 2-5/16″ Ball is 20,000 lbs GTW & 2,000 lbs TW.
NOTE: This product will not work with a weight-distribution hitch system. If you have a W-D hitch, check out our Shocker Hitch Air Equalizer for WD Hitches.
Simple Pivot Design: Uses a rocker arm pivot design which produces a down and back motion, much different than other air hitches on the market. Our design eliminates the need for slides, parallel linkages, rollers, shock absorbers, or multiple air bags common to other air hitches.
Reduces Breakage & Save Fuel: The air ride design is easier on your equipment, and customers report fuel saving of 1 or more miles per gallon.
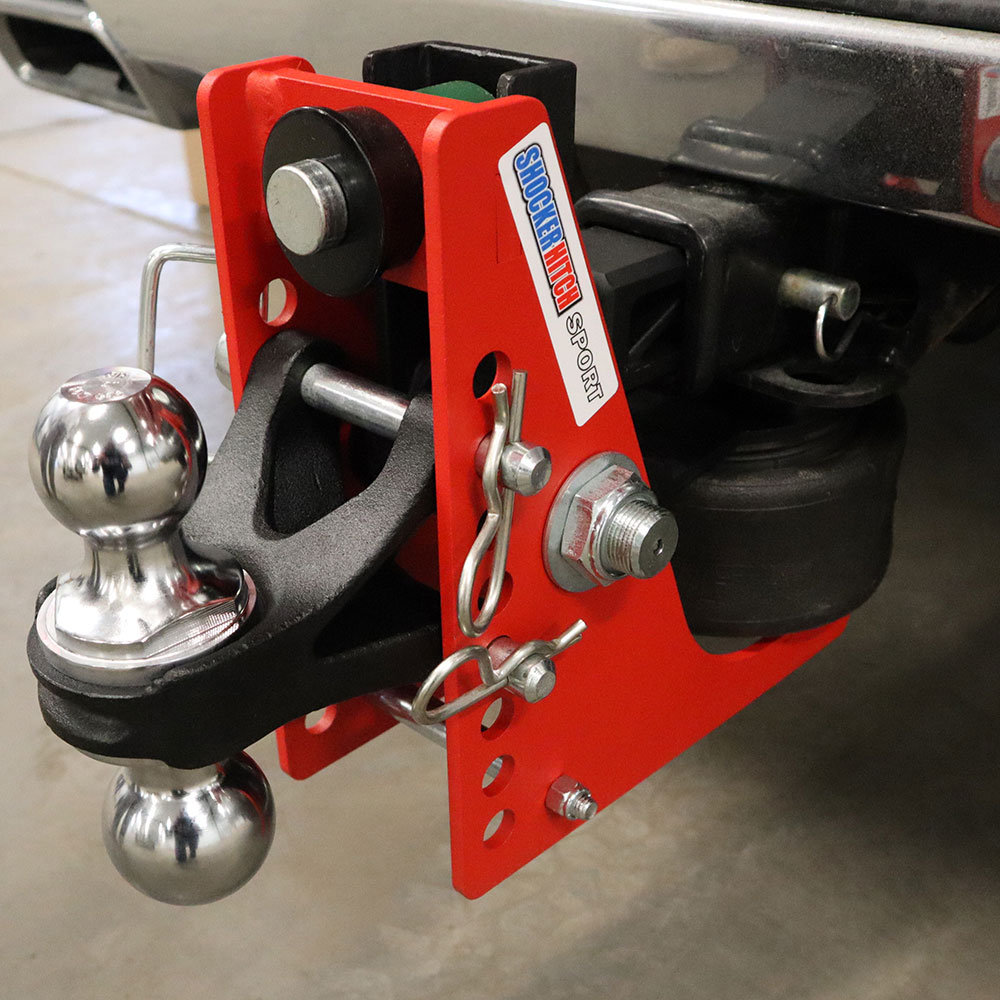
Shocker air drop hitch adds instant air ride towing to your pickup and trailer. The Shocker Air Receiver Hitch with adjustable drop ball mount comes with a 2″ or 2-5/16″ hitch ball with a 4-1/2″ to 8-1/2″ Drop: 14,000 lbs tow rating capacity and 1,400 lbs tongue weight. The built-in air ride cushions the hitch and absorbs the bumps, jerks, tugs, and road shock while you are towing. Shocker air with a drop hitch provides the ultimate smooth ride for taller pickups. The Shocker Air is a miniature air suspension unit mounted between your truck and trailer. This Shocker mounts by sliding into a standard receiver tube. The Shocker air with drop ball mount is great for taller pickup trucks. This shock absorbing hitch is a must have for smoother trailer towing.
The air spring sits under the receiver tube, allowing a short distance of 10 inches between the mounting pin and ball center. You will find the advantage of the Air Shocker is your ability to adjust air pressure for best ride and load control. Plus the drop range is great for higher than stock pickup trucks. Fits Pickup Trucks, Vans, and select SUVs with the hitch under the bumper. Manufactured by Shocker Hitch® USA in Jamestown, ND.
Shock Dampening Action: Shocker air hitch effectively absorbs the jerking, tugging and damaging forces experienced with a typical hard connection when towing trailers. There is no reason to beat yourself or your equipment up with a hard connection between your trailer and your receiver hitch.
Note: Bolt on 2″ Ball is 10,000 lbs GTW & 1,000 lbs TW / 2-5/16″ Ball is 20,000 lbs GTW & 2,000 lbs TW.
Air Bumper Hitch Mount Drop & Rise + Tow Rating Guide (8 Hole Frame) For Super Drop Air Hitch (12 Hole Frame: Add 4″ of Drop to Ranges Below)
– Combo Ball: 0″ Rise to 4.5″ Drop | 2-5/16″ ball rated at 20,000 lbs & 2″ ball rated at 10,000 lbs.
– Drop Ball: 4.5″ to 8.5″ Drop | 2-5/16″ ball rated at 20,000 lbs & 2″ ball rated at 10,000 lbs.
– Raised Ball: 2″ Rise to 2″ Drop | 2-5/16″ ball rated at 20,000 lbs & 2″ ball rated at 10,000 lbs.
– Bolt on Pintle Hook: 2.5″ Rise to 6.5″ Drop | 10-Ton 20,000 lbs.
– Channel Style Pintle Hook: 3″ to 7″ Drop | 10-Ton 20,000 lbs.
– Bolt on Pintle & Ball: 2.5″ Rise to 6.5″ Drop | 8-Ton 16,000 lbs. (2″ Ball is 10,000 lbs). – Channel Style Pintle & Ball: 3″ to 7″ Drop | 8-Ton 16,000 lbs. (2″ Ball is 10,000 lbs).
– Drawbar: 0″ Rise to 4.5″ Drop | 20,000 lbs.
– Clevis Mount: 3.5″ Drop to 7.5″ Drop | 20,000 lbs.
– Sway Bar Mounts: Same Rating as Like Type Mount Listing Above.
Safety Notice: Towing capacity is limited by lowest rated component.
The 14K Shocker Air Hitch, 20K Shocker HD Air Hitch, Streamline Aluminum Air Hitch, Super Drop Air Hitch, Sport Air Hitch, and Trail Force Air Receiver Hitch are easy to install. The air bumper hitch comes complete with easy-to-understand instructions and everything you need. You can download the installation instructions or view the video below to learn how much PSI my Shocker Air Bumper Hitch needs.
Shocker Air Receiver Hitch Install Video
Note: Always use a good hitch ball rated for the recommended tow weight.
Safety Notice: Towing capacity is limited by the lowest rated component.
Shocker Air Receiver Hitch Installation
1. Compressing Air Spring (BEFORE INSTALLATION)
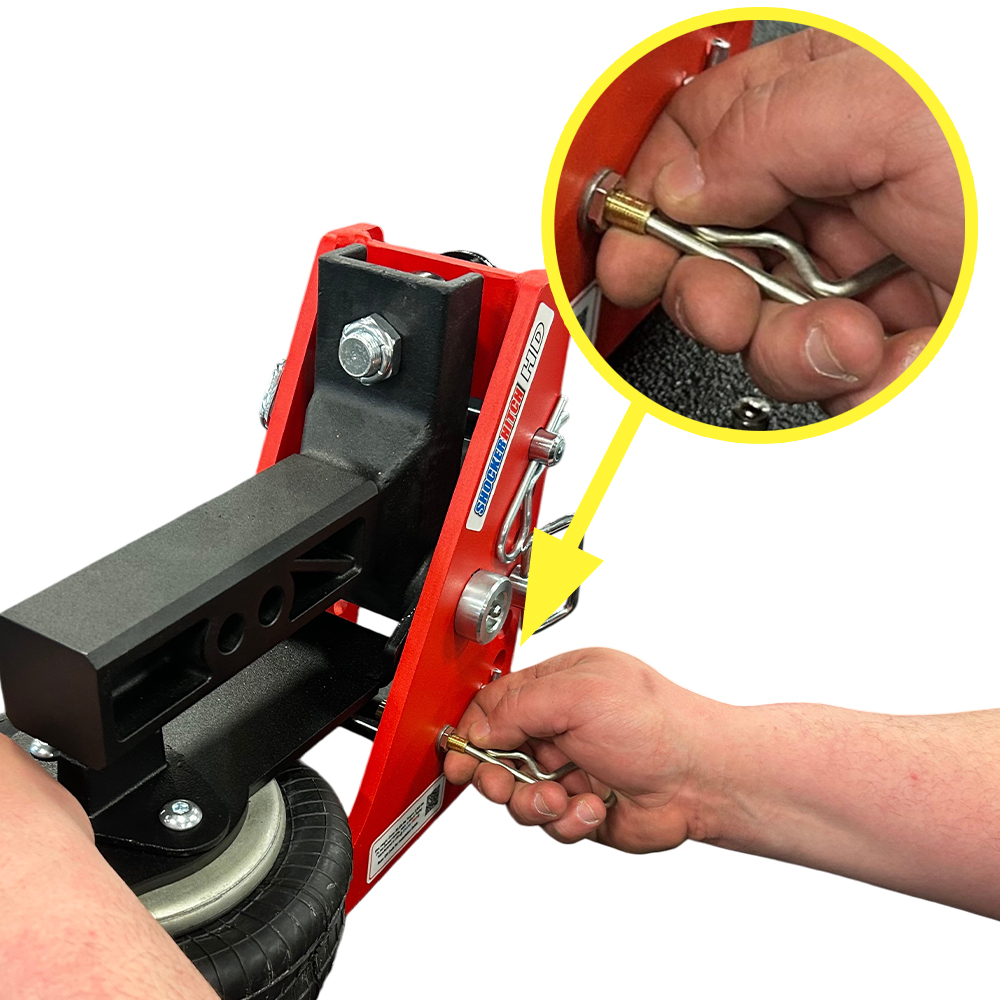
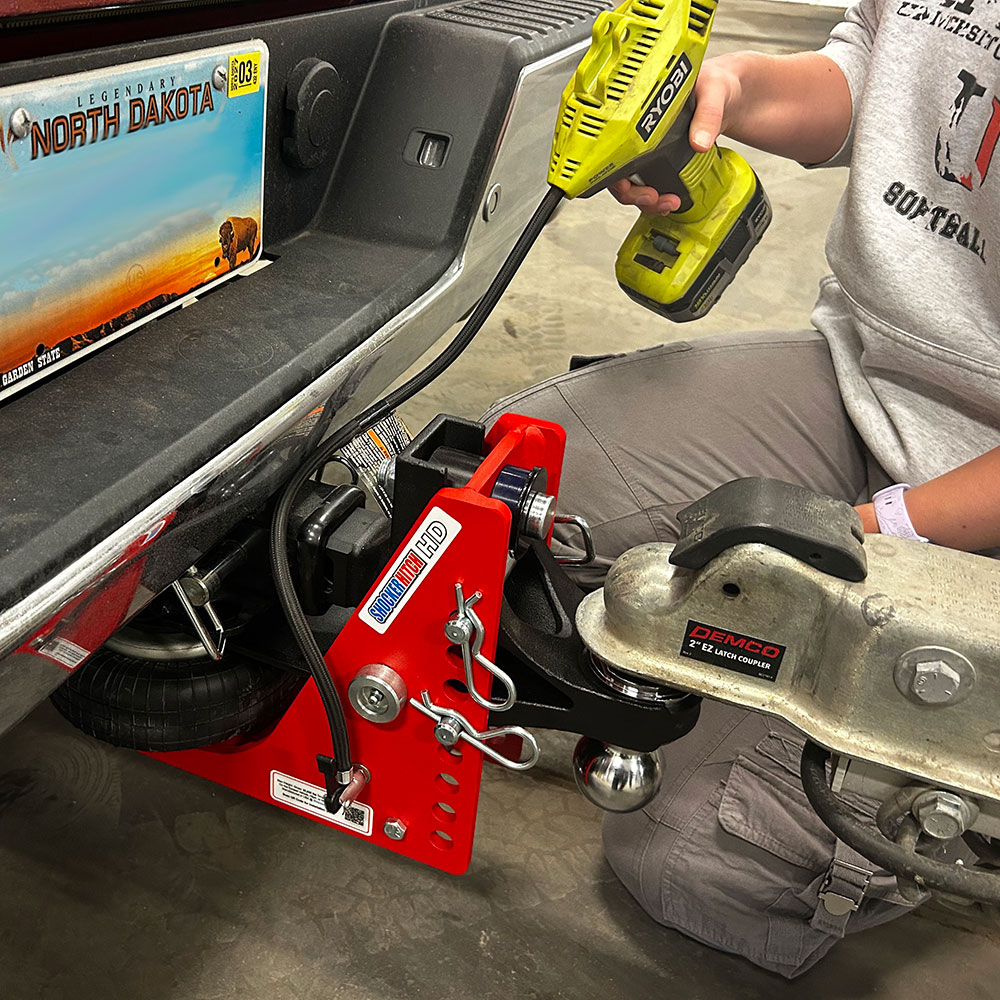
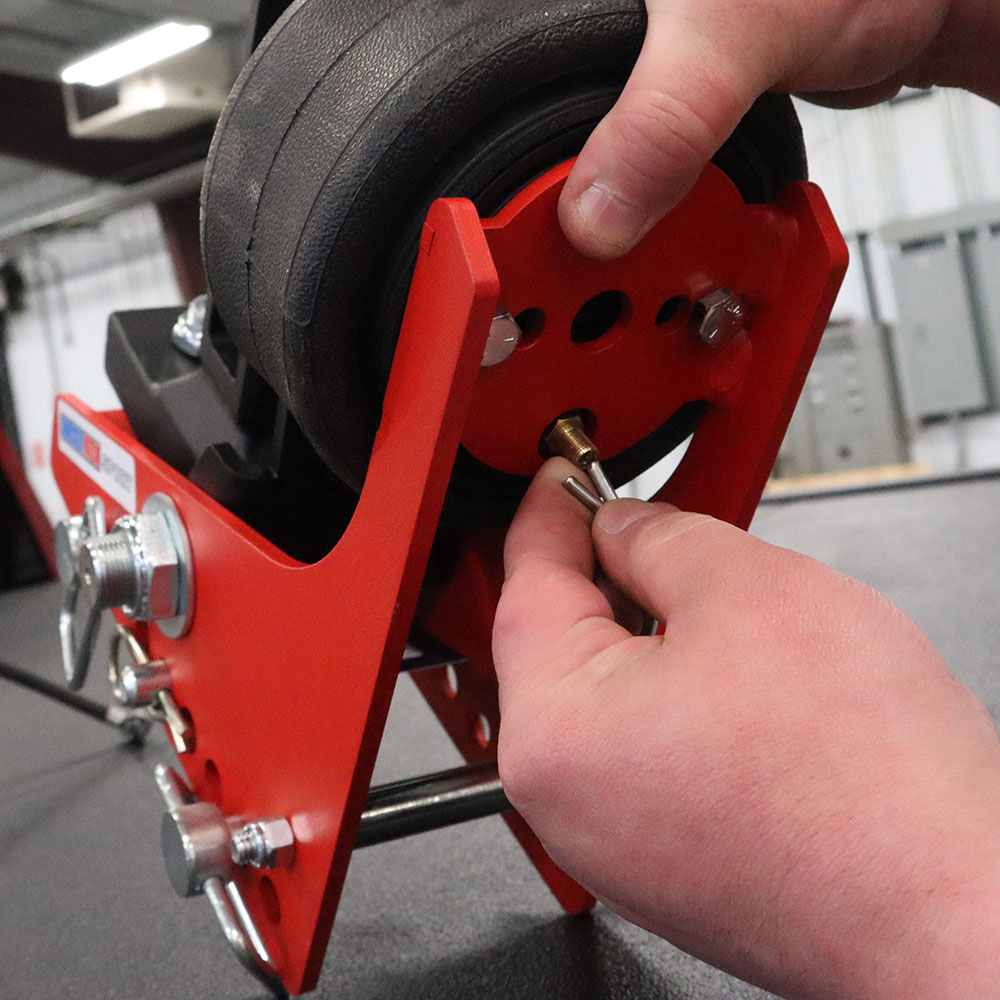
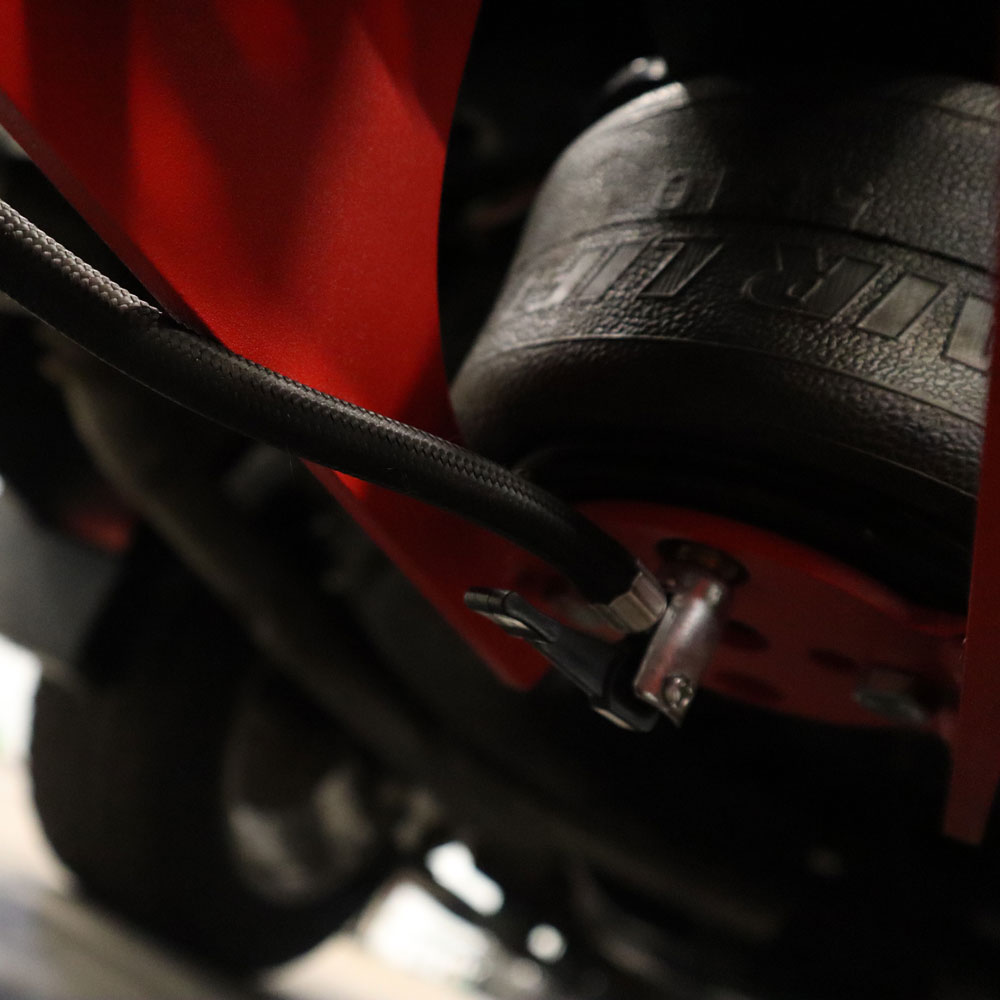
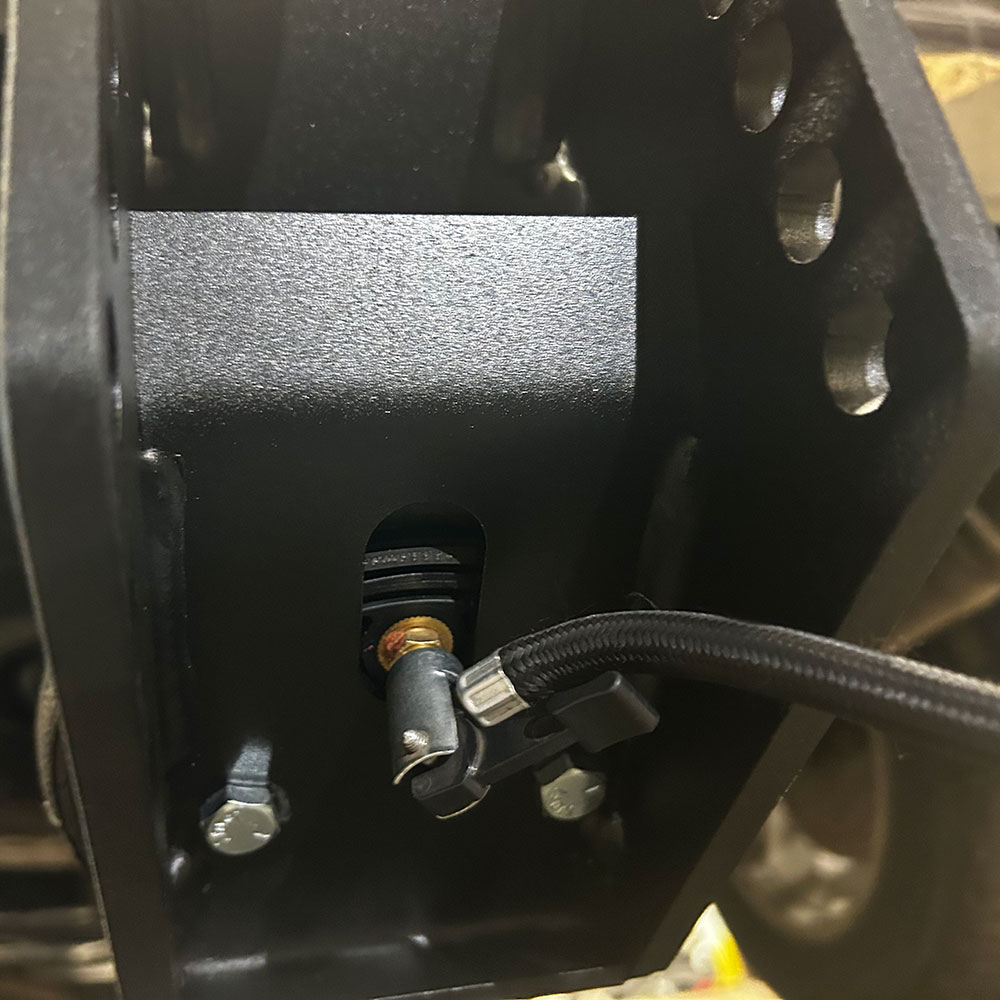
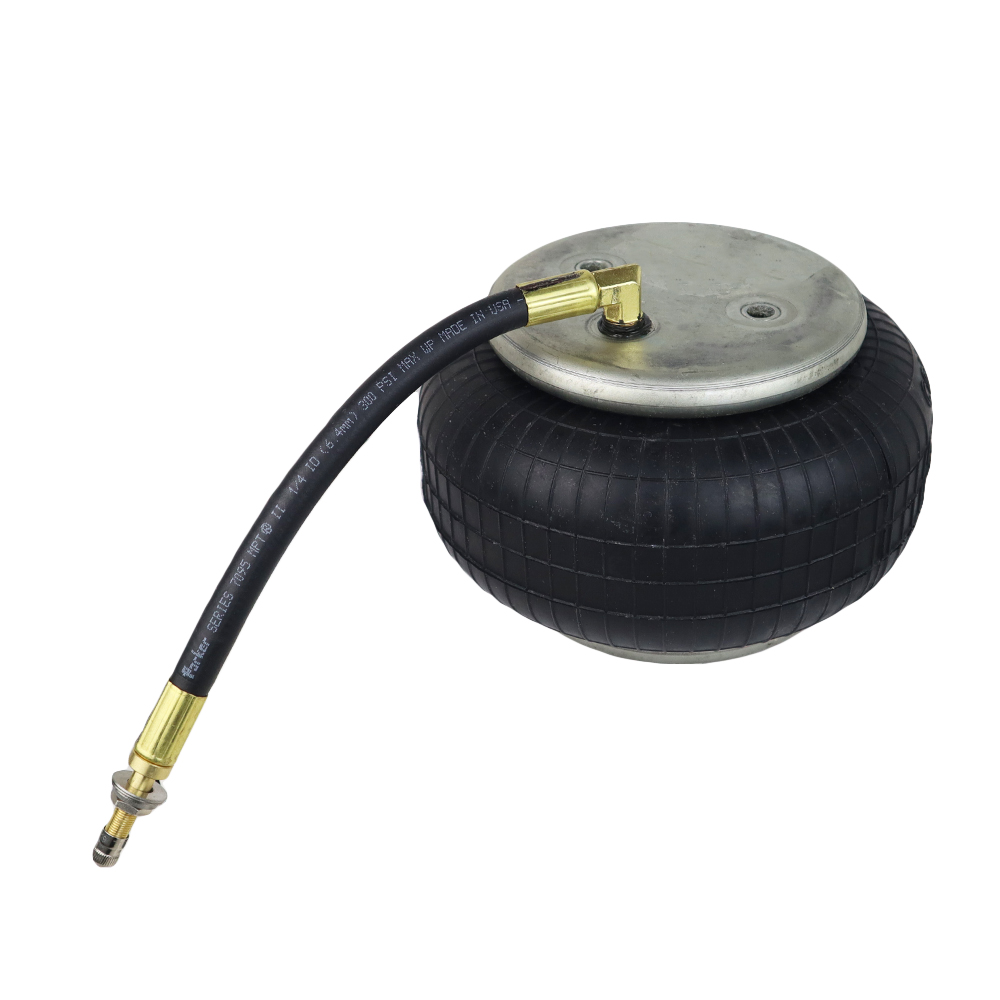
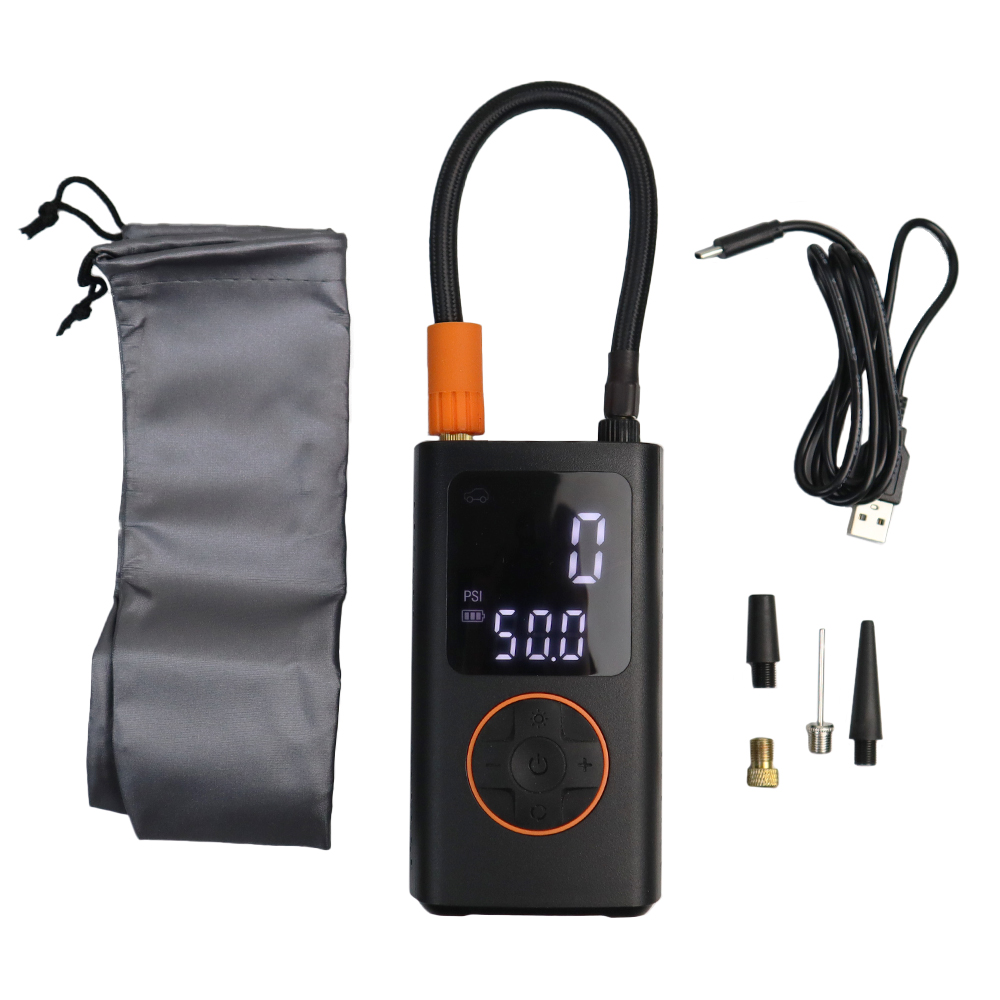
• Release Pressure: Use the provided cotter pin clip to push in on the valve core to release air pressure from the back.
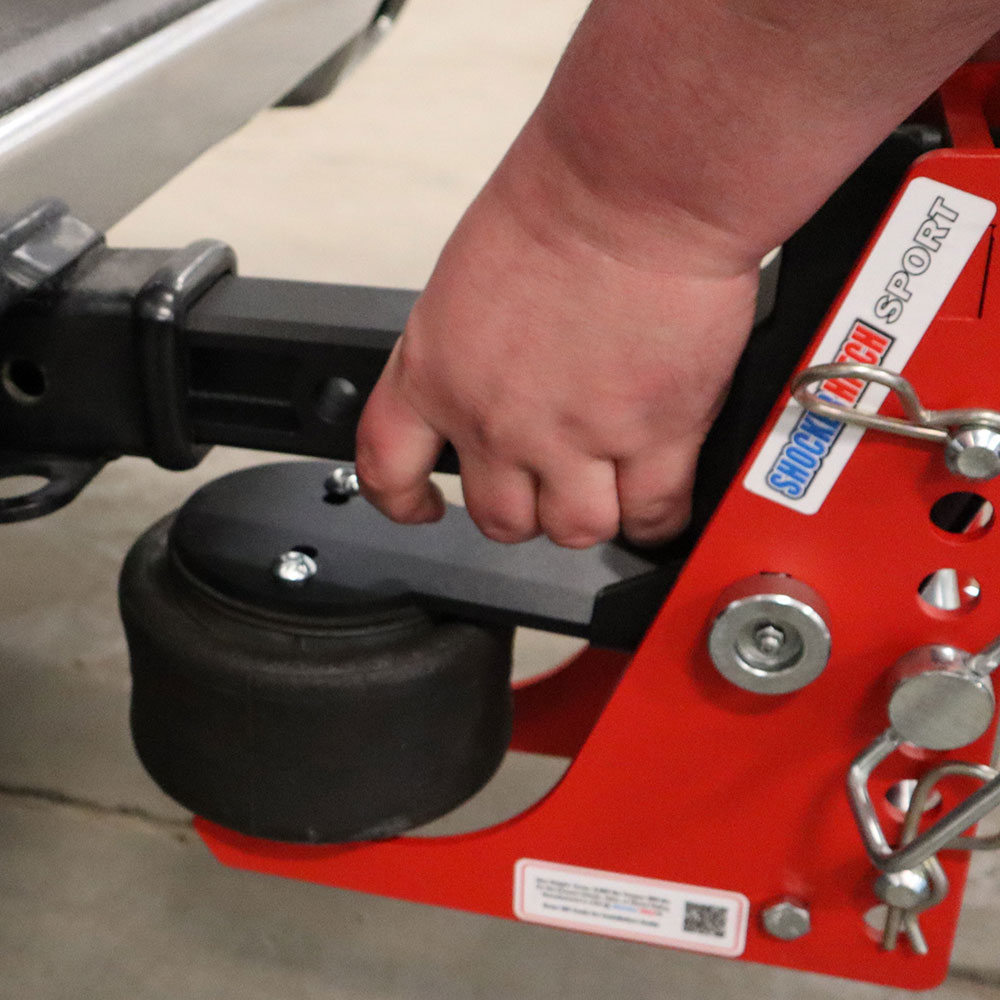
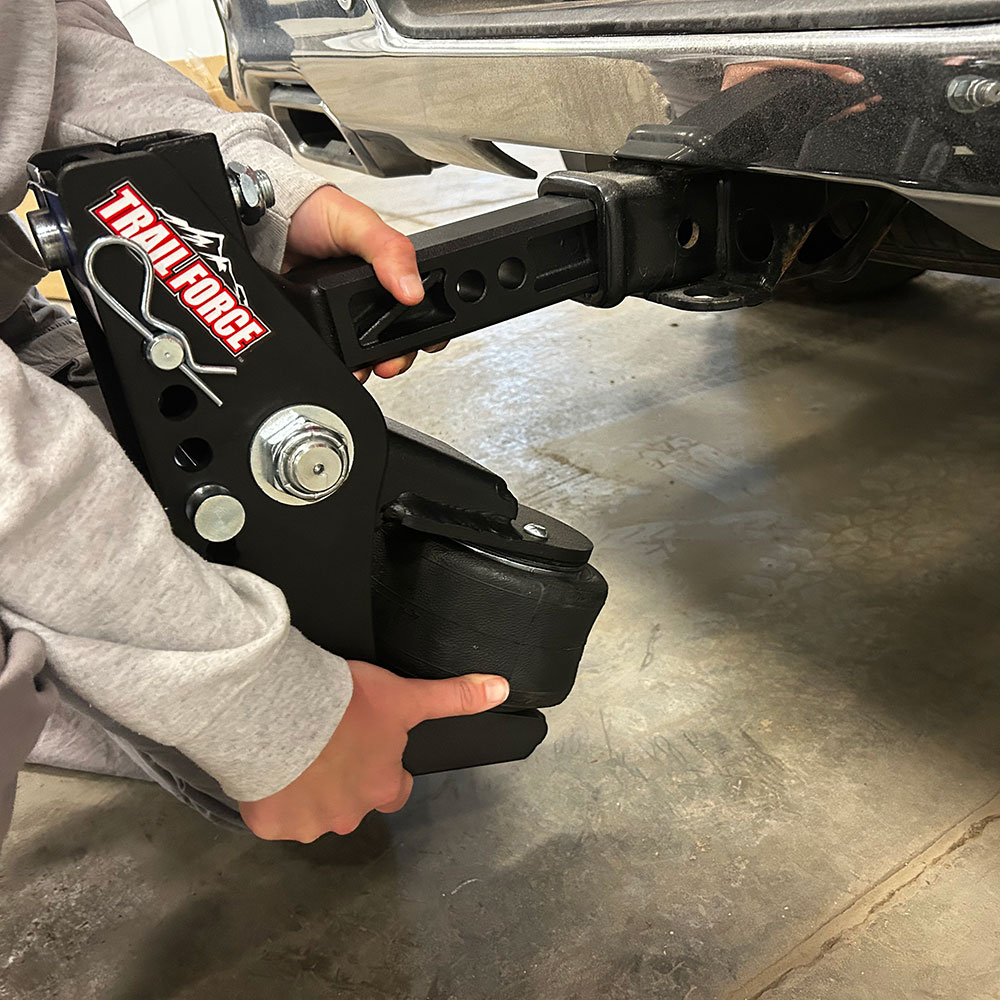
• Compress: While releasing pressure, simultaneously push down on the air spring paddle or squeeze the plates together to exhaust the remaining air.
2. Installing the Shocker Hitch into the Receiver
• Mounting: Slide the hitch shank fully into the receiver tube of your tow vehicle.
• Align and Secure: Align the pin holes and insert the 5/8” hitch pin. Lock it in place with the cotter pin clip.
• Attachment: Install your chosen mount into the Shocker Hitch Frame.
• Secure: Use the hitch pins and cotter pin clips provided to lock the ball mount into place.
4. Setting Air Pressure
• Load the Trailer: Hook up your trailer and load it as you normally would for travel.
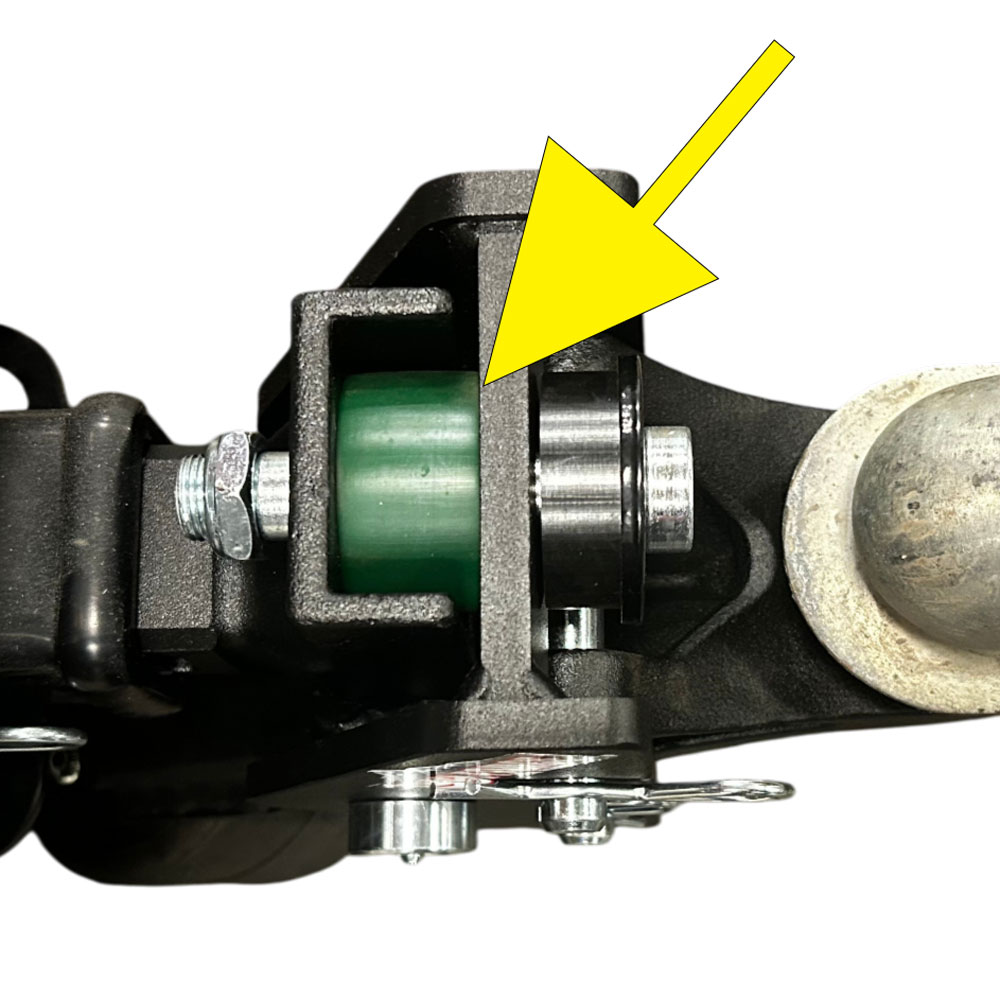
• To Set Air: Hook up trailer using a properly selected ball adaptor and height adjustment to level trailer when loaded. Next, inflate the air spring. As air pressure increases, the unit will rotate, lifting the hitch point. Install enough air until the top of the hitch frame touches the top (tailgate side) bump cushion, or for heavy loads, until it compresses the tailgate side bump cushion by approximately 1/8″.
The “Sweet Spot”
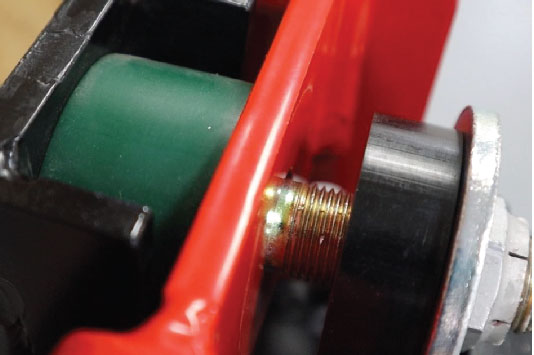
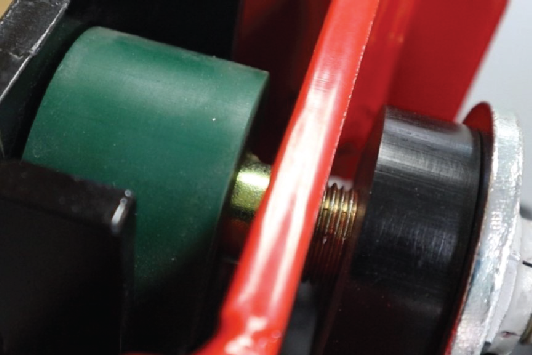
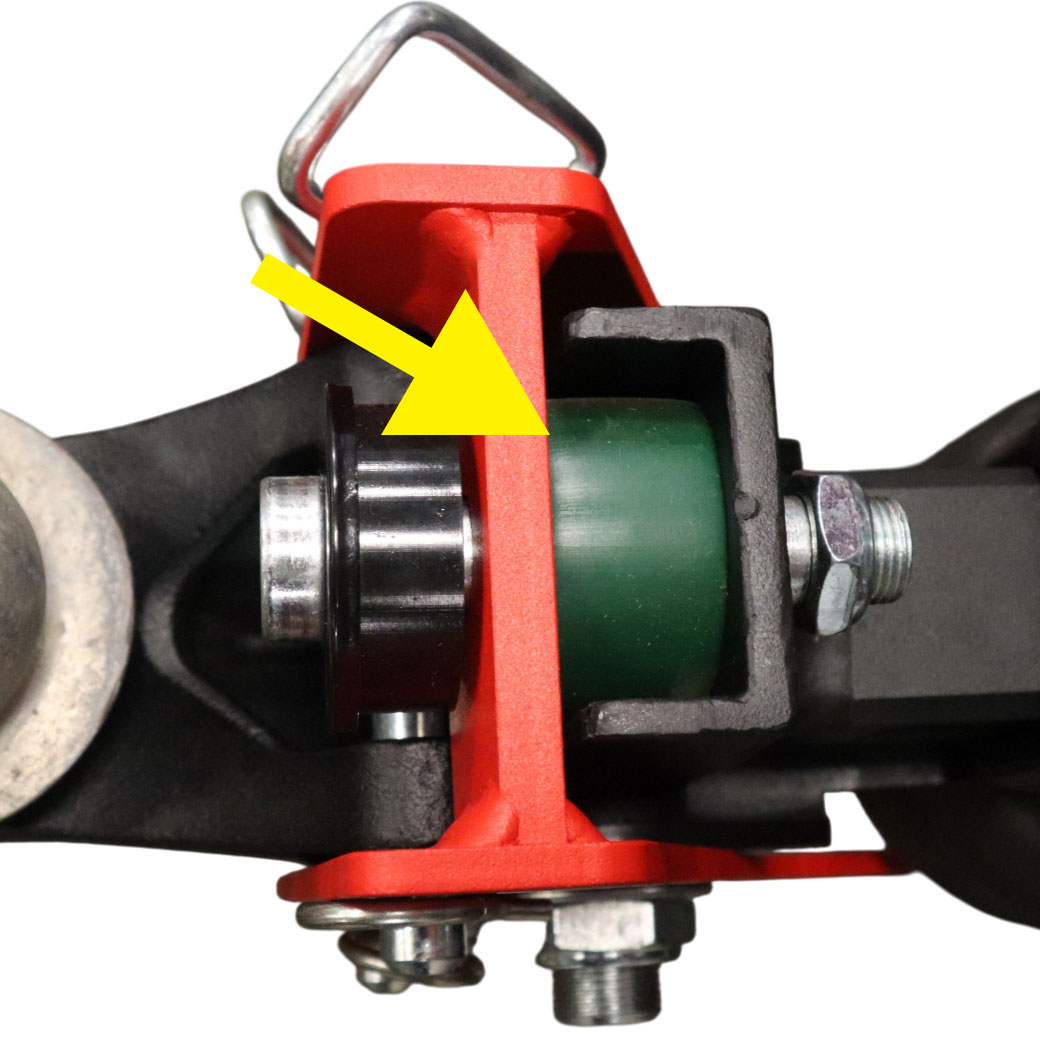
Stop adding air once the main frame lightly compresses the truck side bump cushion.
Proper Air Pressure Guide
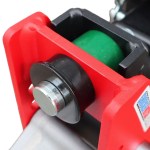
Truck side bump cushion-green-not touching frame (Stop Adding Air)Truck side bump cushion-green-not touching frame (Add Air)
HD Spacer Block Guide
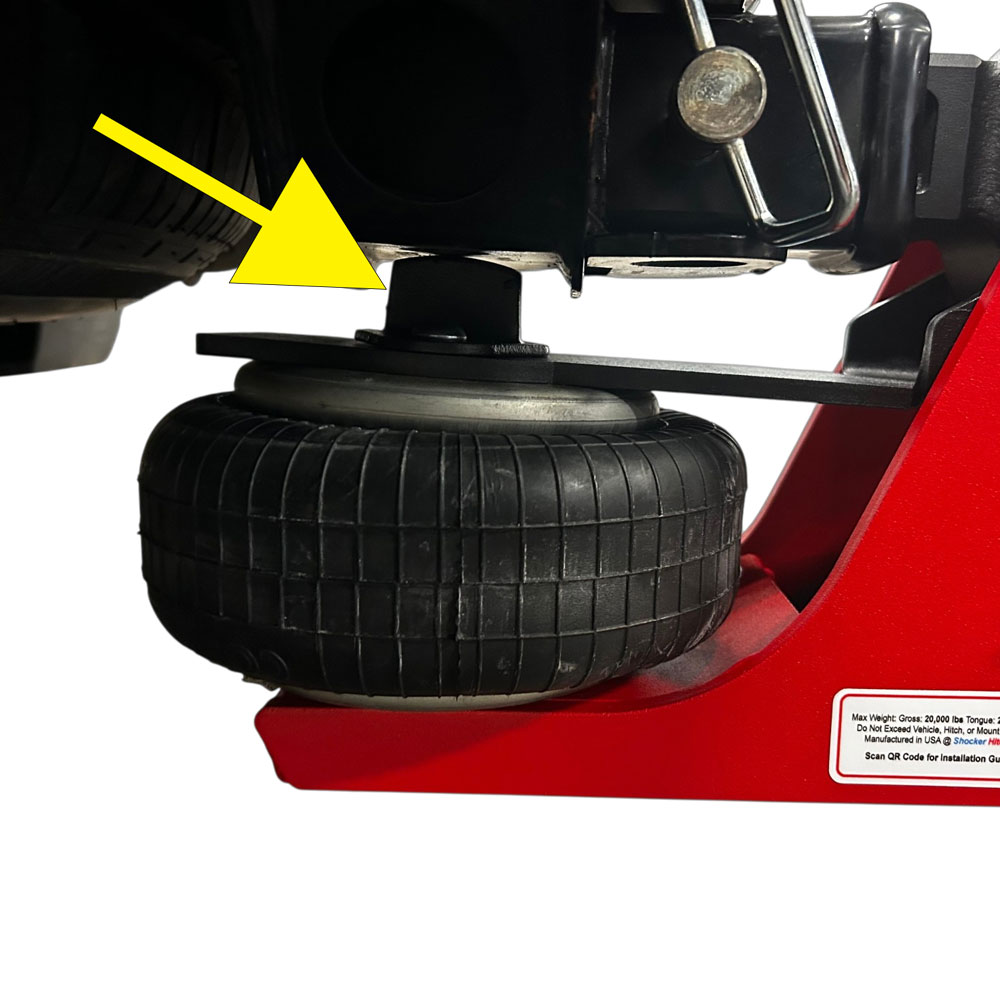
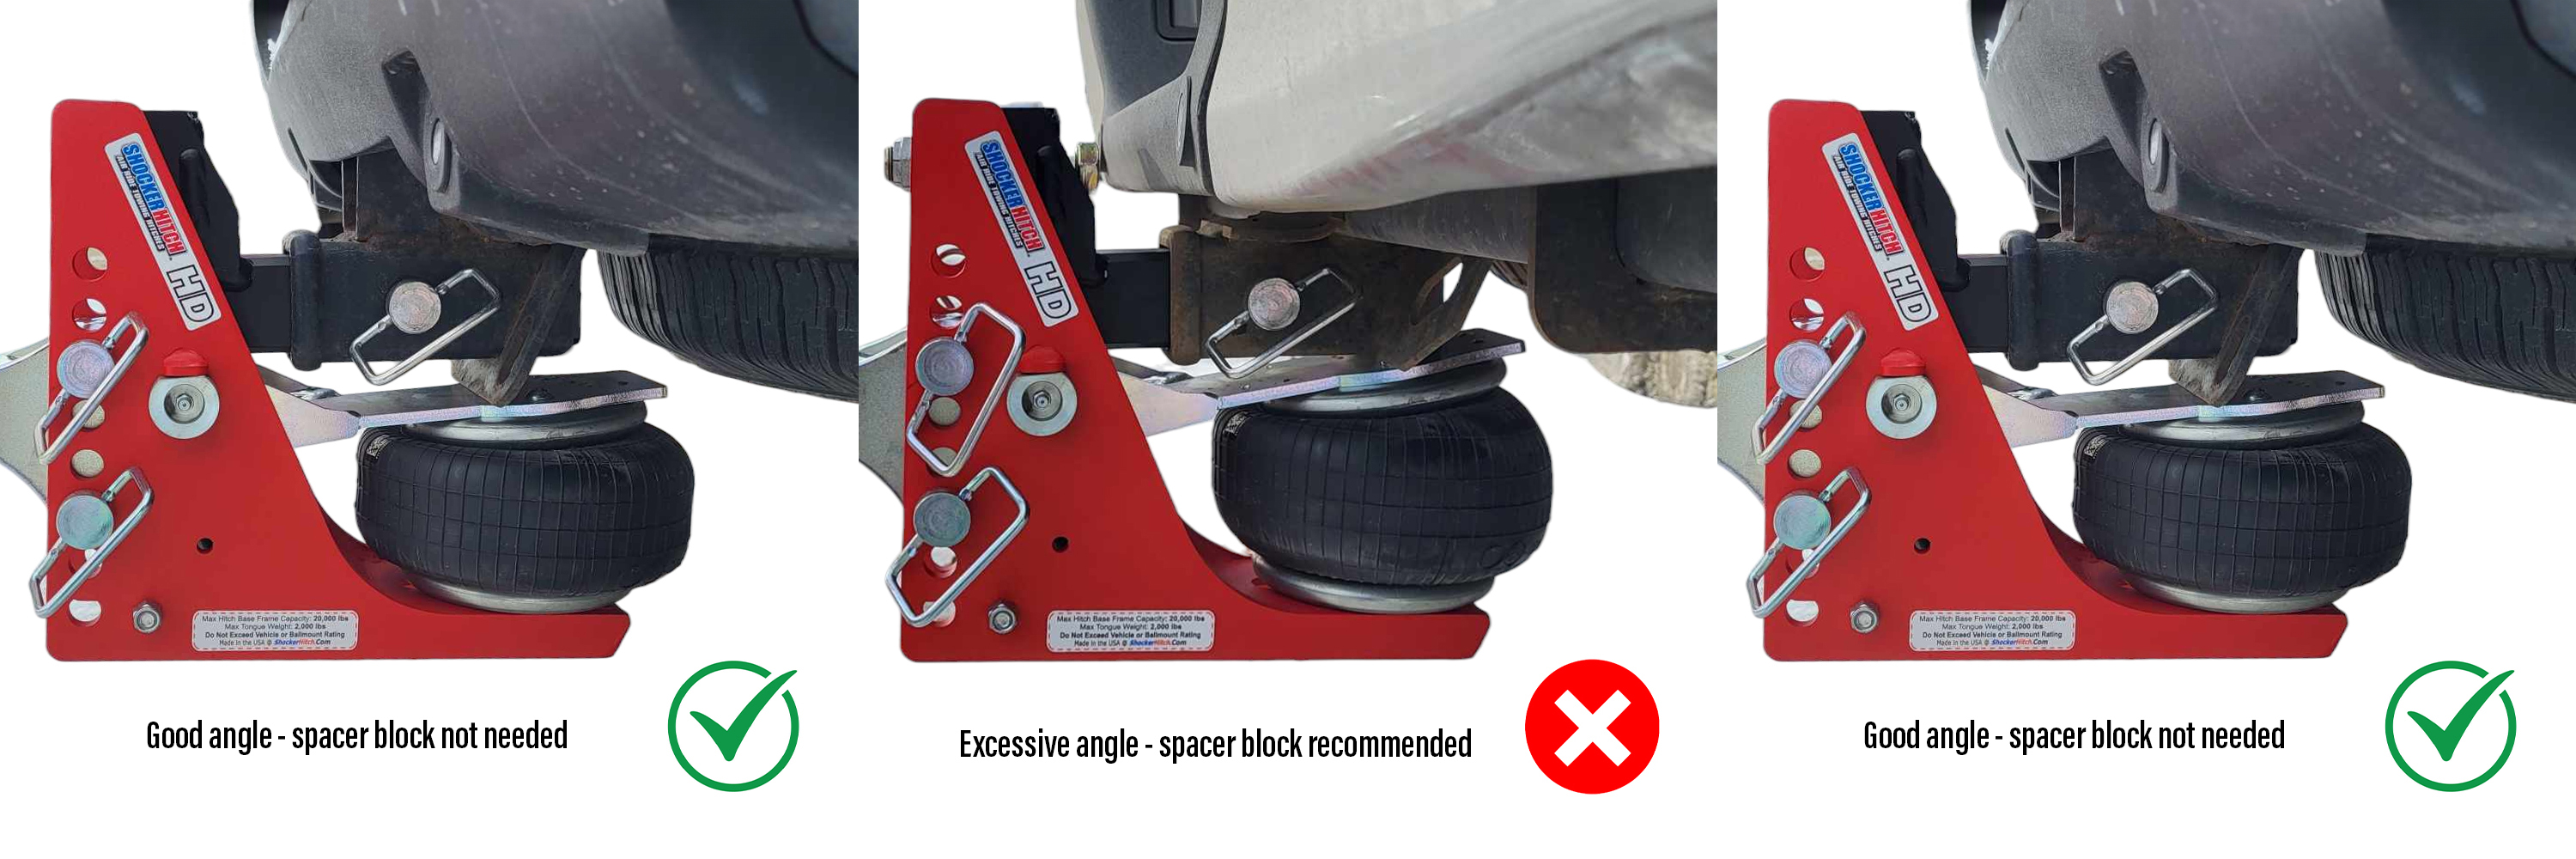
How do I know if I need a spacer block on my air receiver hitch? How do I know if I need a spacer block on my air receiver hitch? When your air receiver and trailer are hooked up, and the air receiver has the proper air pressure, the metal paddle above the air spring bag should be level with the air spring bag. If the paddle has more than a 10-degree angle when the air receiver hitch is aired up, a spacer block can be installed on top of the paddle to level the paddle and air spring bag. A spacer is needed when the angle between the bottom of the vehicle receiver and the top paddle above the air spring bag on the hitch is excessive. (A spacer block is used with 20K HD Air Receiver Hitches with a 2″ receiver ( already installed) and some HD air receiver hitches with a 2-1/2″ receiver (Spacer comes in box). It is generally not ever needed with a 14K air receiver hitch, as the air spring bag is 1″ taller than the HD air spring bag.)
Safety Notice: NEVER exceed 100PSI, as this can damage the air spring or bushings.
Additional Set Up Notes:
When towing heavy trailers or trailers with high wind resistance, it may be necessary to increase air pressure in the Shocker.
It is highly recommended that the hitch ball be greased to reduce wear and improve shocker action.
Ensure you have connected your safety chains and electrical cord before towing.
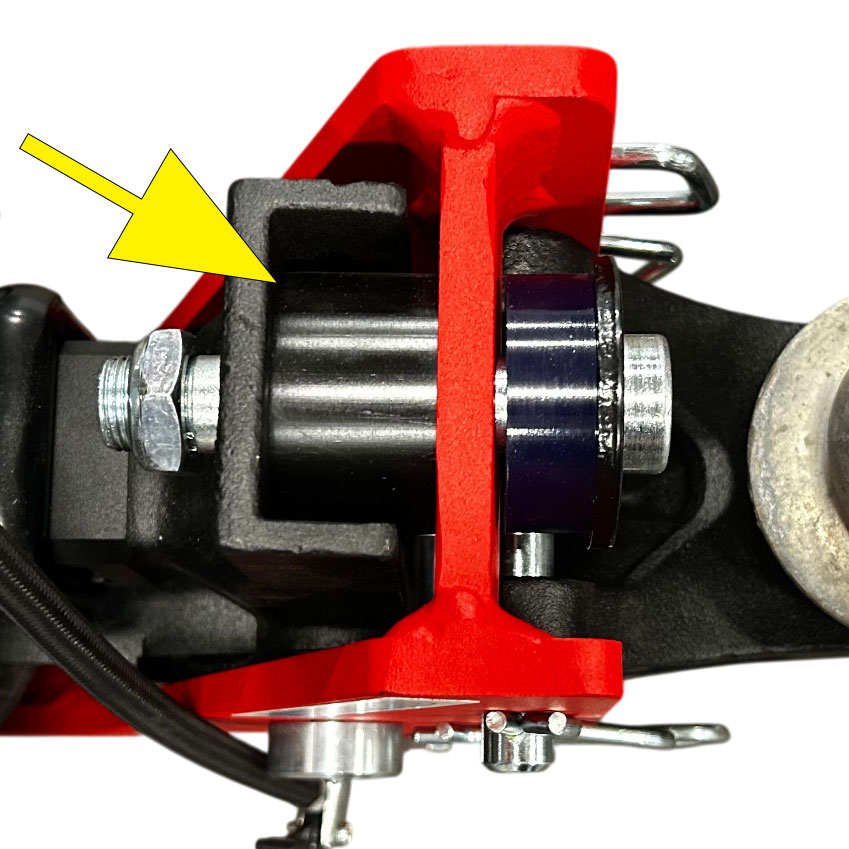
DO NOT TIGHTEN THE TOP BOLT, IT IS A LIMITER STOP ONLY.
Maximum Air Pressure: Do not exceed 100 psi in the air spring, as it may damage the air spring.
• Attachment: Install your chosen mount into the Shocker Sport Hitch Frame.
• Secure: Use the hitch pins and cotter pin clips provided to lock the ball mount into place.
4. Setting Air Pressure
• Load the Trailer: Hook up your trailer and load it as you normally would for travel.
• To Set Air: Hook up trailer using a properly selected ball adaptor and height adjustment to level trailer when loaded. Next, inflate the air spring. As air pressure increases, the unit will rotate, lifting the hitch point. Install enough air until the top of the hitch frame touches the top (tailgate side) bump cushion, or for heavy loads, until it compresses the tailgate side bump cushion by approximately 1/8″.
The “Sweet Spot”
Stop adding air once the main frame lightly compresses the truck side bump cushion.
Shocker Trail Force Receiver Hitch Installation
1.Installing the Trail Force Air Hitch into the Receiver
• Mounting: Slide the hitch shank fully into the receiver tube of your tow vehicle.
• Align and Secure: Align the pin holes and insert the 5/8” hitch pin. Lock it in place with the cotter pin clip.
• Attachment: Install your chosen mount into the Trail Force Hitch Frame.
• Secure: Use the hitch pins and cotter pin clips provided to lock the ball mount into place.
3. Setting Air Pressure
• Load the Trailer: Hook up your trailer and load it as you normally would for travel.
• To Set Air: Hook up trailer using a properly selected ball adaptor and height adjustment to level trailer when loaded. Next, inflate the air spring. As air pressure increases, the unit will rotate, lifting the hitch point. Install enough air until the top of the hitch frame touches the top (tailgate side) bump cushion, or for heavy loads, until it compresses the tailgate side bump cushion by approximately 1/8″.
The “Sweet Spot”
Stop adding air once the main frame lightly compresses the truck side bump cushion.
Shocker Air Receiver Hitch Air Pressure PSI Tuning Video
Installation Issues
We want you to have the best possible towing experience with your product, and proper installation is important. If you need help, we are here for you. Just give us a call at 701-707-2666 or use our contact us form. You can also look up the item’s product page on our website and view the installation tab. Most products on our website have a setup guide and installation video.
Routine Maintenance Guide:
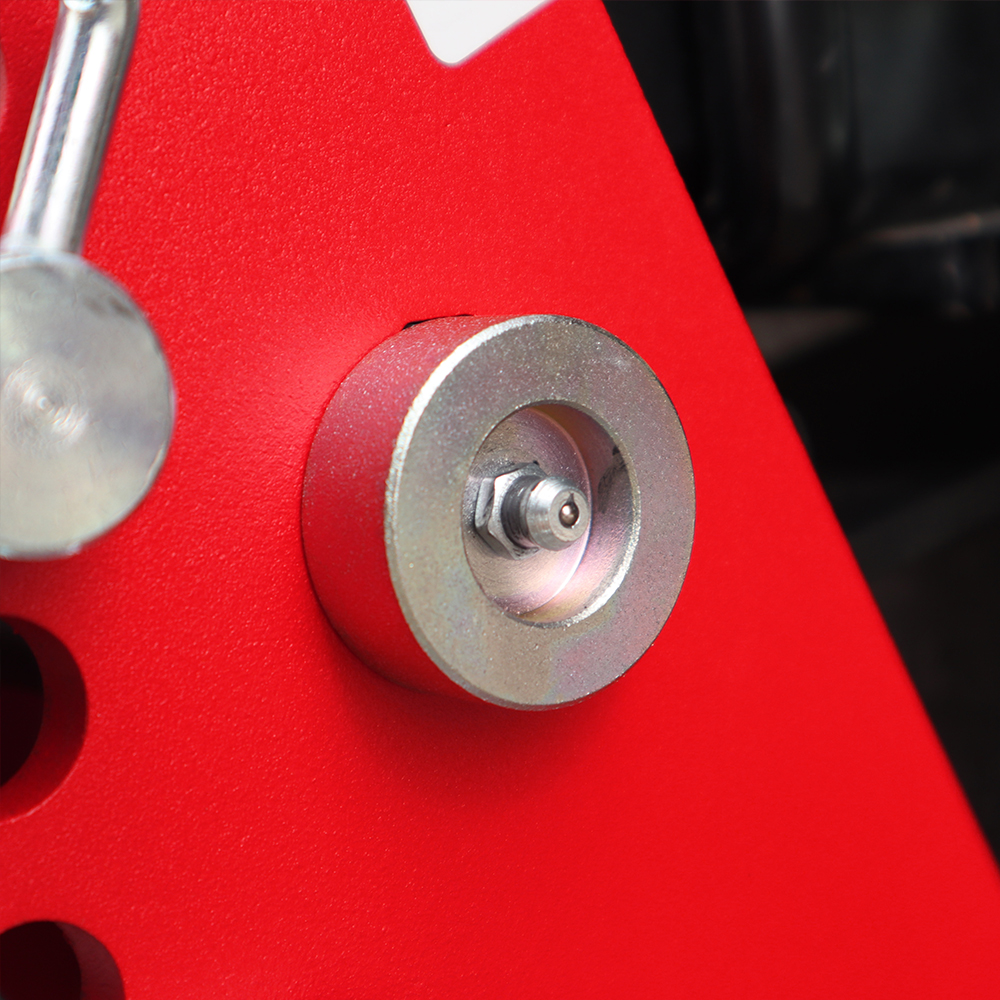
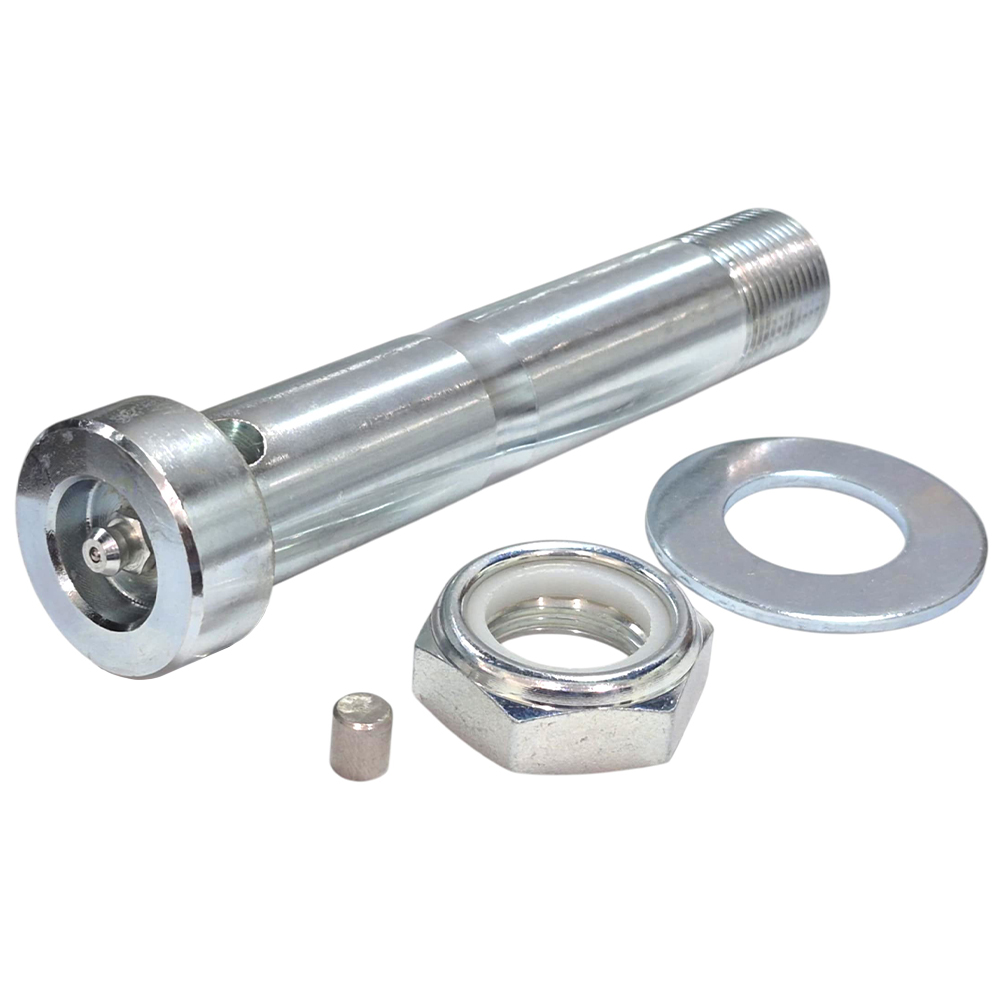
Routine Lubrication • Pivot Bolt: Regularly grease the Shocker Hitch unit using the built-in grease zerk located on the main pivot bolt. • Over-Greasing: You cannot over-grease the unit; frequent lubrication ensures the air-ride pivot remains fluid and responsive. • Hitch Ball: It is highly recommended to grease the trailer coupler ball to reduce friction and prevent premature wear.
Critical Adjustments • Top Jamnut Bolt: DO NOT tighten the top jamnut bolt. • Factory Specs: This bolt is set to factory specifications out of the box; overtightening will cause a stiff towing experience and limit the airbag’s effectiveness. • Attachment Swapping: When changing between different ball mounts (Combo, Pintle, Clevis, etc.), ensure the pins and cotter pin clips are fully seated and locked.
Air System Integrity • Max Pressure: Never Exceed 100PSI in the air spring. • Component Protection: Excessive pressure can lead to permanent damage to the air spring or the internal bump cushions. • Pre-Tow Inspection: Always check your air pressure after loading the trailer to ensure the frame is lightly compressing the bump cushion.
Do you need to use a weight distribution/ sway control hitch with the shower hitch.
0 votes
QDo you need to use a weight distribution/ sway control hitch with the shower hitch.
AThis Hitch could be compatible with sway control with the correct ball attachment with sway tabs. WILL NOT WORK WITH WEIGHT DISTRIBUTION BARS. You will need to look into our Equalizer Hitch if you are requiring weight distribution.
https://shockerhitch.com/product/air-equalizer/
When using the hitch in the full 8.5 inches of drop, do both pins need to be in the ball mount drop? Or is this a single pin use in max drop? Thanks
0 votes
QWhen using the hitch in the full 8.5 inches of drop, do both pins need to be in the ball mount dr......
Read more
A
You would need to use both pins in order for the hitch to work correctly and safely.
I have a Shocker Air Hitch with a 2.5 inch receiver insert. Is there a way to convert or trade in for a 2 inch receiver? I sold my old truck and bought a new one, and it only has a 2 inch receiver.
0 votes
QI have a Shocker Air Hitch with a 2.5 inch receiver insert. Is there a way to convert or trade in......
Read more
A
We do have replacement shanks. You can easily replace the 2.5" shank with our 2" shank by removing 2 bolts on the hitch. If you have any questions on the installation please call us at 701-707-2666. Here is a link to our replacement shanks. https://shockerhitch.com/product/replacement-shank/
I know this hitch will isolate the trailer and truck but how much. I’m pulling my travel trailer with and F600 and the truck rides so hard it’s destroying the camper. The truck has a lot of overhang so every time you cross a bump it really tosses the trailer up and down. Thanks in advance
0 votes
QI know this hitch will isolate the trailer and truck but how much. I’m pulling my travel trailer ......
Read more
A
Our Shocker Air Hitch can reduce the impact by at least 80-90% and make your ride a whole lot smoother .
Please contact us at 701-707-2666 and we can help guide you in purchasing the correct hitch.
How will this hold in water application? Average 2 trips a week to the lake (freshwater) for 3-4 months then dry store the hitch in the garage for the winter.
0 votes
QHow will this hold in water application? Average 2 trips a week to the lake (freshwater) for 3-4 ......
Read more
A
With using in an application of hauling a boat and submerging the hitch in water, you would want to make sure you are greasing the main pivot point much like you do your boat trailer axels. You will also want to keep water from sitting on the hitch for long periods of time. With storing the hitch for long periods of time you can release there air out of the air bag. Thank you for choosing Shocker Hitch.
How is work if I choose 16k then towing 9k trailer? I want 16k capacity for future however I wonder if 16k is too much or not
0 votes
QHow is work if I choose 16k then towing 9k trailer? I want 16k capacity for future however I wond......
Read more
AThat is the great thing about the airbag system, it is fully adjustable to the weight you are towing so it will work great for you at 9K.
Can u turn the drop around to make it a raise?
0 votes
QCan u turn the drop around to make it a raise?
ANo, the drop mount's strength is designed for it to be used normally, not flipped around. We do have raised mounts you can get for that.
Flawless! I tow my X23 Mastercraft long distances and with no suspension on boat trailers this hitch takes a great deal of the pounding of rough roads out, i could feel the difference within 1/4 mile of towing.
– J J
Rated 5 out of 5
I tow a pretty small horse trailer behind a full-size pickup, and with the Shocker Hitch on, the truck actually rides smoother and better with the trailer than it does without! I couldn’t believe the difference, and I know if it’s that much smoother of a ride for me, it’s got to be a better ride for the horse as well. Standing on four legs on a trailer is hard work, and anything I can do to make journeys easier and more comfortable for my horse is money well spent for me. Great customer service too – I emailed with a question, and within 5 minutes I had a phone call from Shocker talking me through my questions and verifying that my setup looked good. A+ product and A+ customer service!
– Jen
Rated 5 out of 5
Have been running this hitch for the past two years and will never pull another trailer without it.
– JEFFERY NEW
Rated 5 out of 5
Works really well. If you have the means I recommend it.
– David Taylor
Rated 5 out of 5
We recently purchased our second Shocker a hitch. We first purchased in 2014, this hitch has been nothing short of exceptional. Our recent and second purchase was due to an upgrading a trailer size and heavy capacity. Very pleased with the quality of both units and well worth the cost for the improved ride and reduced wear on our truck. CS has been more than helpful in both purchases and lightning quick shipping.
– Rhonda & Brad Culpitt
Rated 5 out of 5
My hitch is pretty trick. I have had every hitch type made in the usa, and a few from Canada and Europe. This air system type hitch I purchased is my favorite. I will be purchasing another.
Regards
Glen Wilson
– Glen Wilson
Rated 5 out of 5
Great receiver. Quietest hitch I have every used, because of the airbag it has a tight fit (no clunks or rattles). The airbag cushions the link between truck and trailer. I tow a 17 ft horse trailer that empty weights 4000 lbs. It is also tongue heavy at 1000 lbs when empty. The hitch dampens the bounce I get when towing the empty trailer. When the horses are loaded the trailer weights in around 6500 lbs and is better balanced. The hitch continues to smooth the ride. The horses seem to be more relaxed after a trip in the trailer now.
– Brent
Rated 5 out of 5
Great product. So much smoother towing.
– Dave
Rated 5 out of 5
very well made and works well
– Russell Follmann
Rated 5 out of 5
I hooked it up to my trailer and pulled it for about 50 miles . I couldn’t believe the difference in the smooth pulling. I’ve trailered a lot of miles and i wish i bought the Shocker along time ago. Im ordering a gooseneck shockerASAP. TONY R



















Flawless! I tow my X23 Mastercraft long distances and with no suspension on boat trailers this hitch takes a great deal of the pounding of rough roads out, i could feel the difference within 1/4 mile of towing.
I tow a pretty small horse trailer behind a full-size pickup, and with the Shocker Hitch on, the truck actually rides smoother and better with the trailer than it does without! I couldn’t believe the difference, and I know if it’s that much smoother of a ride for me, it’s got to be a better ride for the horse as well. Standing on four legs on a trailer is hard work, and anything I can do to make journeys easier and more comfortable for my horse is money well spent for me. Great customer service too – I emailed with a question, and within 5 minutes I had a phone call from Shocker talking me through my questions and verifying that my setup looked good. A+ product and A+ customer service!
Have been running this hitch for the past two years and will never pull another trailer without it.
Works really well. If you have the means I recommend it.
We recently purchased our second Shocker a hitch. We first purchased in 2014, this hitch has been nothing short of exceptional. Our recent and second purchase was due to an upgrading a trailer size and heavy capacity. Very pleased with the quality of both units and well worth the cost for the improved ride and reduced wear on our truck. CS has been more than helpful in both purchases and lightning quick shipping.
My hitch is pretty trick. I have had every hitch type made in the usa, and a few from Canada and Europe. This air system type hitch I purchased is my favorite. I will be purchasing another.
Regards
Glen Wilson
Great receiver. Quietest hitch I have every used, because of the airbag it has a tight fit (no clunks or rattles). The airbag cushions the link between truck and trailer. I tow a 17 ft horse trailer that empty weights 4000 lbs. It is also tongue heavy at 1000 lbs when empty. The hitch dampens the bounce I get when towing the empty trailer. When the horses are loaded the trailer weights in around 6500 lbs and is better balanced. The hitch continues to smooth the ride. The horses seem to be more relaxed after a trip in the trailer now.
Great product. So much smoother towing.
very well made and works well
I hooked it up to my trailer and pulled it for about 50 miles . I couldn’t believe the difference in the smooth pulling. I’ve trailered a lot of miles and i wish i bought the Shocker along time ago. Im ordering a gooseneck shockerASAP. TONY R