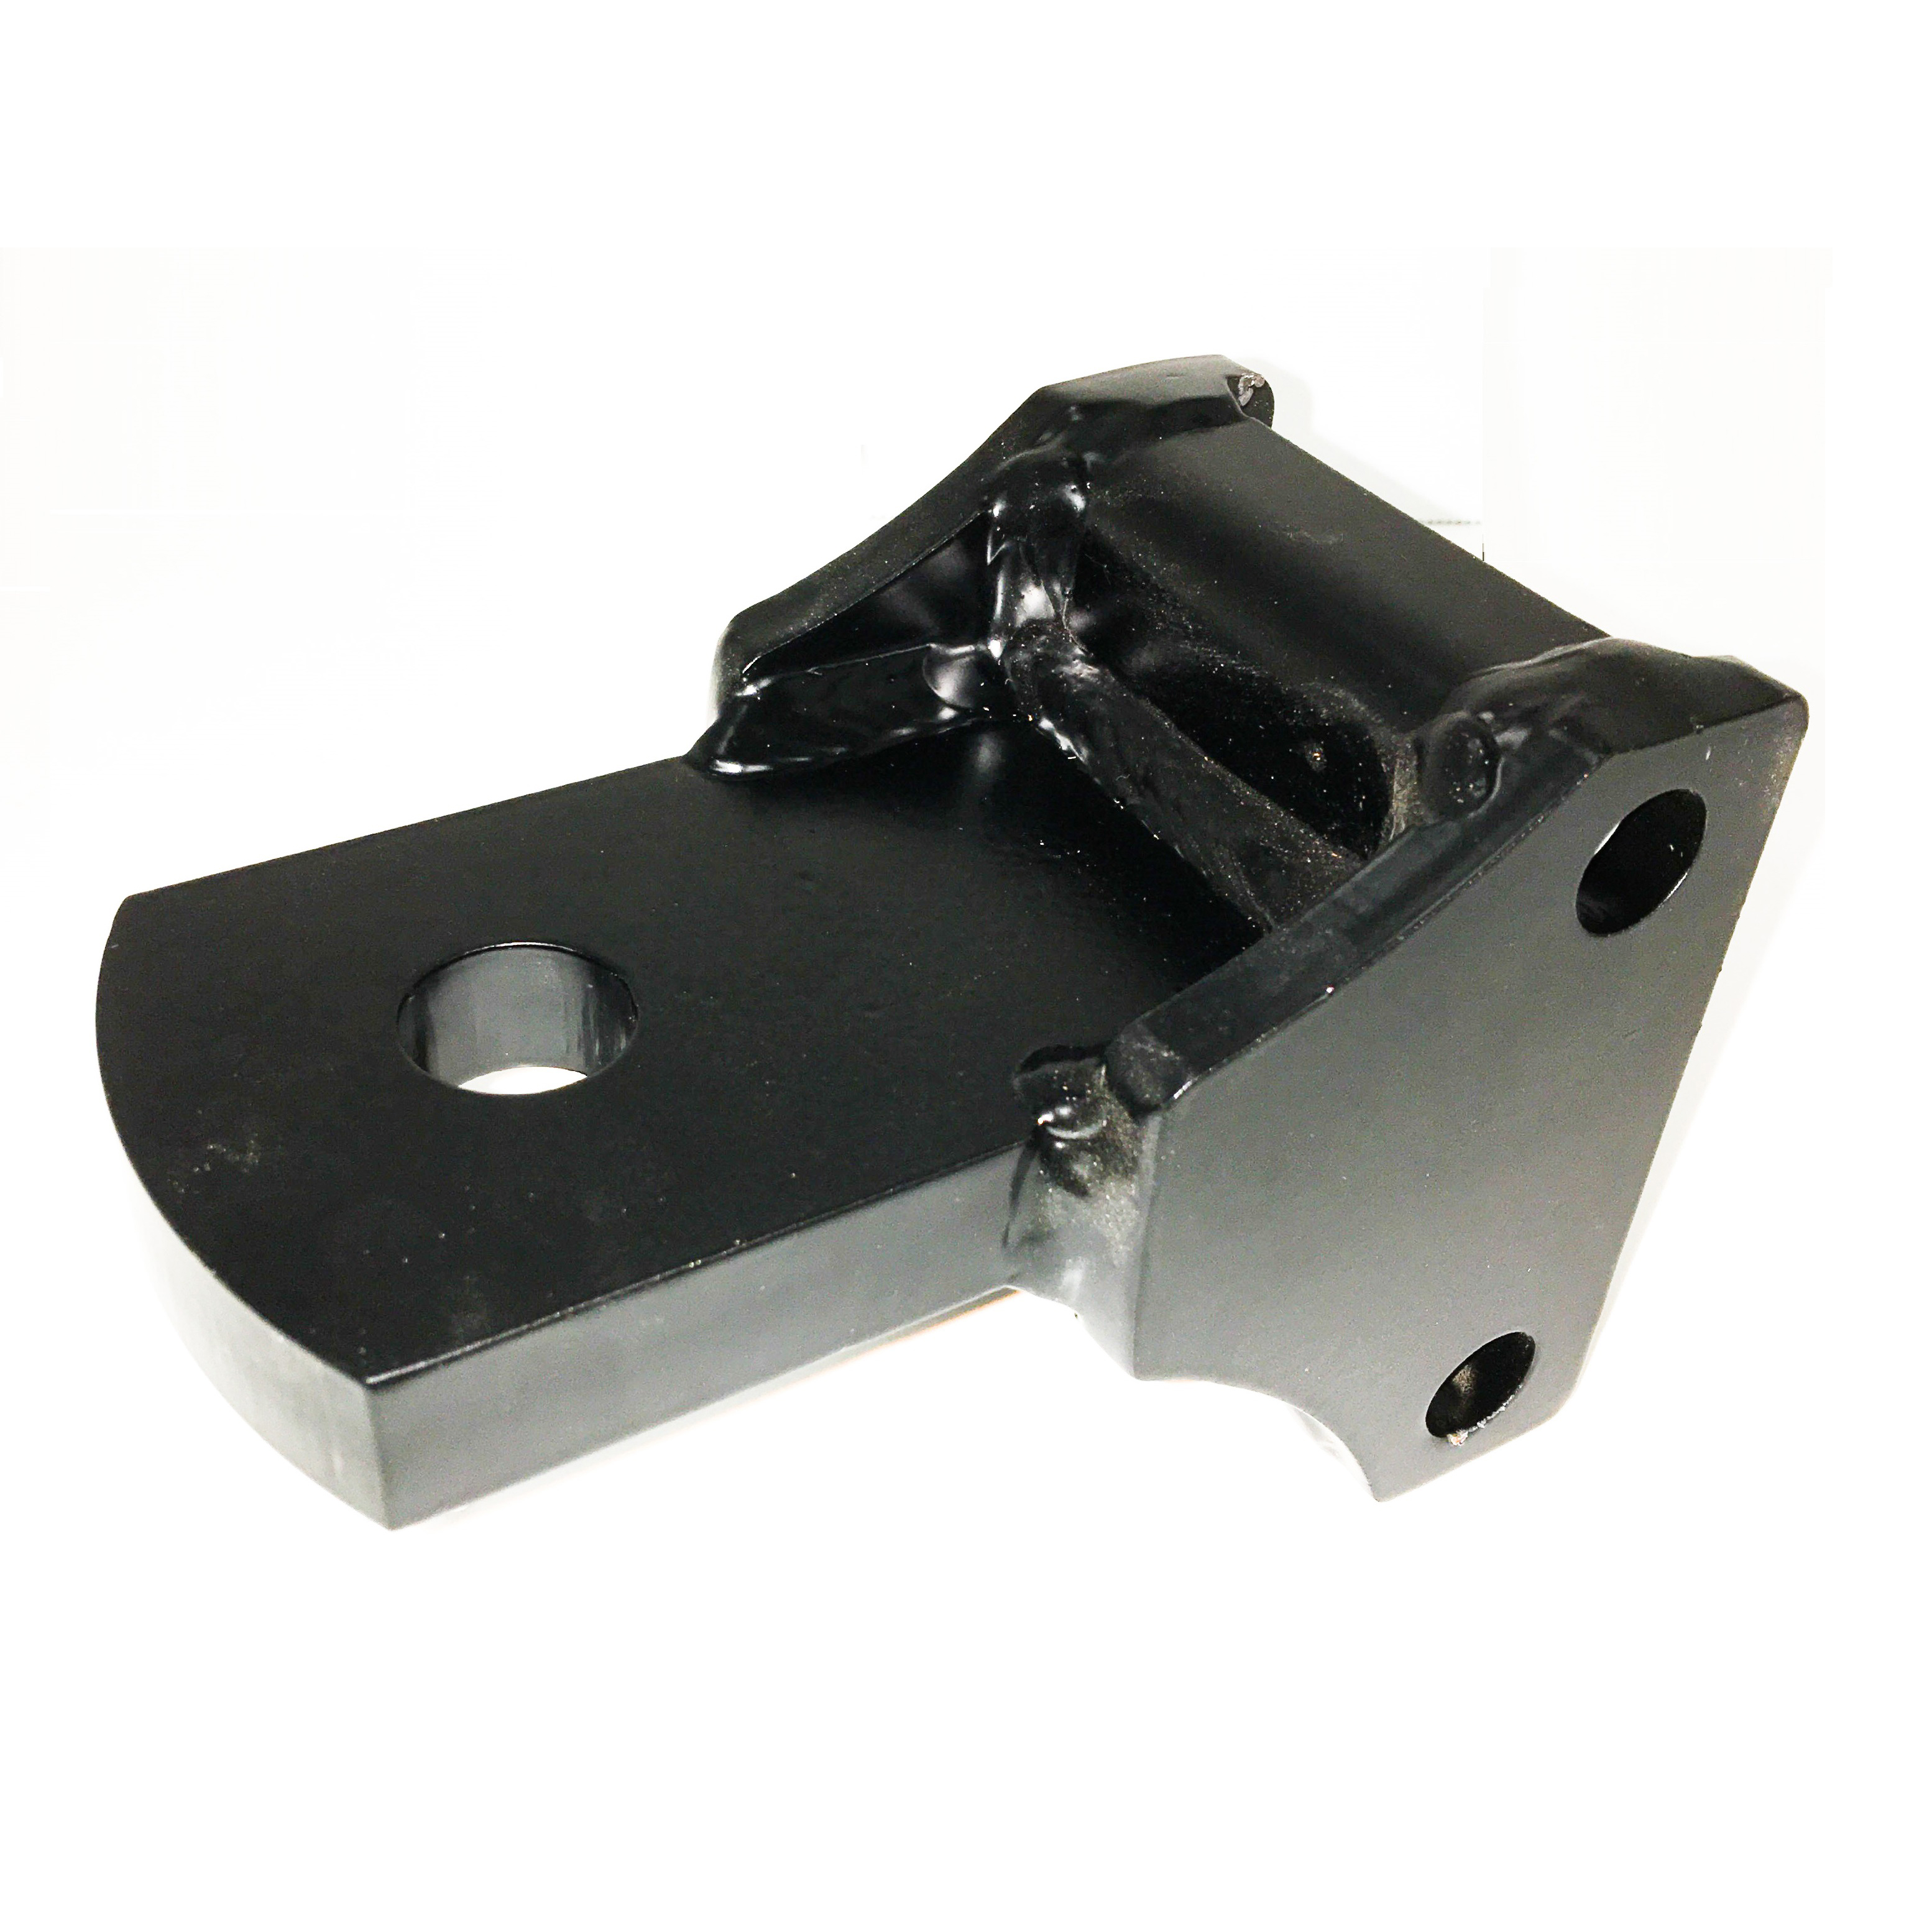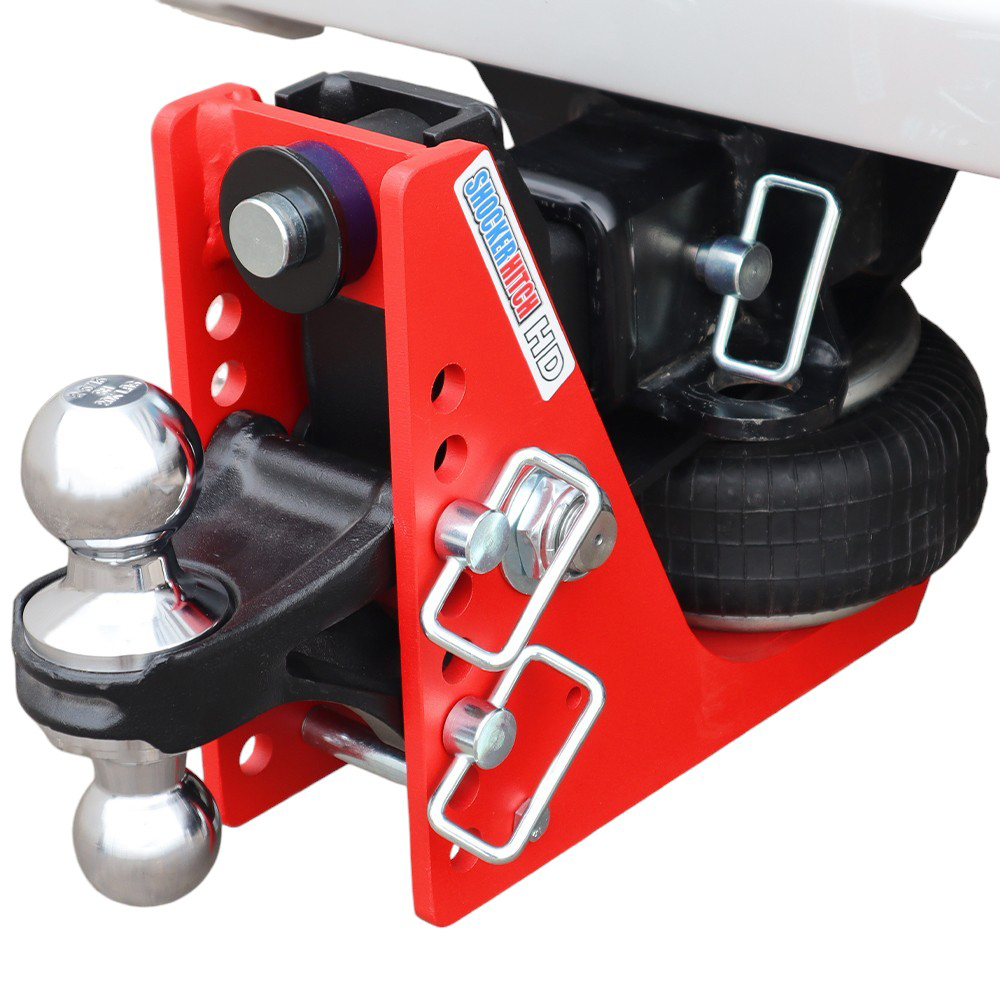

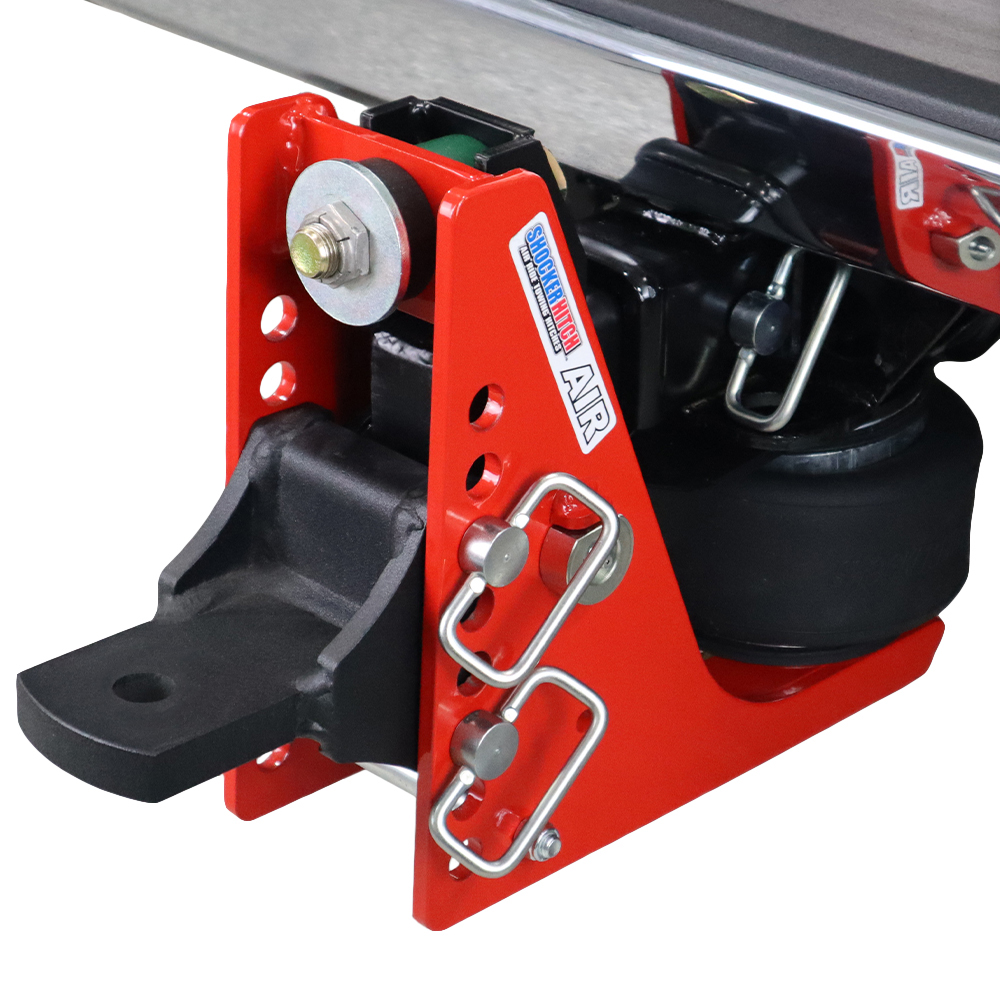
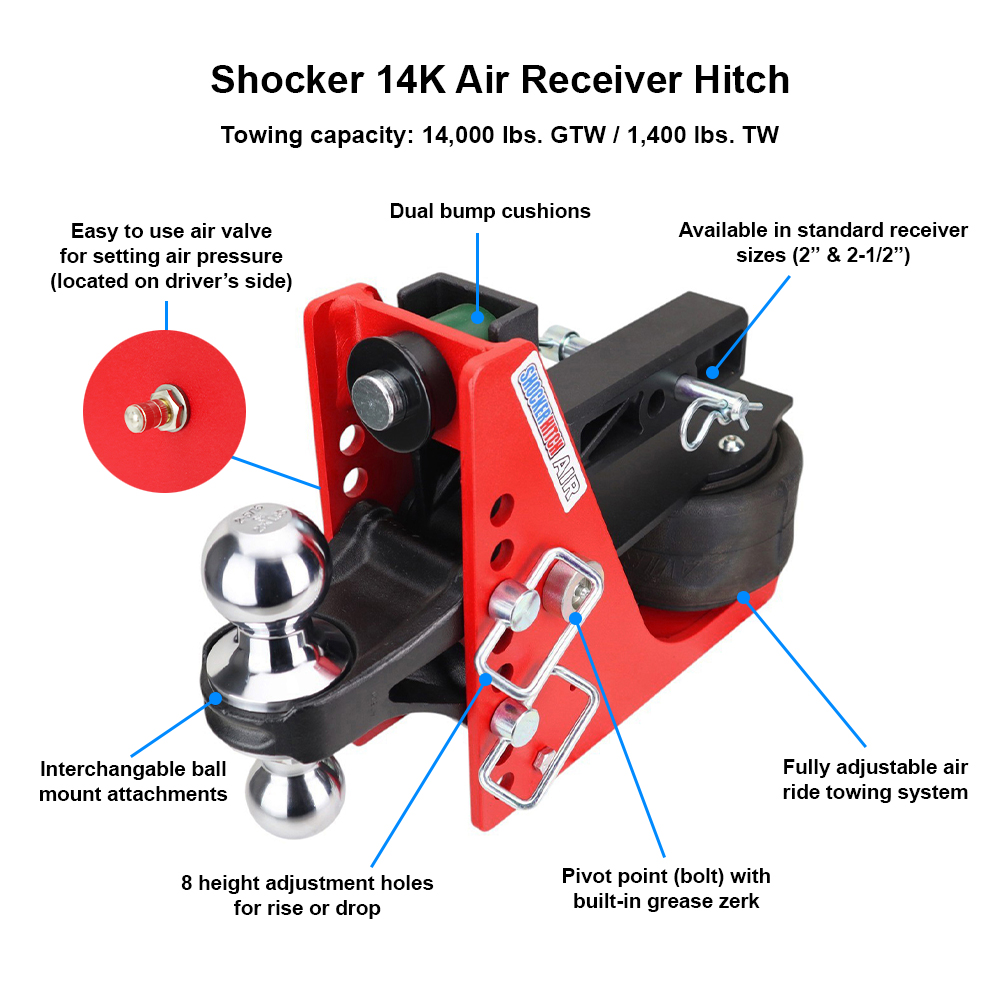
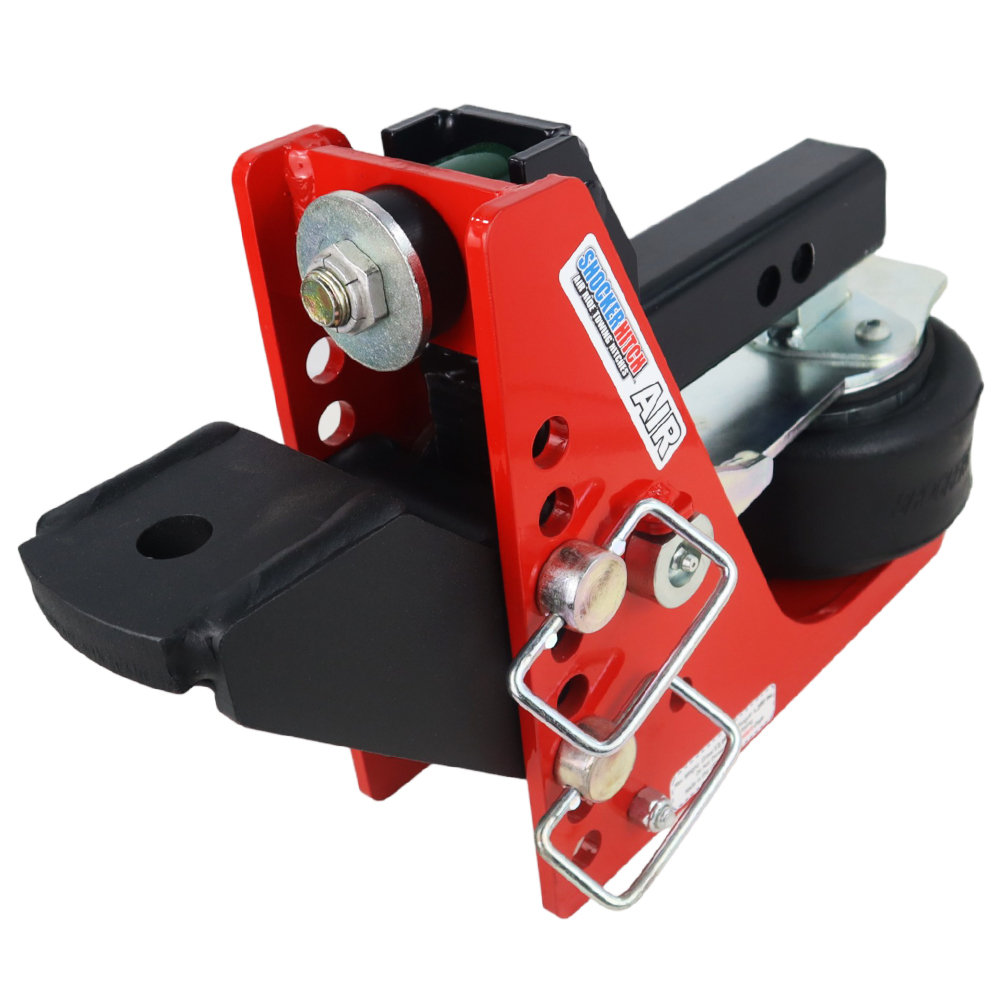
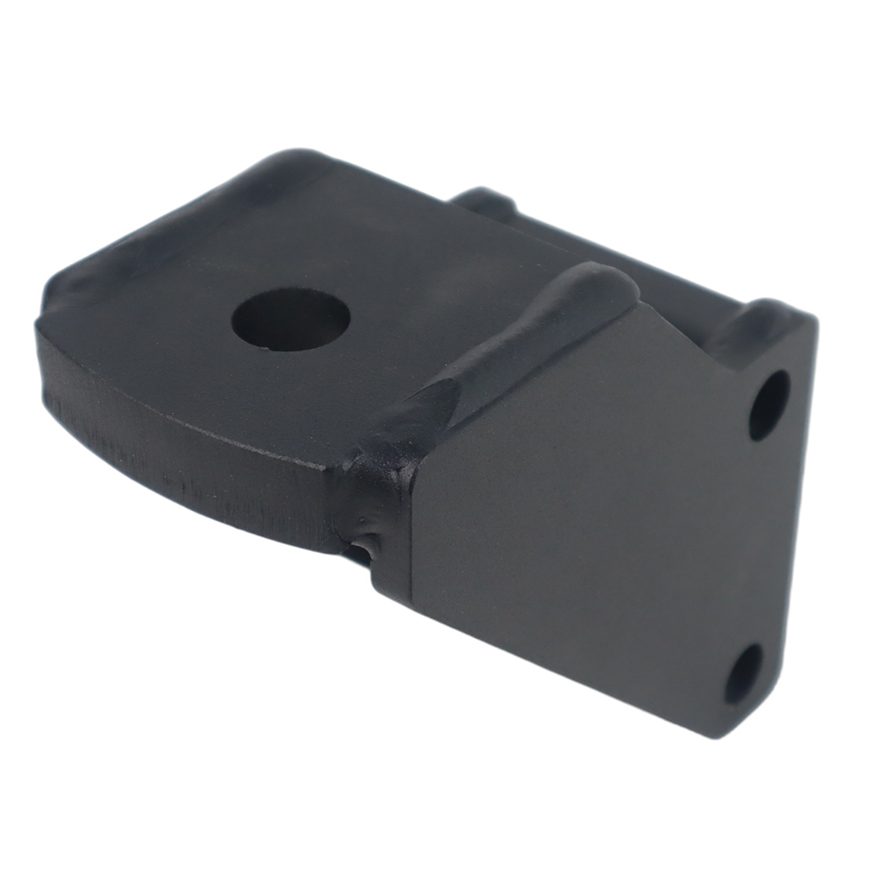
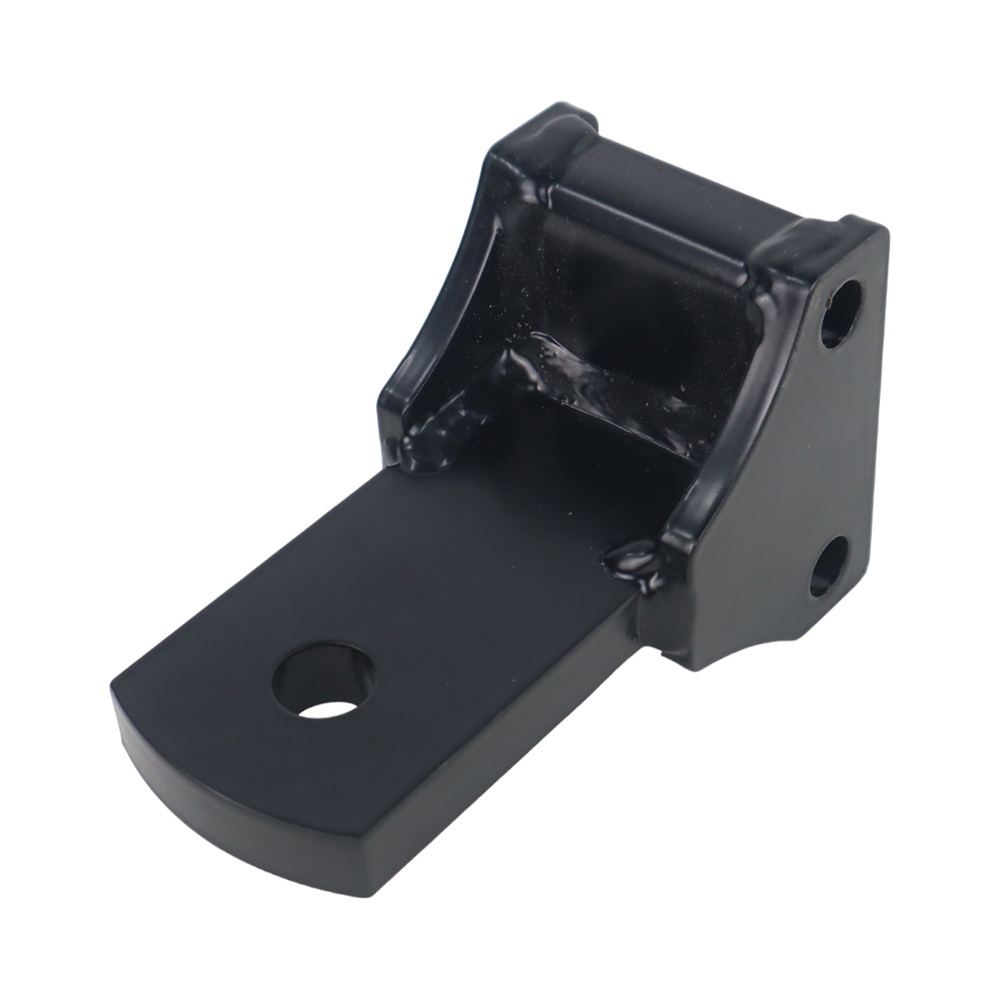
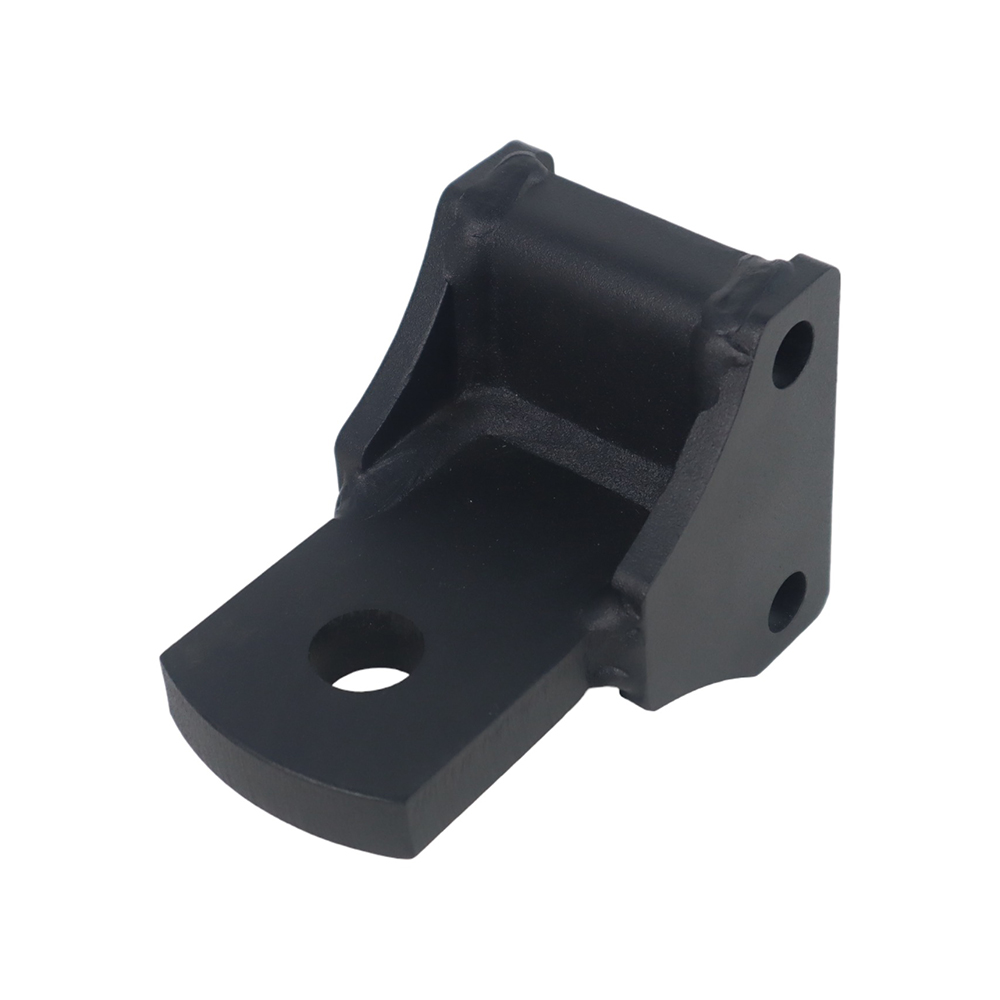
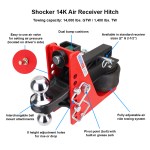
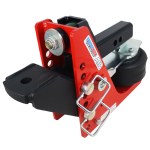
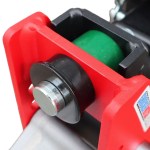
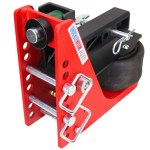
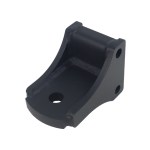
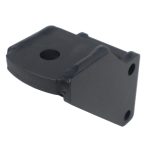

Shocker Air Receiver Hitch with Metric Australia / Europe Mounts

Rated 0 out of 5

$669.99$709.99

Free Ground Shipping*
Usually Ships on or Before Fri 06/19/26
Usually Ships on or Before Mon 06/01/26
Usually Ships on or Before Fri 06/19/26
Clear

Additional Add-Ons

3-Pack (2 Mount & 1 Receiver Pins)
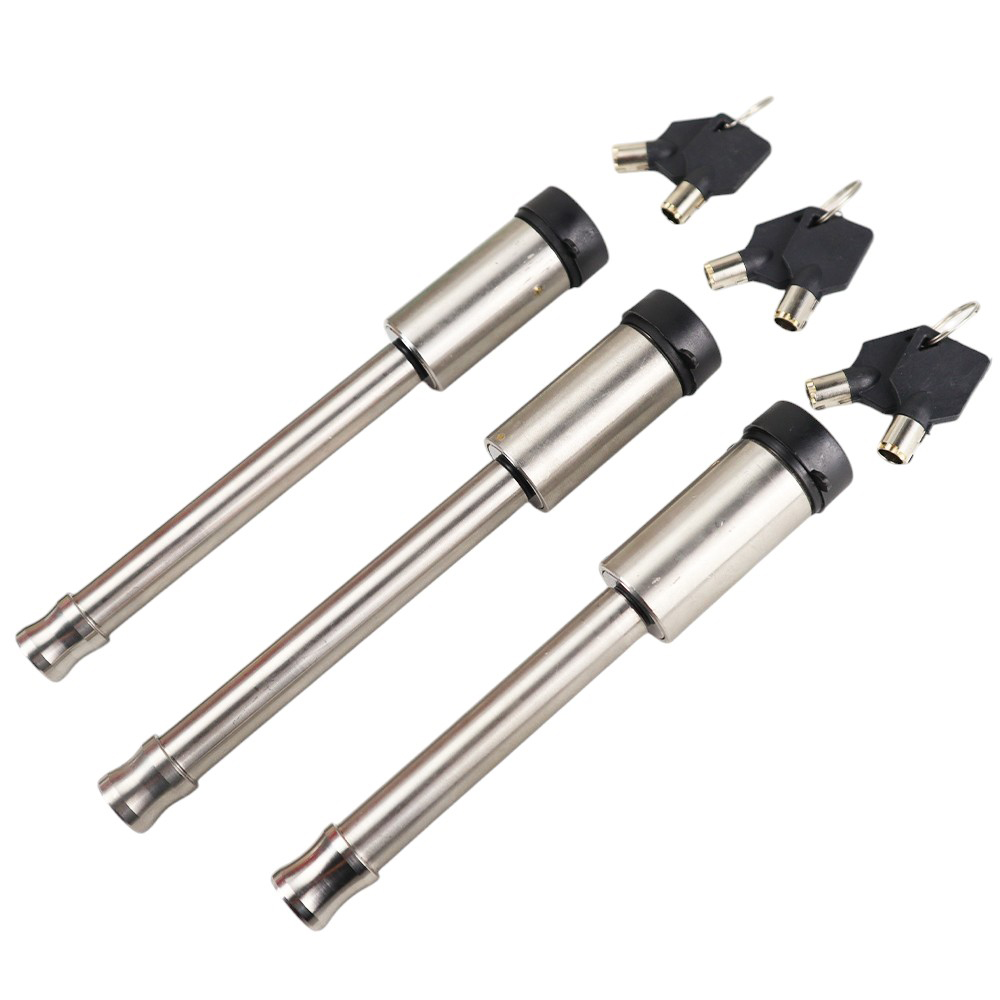
Shocker Hitch Locking Hitch Pin & 2 Ball Mount Attachment Locking Pins - Fits Base Frame & Receiver
3 Pack (Hitch & 2 Mount Attachment Pin Locks)
$69.96
|
SKU: SH-317-2-318
Shocker Compact Portable Air Compressor with Digital Gauge
$59.99
|
SKU: SH-5625
Shocker Chrome Combo Ball Attachment SH-340C
Shocker Combo Ball Attachment
Chrome Combo 2" & 2-5/16" Balls
$119.99
|
SKU: SH-340C
OR
Dealer Button

-

  • Videos arrow

    Videos

    Shocker 14K Air Receiver Hitch Videos

  • Drop/Rise Guide arrow

    Drop/Rise Guide

    • Air Ride Receiver Hitch Mount Drop & Rise + Tow Rating Guide (8 Hole Frame) For Super Drop Air Hitch (12 Hole Frame: Add 4″ of Drop to Ranges Below)
      – Combo Ball: 0″ Rise to 4.5″ Drop | 2-5/16″ ball rated at 20,000 lbs & 2″ ball rated at 10,000 lbs.
      – Drop Ball: 4.5″ to 8.5″ Drop | 2-5/16″ ball rated at 20,000 lbs & 2″ ball rated at 10,000 lbs.
      – Raised Ball: 2″ Rise to 2″ Drop | 2-5/16″ ball rated at 20,000 lbs & 2″ ball rated at 10,000 lbs.
      Bolt on Pintle Hook: 2.5″ Rise to 6.5″ Drop | 10-Ton 20,000 lbs.
      Channel Style Pintle Hook: 3″ to 7″ Drop | 10-Ton 20,000 lbs.
      Raised Pintle Hook: 0″ Rise to 5″ Drop | 10-Ton 20,000 lbs.
      Bolt on Pintle & Ball: 2.5″ Rise to 6.5″ Drop | 8-Ton 16,000 lbs. (2″ Ball is 10,000 lbs).
      – Channel Style Pintle & Ball: 3″ to 7″ Drop | 8-Ton 16,000 lbs. (2″ Ball is 10,000 lbs).
      – Drawbar: 0″ Rise to 4.5″ Drop | 20,000 lbs.
      – Clevis Mount: 3.5″ Drop to 7.5″ Drop | 20,000 lbs.
      – Sway Bar Mounts: Same Rating as Like Type Mount Listing Above.

    Safety Notice: Towing capacity is limited by lowest rated component.

    Check out our guide to find out how much drop or rise you need.

  • Install arrow

    Install

    View the installation and set up guides for our Shocker Air Ride Receiver Hitches. Including the Shocker 14K Air Receiver Hitch, Shocker 20K HD Air Receiver Hitch, Streamline Air Receiver Hitch, Super Drop Max Air Receiver Hitch, 8K Sport Air Receiver Hitch, and the Trail Force Air Receiver Hitch. They are easy to install and set-up in minutes. The air bumper hitch comes complete with easy-to-understand instructions and everything you need. You can download the installation instructions or view the video below to learn how much PSI my Shocker Air Receiver Hitch needs.

    Shocker Air Receiver Hitch Install Video

    Note: Always use a good hitch ball rated for the recommended tow weight.

    Safety Notice: Towing capacity is limited by the lowest rated component.

    Shocker Air Receiver Hitch Installation Instructions

    1. Compressing Air Spring (BEFORE INSTALLATION)

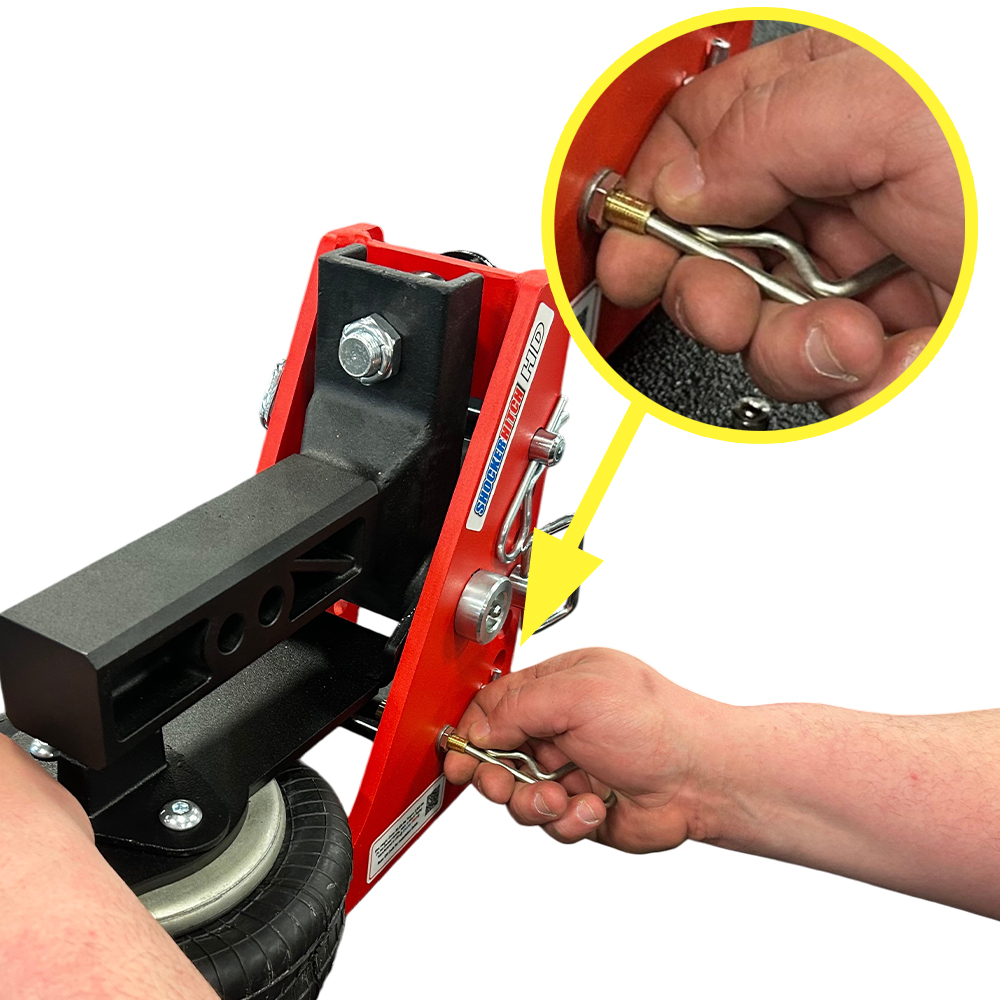
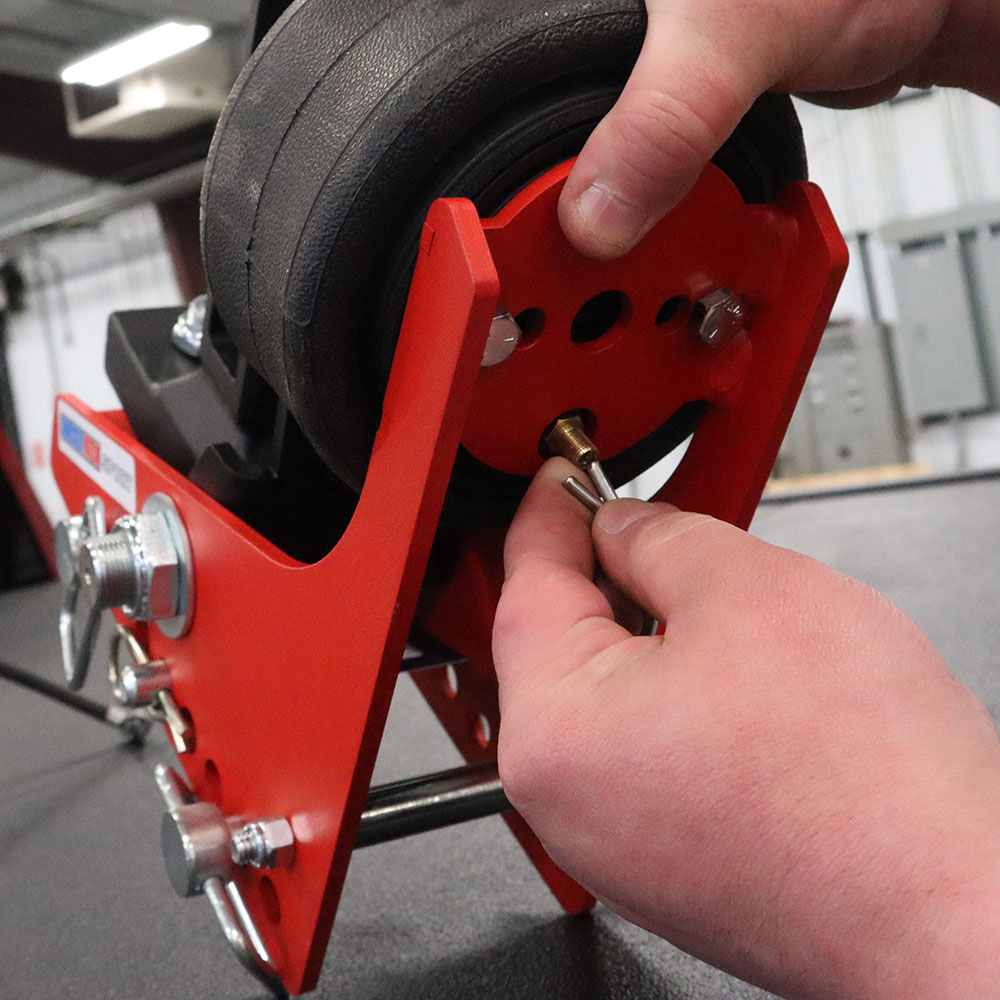
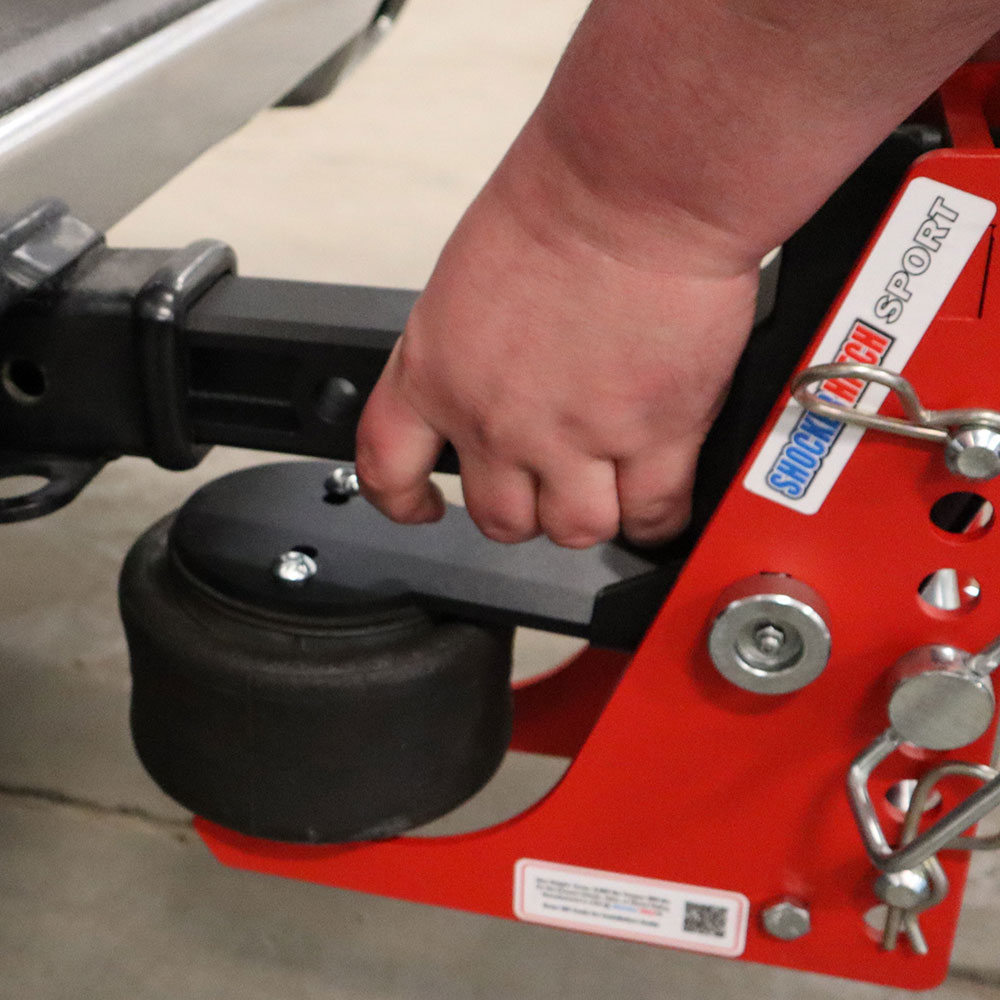
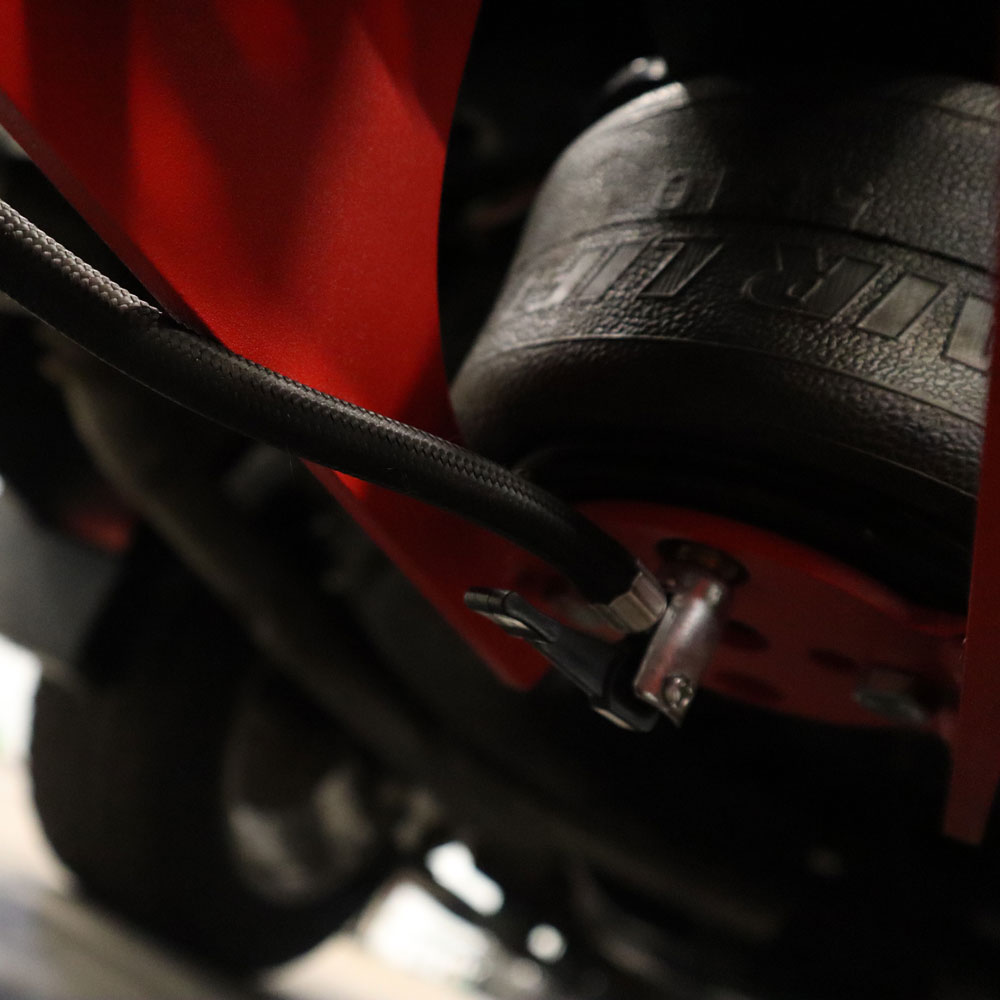
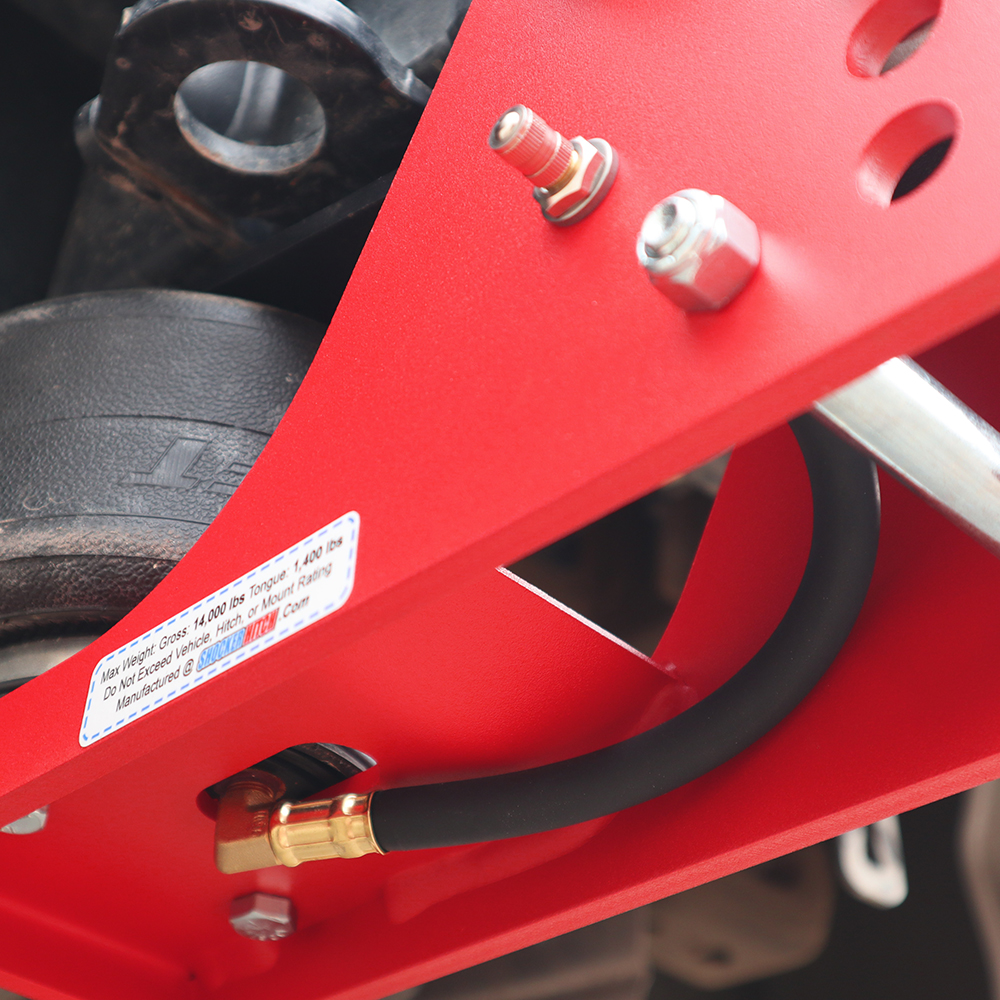
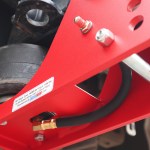
    Release Pressure: Use the provided cotter pin clip to push in on the valve core to release air pressure from the back.

    Compress: While releasing pressure, simultaneously push down on the air spring paddle or squeeze the plates together to exhaust the remaining air.
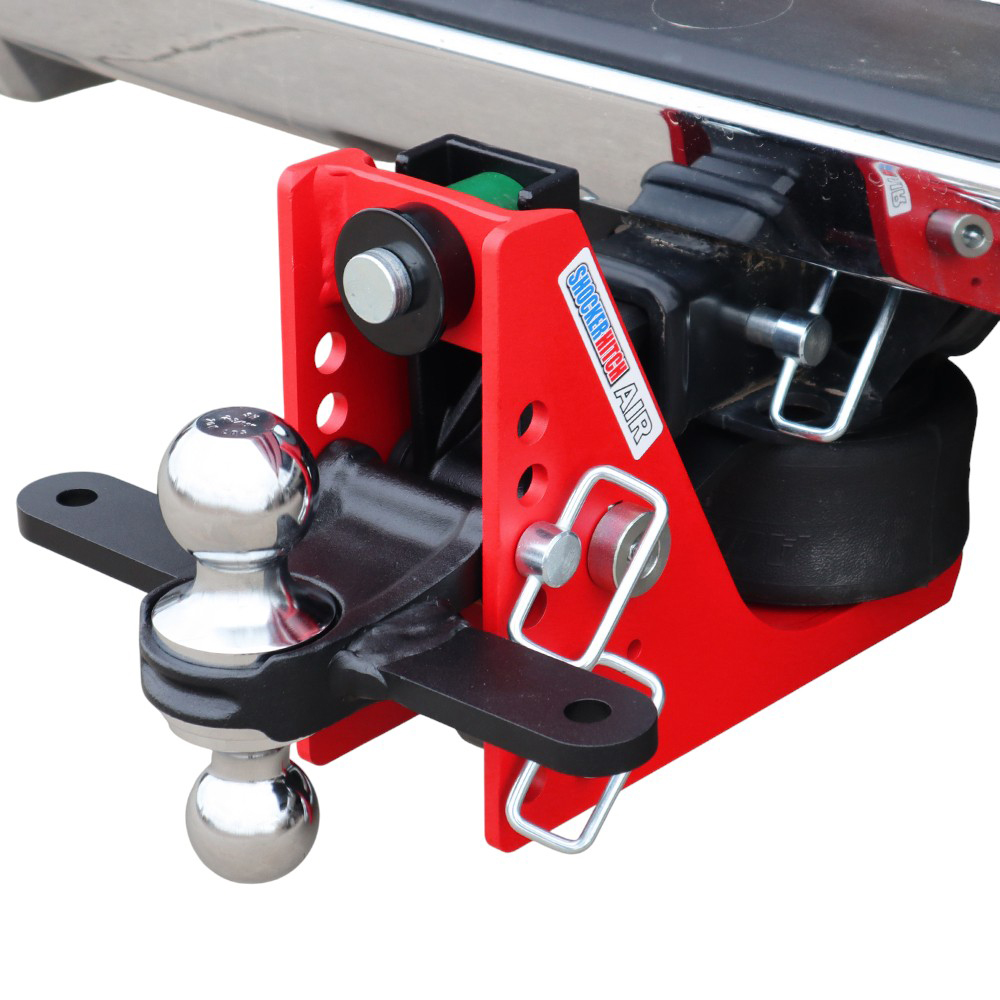
    Releasing air pressure with cotter pin clip and pressing down on paddle simultaneously

    2. Installing the Shocker Hitch into the Receiver

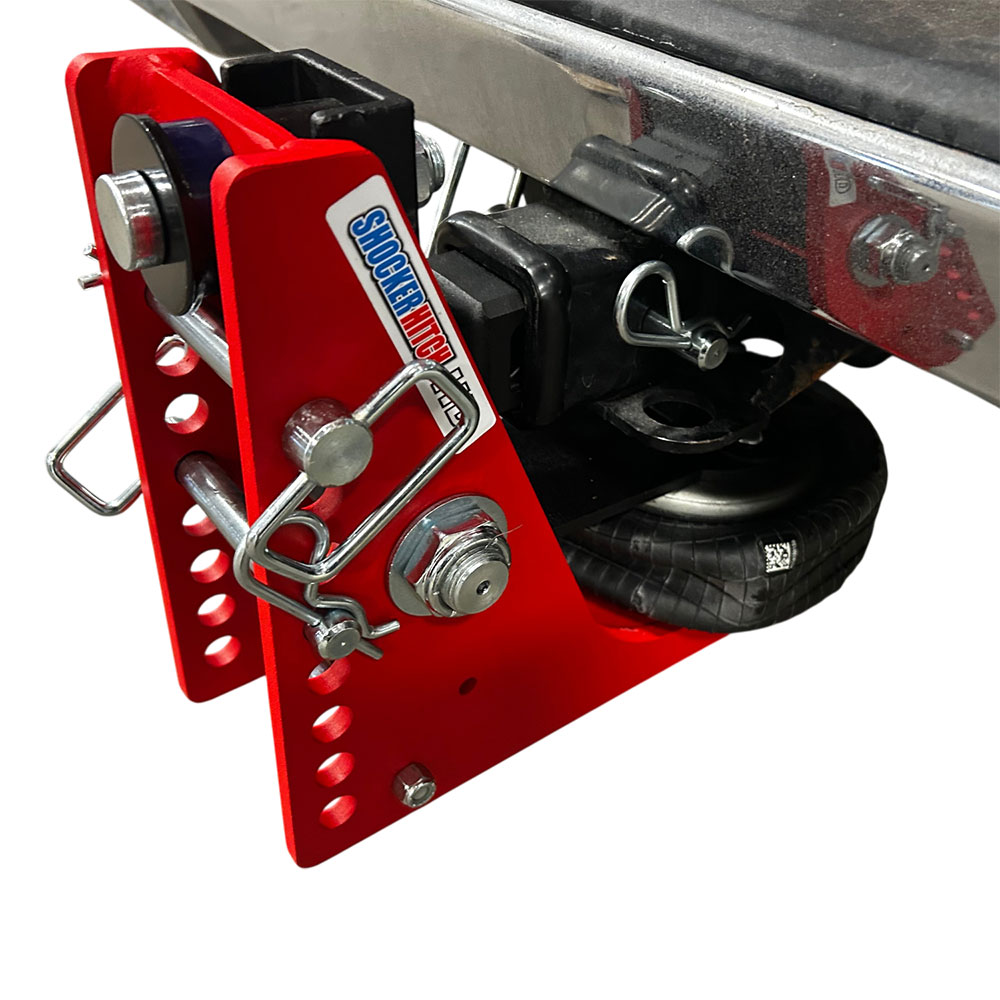
    Mounting: Slide the hitch shank fully into the receiver tube of your tow vehicle.

    Align and Secure: Align the pin holes and insert the 5/8” hitch pin. Lock it in place with the cotter pin clip.

    Shank inserted into receiver tube and secured with pin and cotter pin clip

    3. Install Attachment Ball Mount

    Selection: Choose an attachment that allows your trailer to sit level. Refer to “WHAT SIZE DROP HITCH DO I NEED” and “GROUND CLEARANCE GUIDE” for more information.

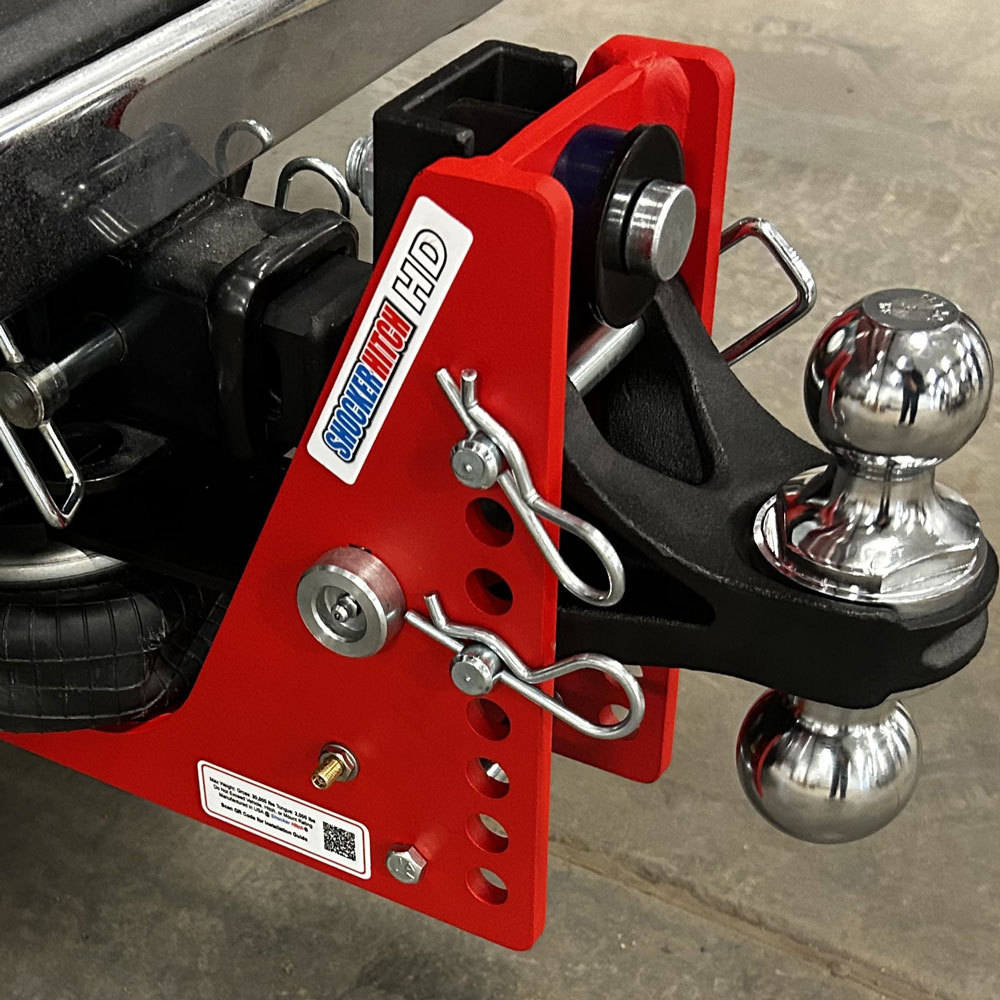
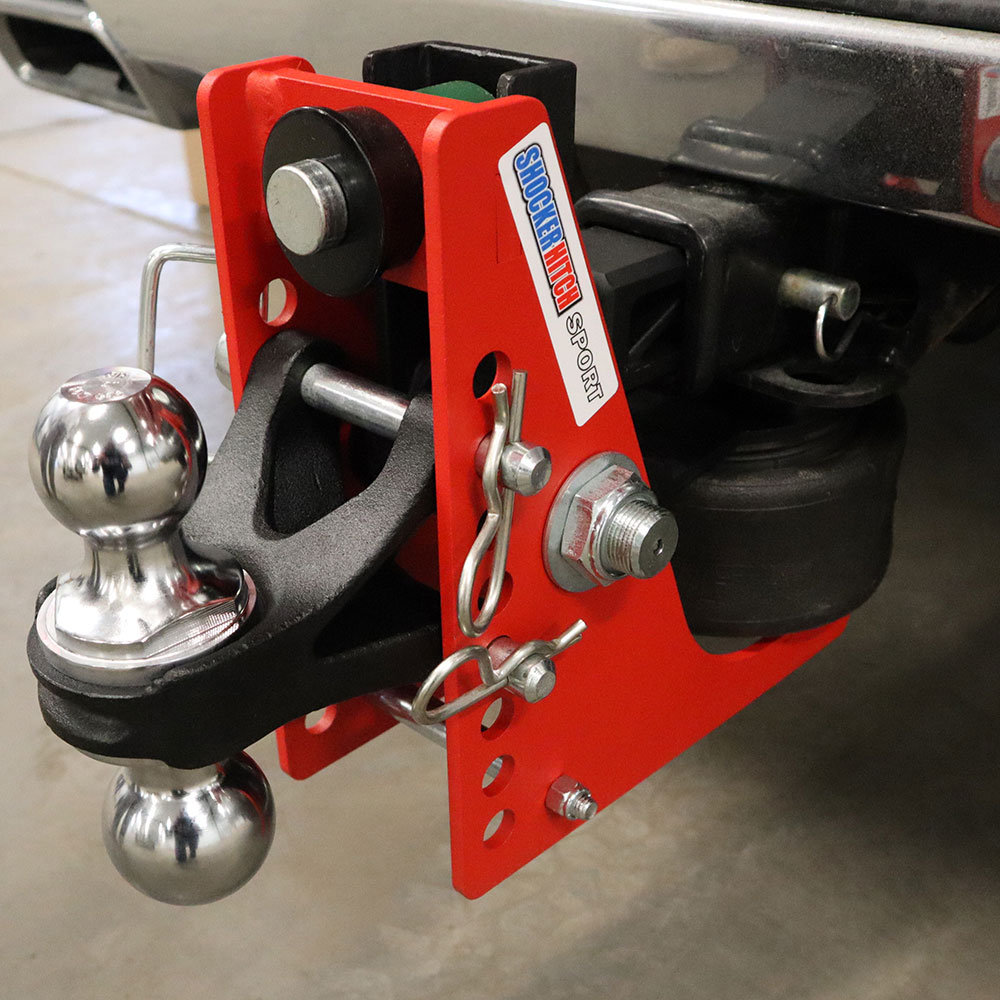
    Attachment: Install your chosen mount into the Shocker Hitch Frame.

    Secure: Use the hitch pins and cotter pin clips provided to lock the ball mount into place.

    Ball mount installed and secured with hitch pins and cotter pin clips

    4. Setting Air Pressure

    Load the Trailer: Hook up your trailer and load it as you normally would for travel.

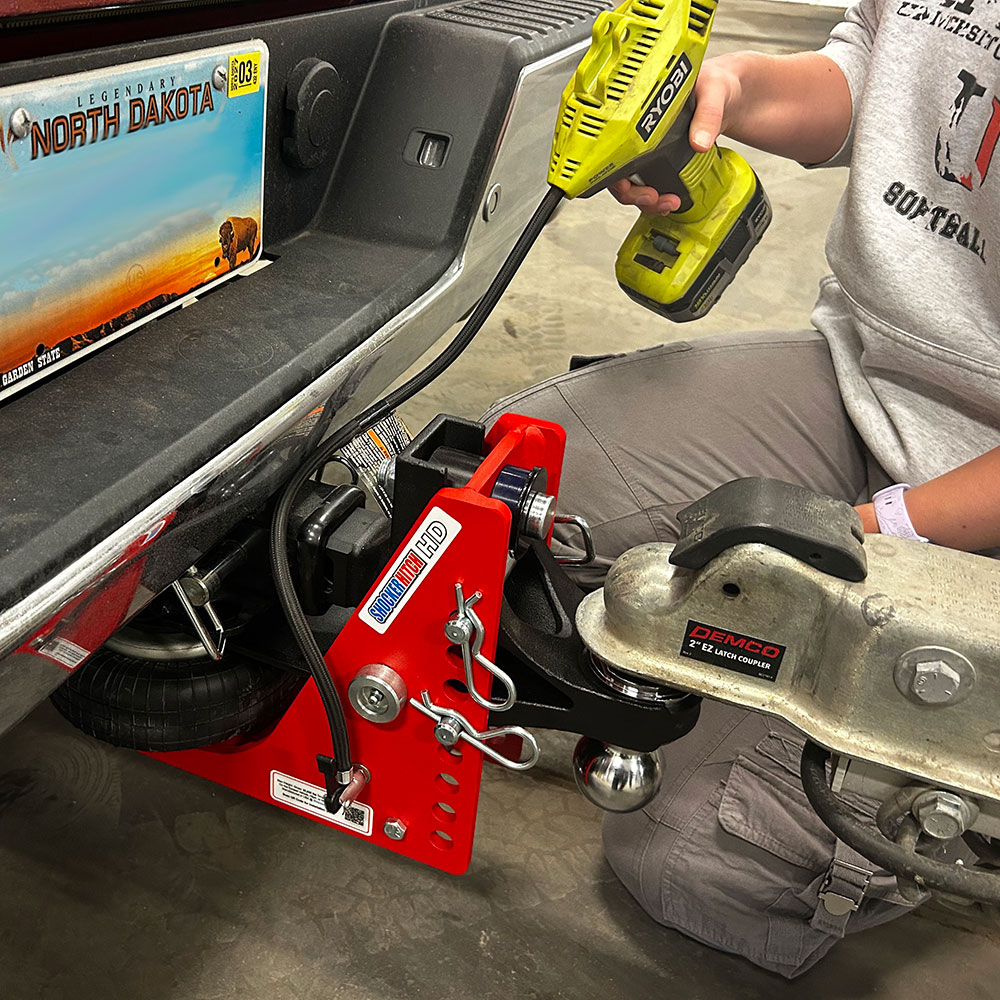
    To Set Air: Hook up trailer using a properly selected ball adaptor and height adjustment to level trailer when loaded. Next, inflate the air spring. As air pressure increases, the unit will rotate, lifting the hitch point. Install enough air until the top of the hitch frame touches the top (tailgate side) bump cushion, or for heavy loads, until it compresses the tailgate side bump cushion by approximately 1/8″.

    Filling up air ride system using an air compressor on the valve stem

    The “Sweet Spot”

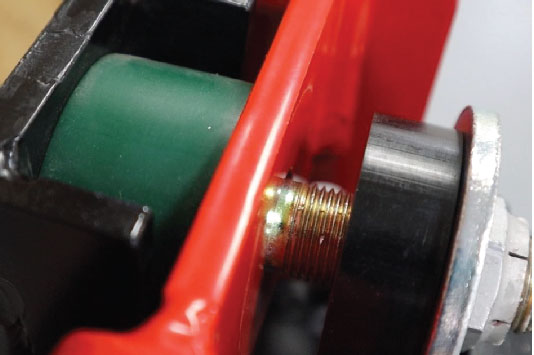
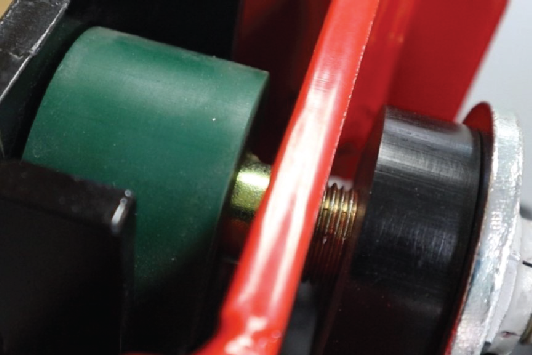
    Stop adding air once the main frame lightly compresses the truck side bump cushion.

    Truck side bump cushion compressed slightly showing proper air compression

    Proper Air Pressure Guide

    Spacer Block Guide

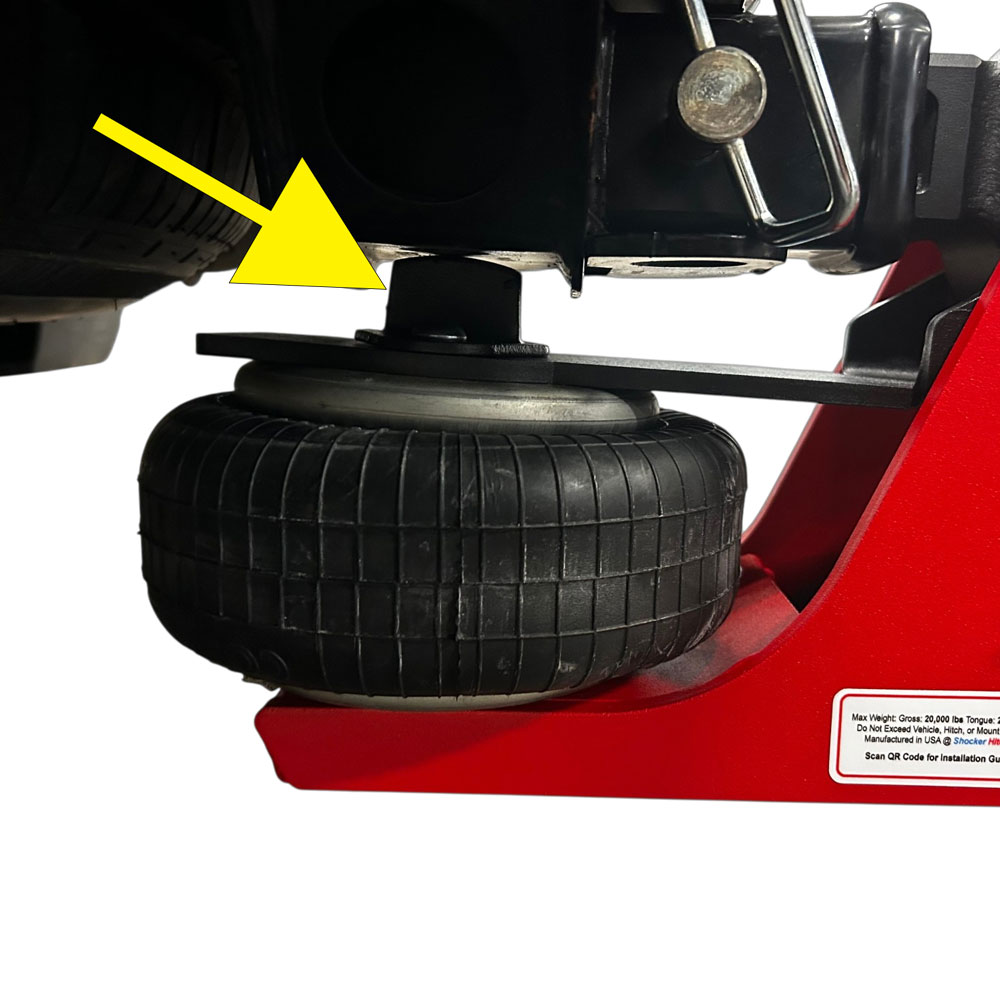
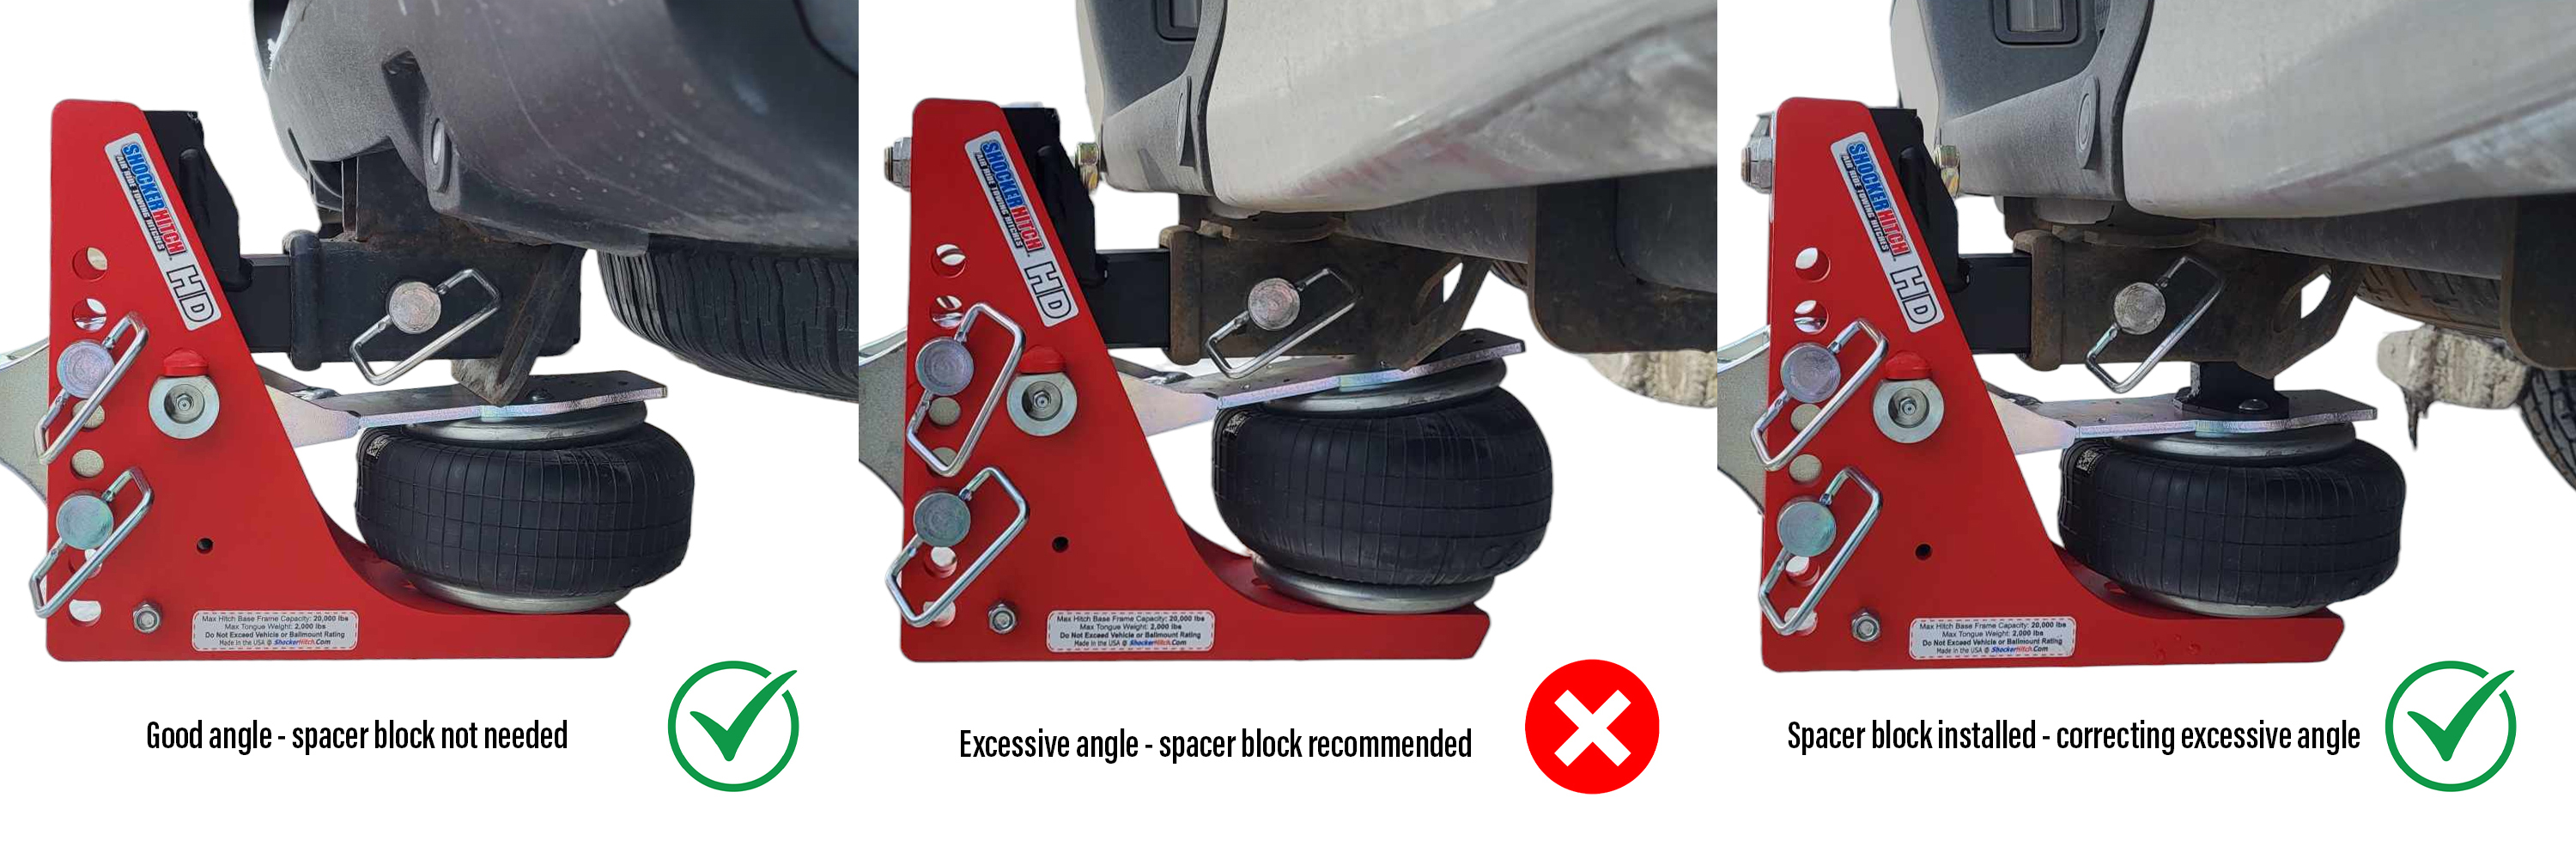
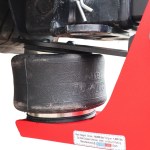
    How do I know if I need a spacer block on my air receiver hitch? How do I know if I need a spacer block on my air receiver hitch? When your air receiver and trailer are hooked up, and the air receiver has the proper air pressure, the metal paddle above the air spring bag should be level with the air spring bag. If the paddle has more than a 10-degree angle when the air receiver hitch is aired up, a spacer block can be installed on top of the paddle to level the paddle and air spring bag. A spacer is needed when the angle between the bottom of the vehicle receiver and the top paddle above the air spring bag on the hitch is excessive. (A spacer block is used with 20K HD Air Receiver Hitches with a 2″ receiver (already installed) and some HD air receiver hitches with a 2-1/2″ receiver (Spacer comes in box). It is generally not ever needed with a 14K air receiver hitch, as the air spring bag is 1″ taller than the HD air spring bag.)

    Safety Notice: NEVER exceed 100PSI, as this can damage the air spring or bushings.

    Spacer block pressed up against receiver tube (Properly Installed)

    When is a spacer block needed?

    HD Space Block Guide - 2" and 2-1/2" Shank

    Additional Set Up Notes:

    • When towing heavy trailers or trailers with high wind resistance, it may be necessary to increase air pressure in the Shocker.
    • It is highly recommended that the hitch ball be greased to reduce wear and improve shocker action.
    • Ensure you have connected your safety chains and electrical cord before towing.
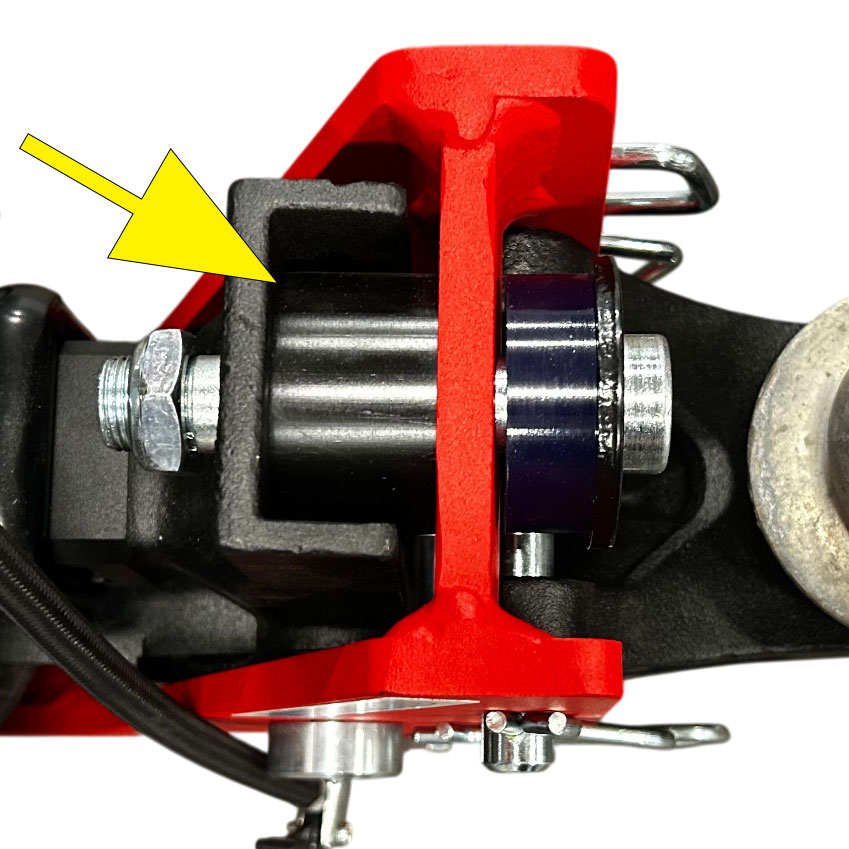
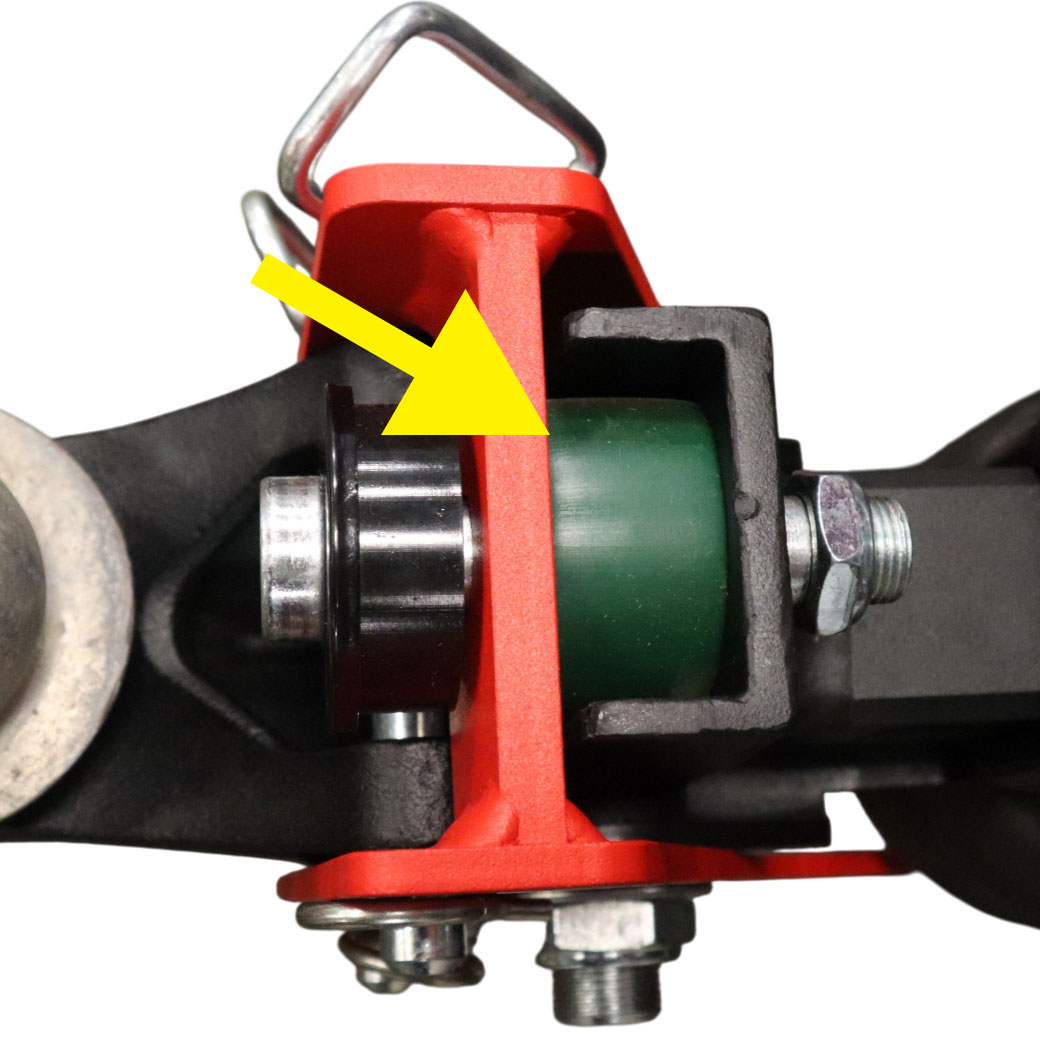
    • DO NOT TIGHTEN THE TOP BOLT, IT IS A LIMITER STOP ONLY.

    Maximum Air Pressure: Do not exceed 100 psi in the air spring, as it may damage the air spring.

    Will the Shocker Air Bumper Hitch work with Equalizer or Weight-Distribution?  If you have an equalizer or weight distribution hitch, then it will not. However, check out our Shocker Air Equalizer for weight distribution hitches. If you are just using friction sway bars that hook to a mini ball (such as the shocker sway control arm bar kit), then yes, if you also have one of our sway bar tab mounts, such as the combo sway control ball mount attachment

    Sport Air Receiver Hitch Installation Instructions

    1. Compressing Air Spring (BEFORE INSTALLATION)

    Release Pressure: Use the provided cotter pin clip to push in on the valve core to release air pressure from the back.

    Compress: While releasing pressure, simultaneously push down on the air spring paddle or squeeze the plates together to exhaust the remaining air.

    Releasing air pressure with cotter pin and pressing down on paddle

    2. Installing the Shocker Sport Hitch into the Receiver

    • Mounting: Slide the hitch shank fully into the receiver tube of your tow vehicle.

    Align and Secure: Align the pin holes and insert the 5/8” hitch pin. Lock it in place with the cotter pin clip.

    Shank inserted into receiver tube and secured with pin and cotter pin clip

    3. Install Attachment Ball Mount

    Selection: Choose an attachment that allows your trailer to sit level. Refer to “WHAT SIZE DROP HITCH DO I NEED” and “GROUND CLEARANCE GUIDE” for more information.

    Attachment: Install your chosen mount into the Shocker Sport Hitch Frame.

    Secure: Use the hitch pins and cotter pin clips provided to lock the ball mount into place.

    Ball mount installed and secured with hitch pins and cotter pin clips

    4. Setting Air Pressure

    Load the Trailer: Hook up your trailer and load it as you normally would for travel.

    To Set Air: Hook up trailer using a properly selected ball adaptor and height adjustment to level trailer when loaded. Next, inflate the air spring. As air pressure increases, the unit will rotate, lifting the hitch point. Install enough air until the top of the hitch frame touches the top (tailgate side) bump cushion, or for heavy loads, until it compresses the tailgate side bump cushion by approximately 1/8″.

    Filling up air spring using an air compressor on the valve stem

    The “Sweet Spot”

    Stop adding air once the main frame lightly compresses the truck side bump cushion.

    Truck side bump cushion compressed slightly showing proper air compression

    Trail Force Receiver Hitch Installation Instructions

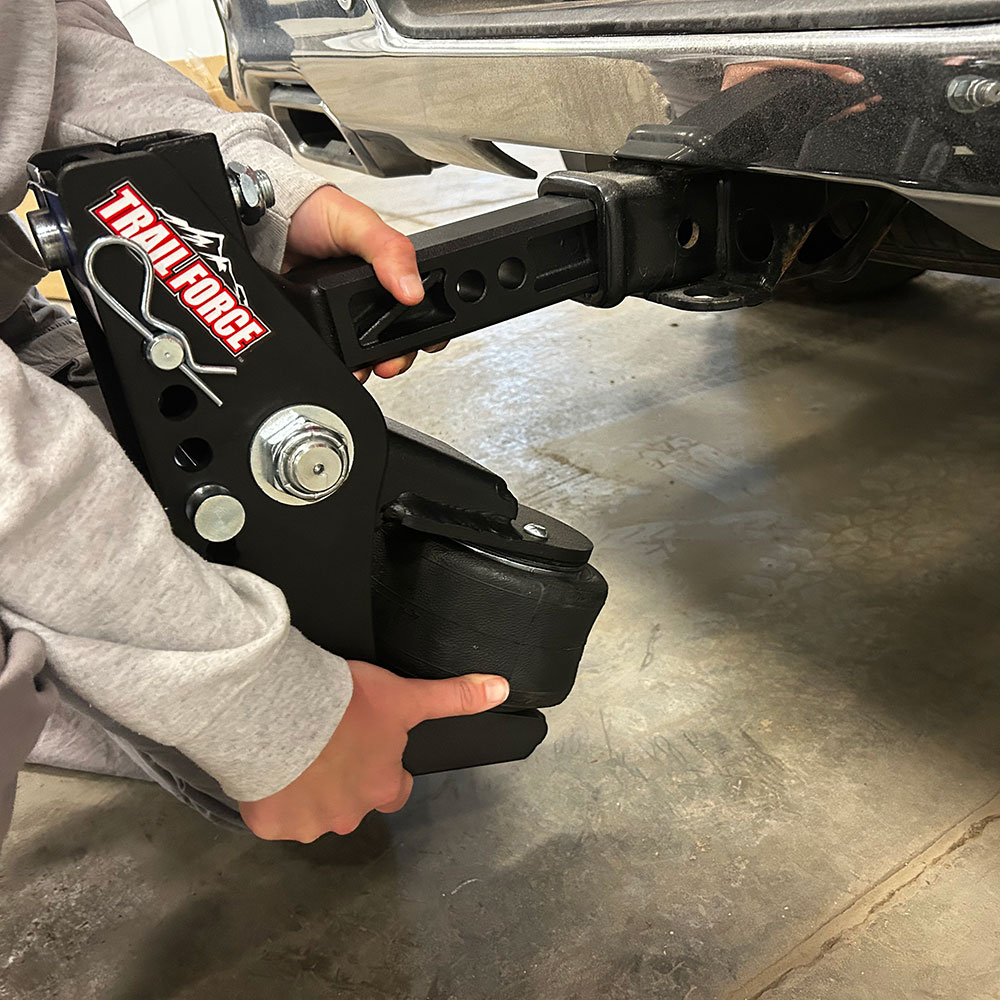
    1. Installing the Trail Force Air Hitch into the Receiver

    • Mounting: Slide the hitch shank fully into the receiver tube of your tow vehicle.

    Align and Secure: Align the pin holes and insert the 5/8” hitch pin. Lock it in place with the cotter pin clip.

    Shank inserted into receiver

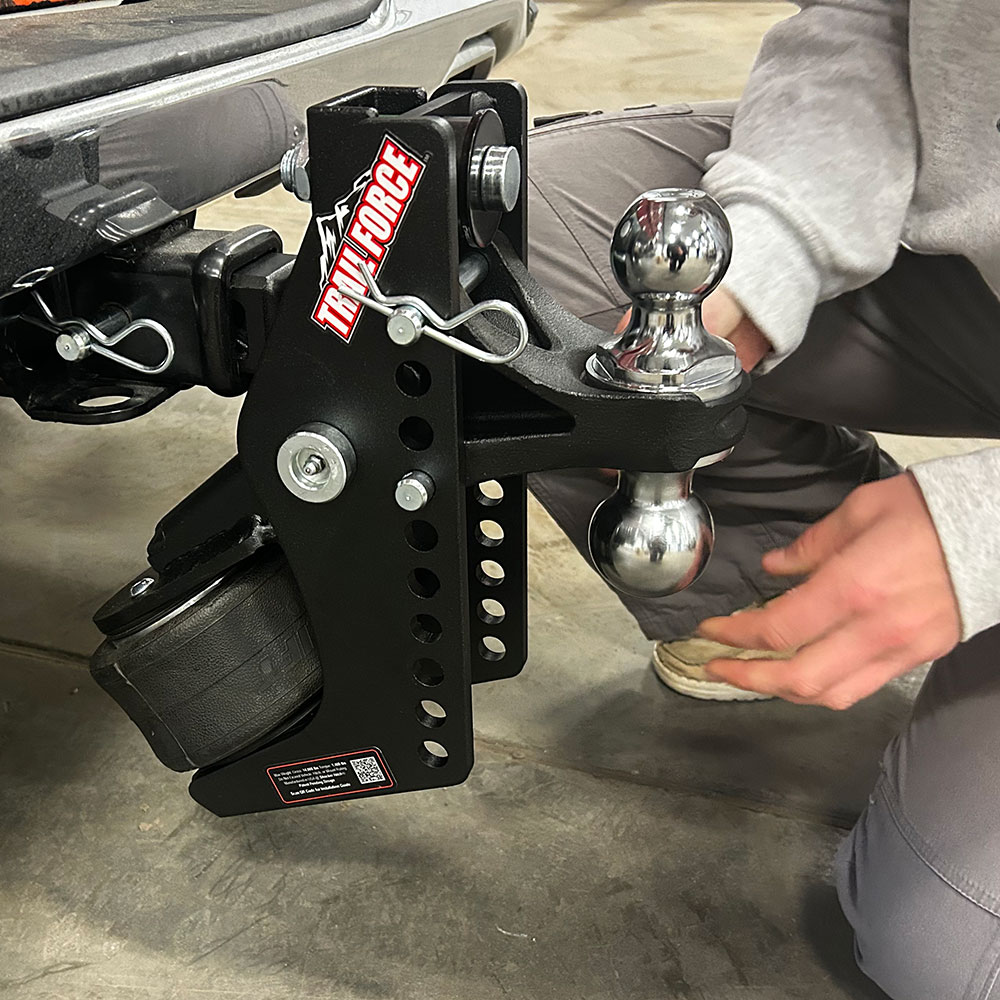
    2. Install Attachment Ball Mount

    Selection: Choose an attachment that allows your trailer to sit level. Refer to “WHAT SIZE DROP HITCH DO I NEED” and “GROUND CLEARANCE GUIDE” for more information.

    Attachment: Install your chosen mount into the Trail Force Hitch Frame.

    Secure: Use the hitch pins and cotter pin clips provided to lock the ball mount into place.

    Ball mount installed and secured with hitch pins and clips

    3. Setting Air Pressure

    Load the Trailer: Hook up your trailer and load it as you normally would for travel.

    To Set Air: Hook up trailer using a properly selected ball adaptor and height adjustment to level trailer when loaded. Next, inflate the air spring. As air pressure increases, the unit will rotate, lifting the hitch point. Install enough air until the top of the hitch frame touches the top (tailgate side) bump cushion, or for heavy loads, until it compresses the tailgate side bump cushion by approximately 1/8″.

    Filling up air spring using an air compressor on the valve stem

    The “Sweet Spot”

    Stop adding air once the main frame lightly compresses the truck side bump cushion.

    Truck side bump cushion compressed slightly showing proper air compression

    Download Shocker Air Receiver Hitch Install Instructions

    Download: Shocker Air Bumper Hitch Installation Manual

    Shocker Air Receiver Hitch Air Pressure PSI Tuning Video

    Installation Issues

    We want you to have the best possible towing experience with your product, and proper installation is important. If you need help, we are here for you. Just give us a call at 701-707-2666 or use our contact us form. You can also look up the item’s product page on our website and view the installation tab. Most products on our website have a setup guide and installation video.

    Routine Maintenance Guide:

    1. Routine Lubrication
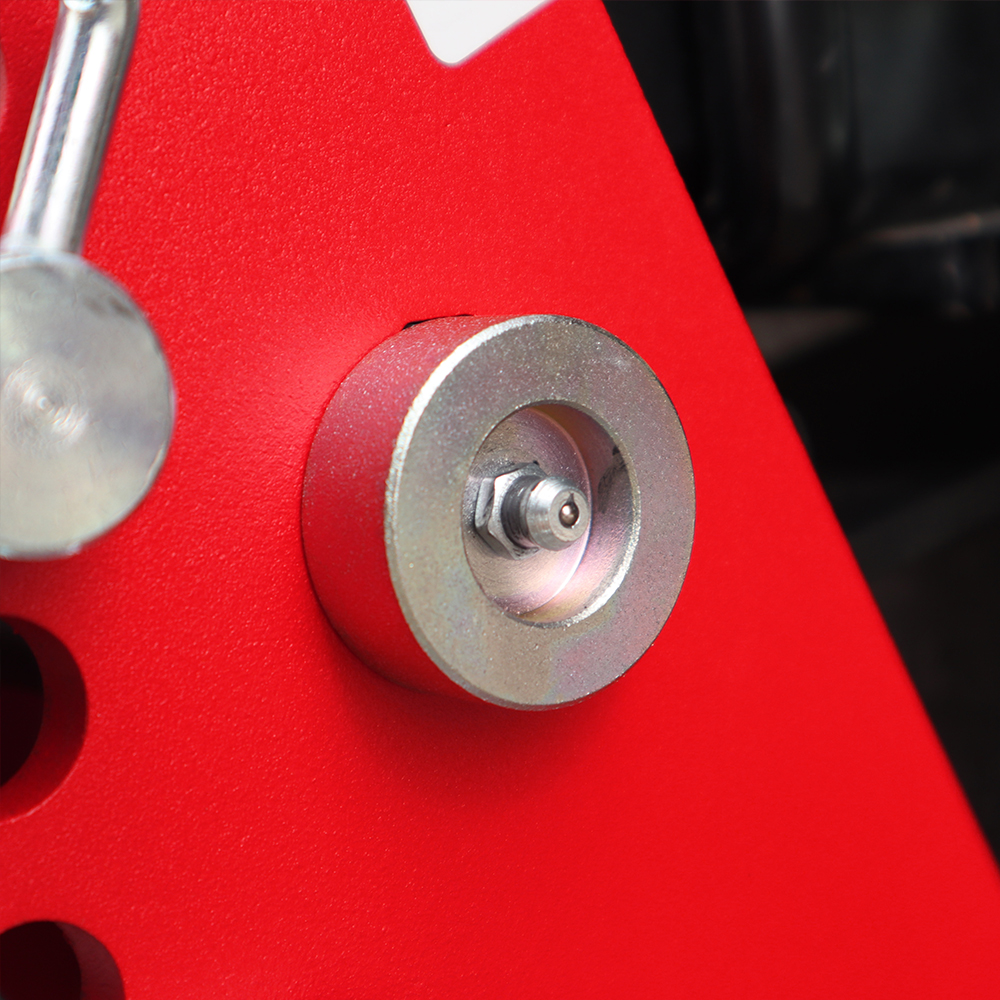
      Pivot Bolt: Regularly grease the Shocker Hitch unit using the built-in grease zerk located on the main pivot bolt.
      Over-Greasing: You cannot over-grease the unit; frequent lubrication ensures the air-ride pivot remains fluid and responsive.
      Hitch Ball: It is highly recommended to grease the trailer coupler ball to reduce friction and prevent premature wear.
    2. Critical Adjustments
      Top Jamnut Bolt: DO NOT tighten the top jamnut bolt.
      Factory Specs: This bolt is set to factory specifications out of the box; overtightening will cause a stiff towing experience and limit the airbag’s effectiveness.
      Attachment Swapping: When changing between different ball mounts (Combo, Pintle, Clevis, etc.), ensure the pins and cotter pin clips are fully seated and locked.
    3. Air System Integrity
      Max Pressure: Never Exceed 100PSI in the air spring.
      Component Protection: Excessive pressure can lead to permanent damage to the air spring or the internal bump cushions.
      Pre-Tow Inspection: Always check your air pressure after loading the trailer to ensure the frame is lightly compressing the bump cushion.

    Common Replacement Part:

    FAQ

    We’re here to help. Contact Us

  • Warranty arrow

    Warranty

    This product is backed by the Shocker Hitch Manufacturer Warranty and the Shocker Hitch ✅ 60 Day Money Back Smooth Towing Guarantee!. View our online Warranty Registration Form to register your Shocker Hitch.
    60-DAY MONEY BACK GUARANTEE

    60-DAY MONEY BACK GUARANTEE

    We want you to be 100% satisfied. You’ve got 60 days to ensure your hitch fits your lifestyle.
    SMOOTHER TOWING

    SMOOTHER TOWING

    We guarantee whatever you are towing, the ride on your pickup and trailer will be smoother with any of our air & cushion products period.
    FREE SHIPPING* & FREE RETURNS

    FREE SHIPPING* & FREE RETURNS

    If you are not satisfied, you can return it for free the first 60 days. See our free shipping* & free return policy.
    HOMETOWN CUSTOMER SERVICE

    HOMETOWN CUSTOMER SERVICE

    We are here to help. We are happy, when you are happy.
    INSTALL HELP

    INSTALL HELP

    We’re glad to answer any questions you have. support is here 8am‐5pm, Mon‐Fri at 701-707-2666 or you can email anytime.
    MADE IN THE USA

    MADE IN THE USA

    All of our products are custom made with good all American folks in Jamestown, ND USA
    The Shocker Hitch Guarantee applies to products purchased from ShockerHitch.com.
  • Q & A (1) arrow

    Questions and answers of the customers

      Will your hitch fit on a Toyota Land Cruiser 300
    1. 0 votes
      Q Will your hitch fit on a Toyota Land Cruiser 300
      A

      If your model has the recessed receiver our airbag hitch will not work. We would direct you to our Impact Cushion hitch.
      Shocker Impact Cushion Hitch Combo Ball Mount 4″ Rise to 4″ Drop
      https://shockerhitch.com/product/impact-cushioned-combo-ball-mount/

      A If your model has the recessed receiver our airbag hitch will not work. We would direct you to our Impact Cushion hitch. Shocker Impact Cushion Hitch Combo Ball Mount 4″ Rise to 4″ Drop https://shockerhitch.com/product/impact-cushioned-combo-ball-mount/
      A

      Our standard air receiver hitch won't work on the Toyota Land Cruiser 300 due to the recessed receiver in the bumper. But we have great news, our new TrailForce Hitch will work with your Land Cruiser 300 as long is its in the year range of 2007-2026!

      https://shockerhitch.com/product/trail-force/

You may also like…

  • Shocker Euro Mount - Metric - Works with Geist Style Connection (Europe / Australia Only)

    Shocker Metric Hitch Ball Mount Attachments (Australia / Europe Only)

    From:  $99.99
    Rated 0 out of 5

    -

  • All Shocker Receiver Hitch Attachments and Mounts

    Shocker Hitch Ball Mount Attachments for Receiver Hitches

    From:  $64.99
    Rated 5.00 out of 5

    -

  • Extra 12% off3-Pack (2 Mount & 1 Receiver Pins)

    Shocker Receiver Hitch Locking Hitch Pins

    From:  $24.20$27.50
    Rated 4.85 out of 5

    -