
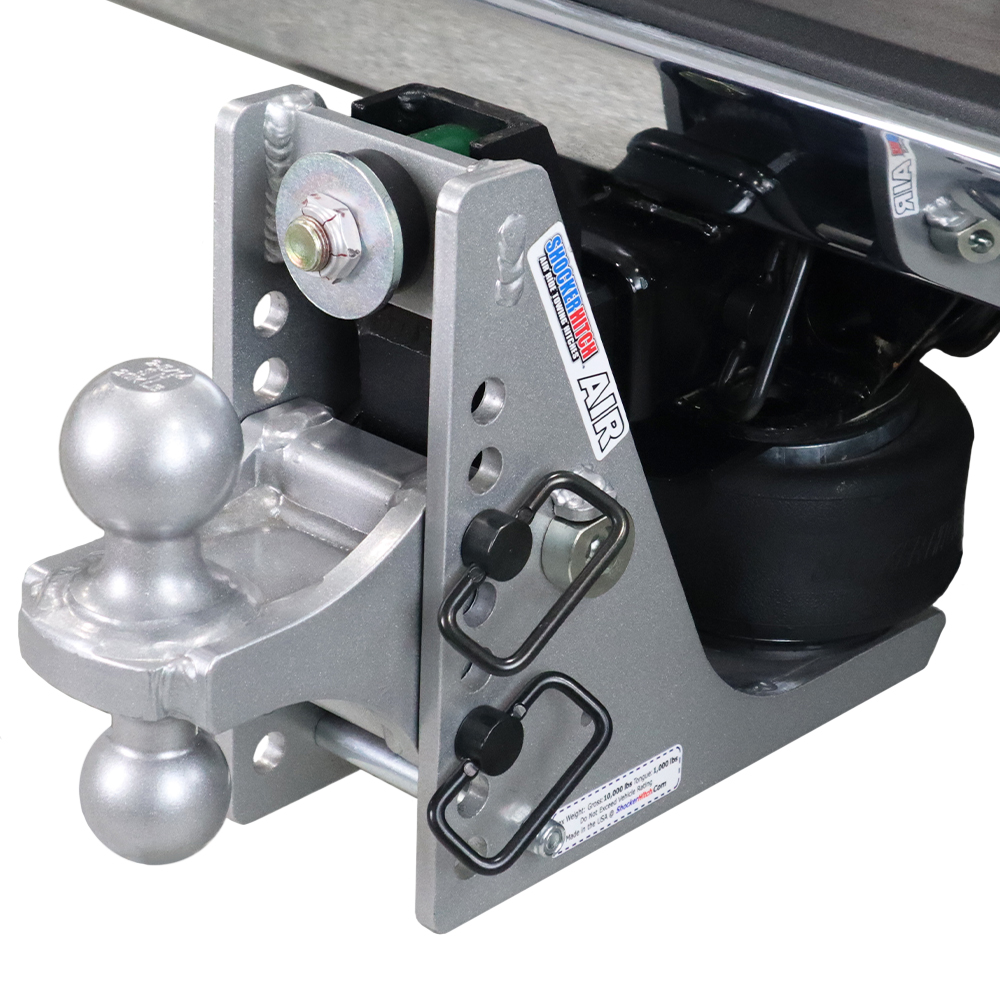
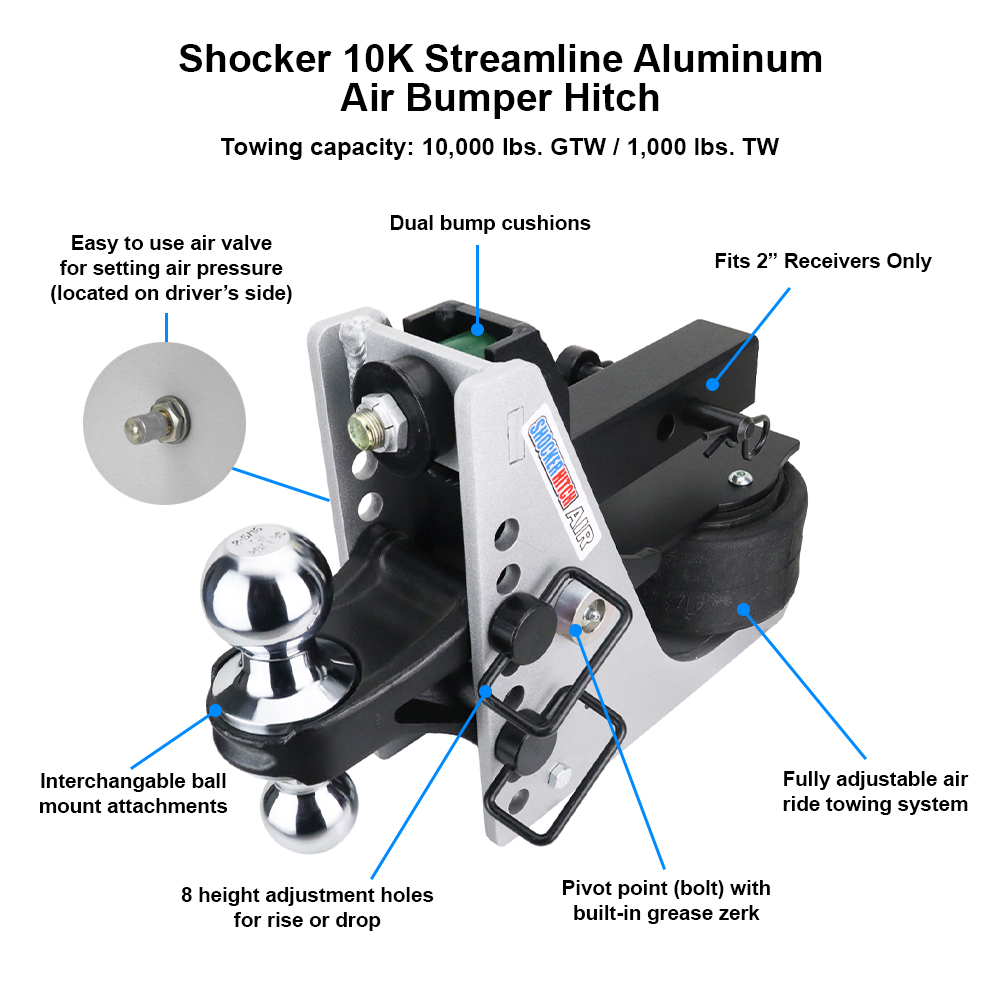
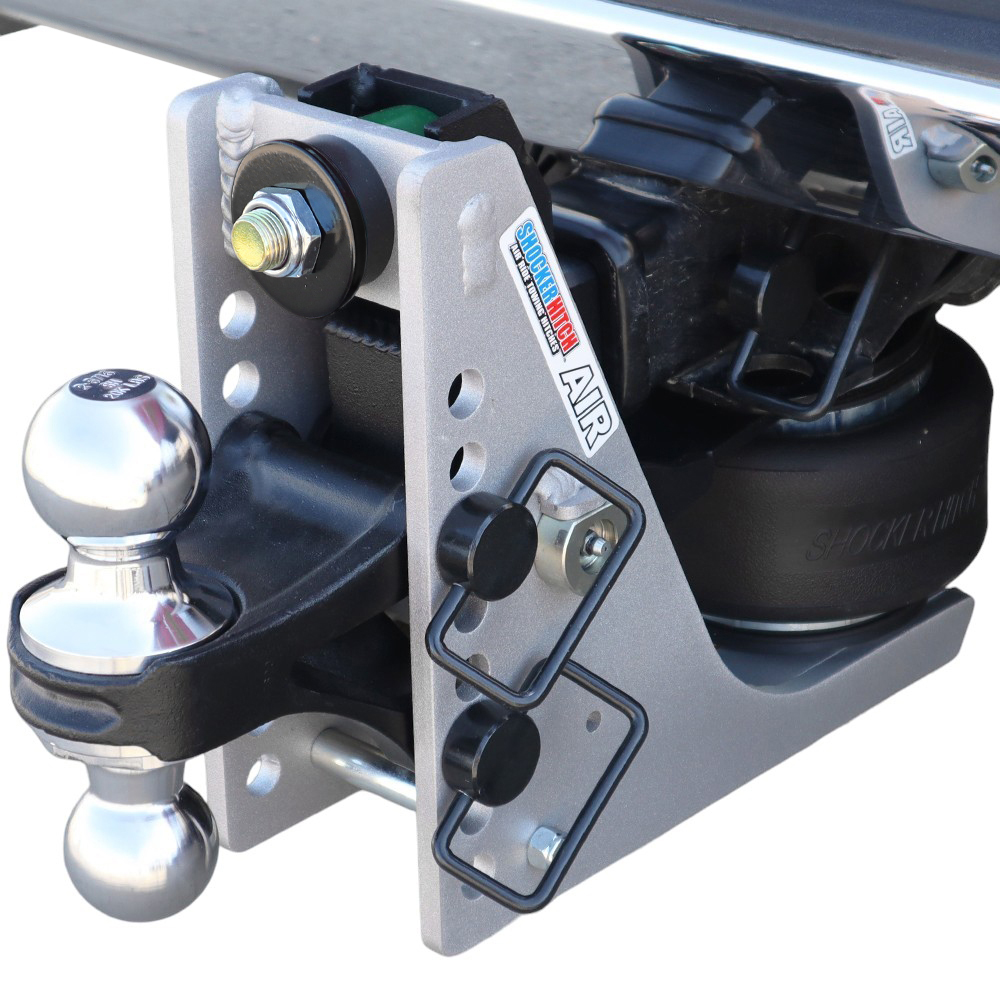
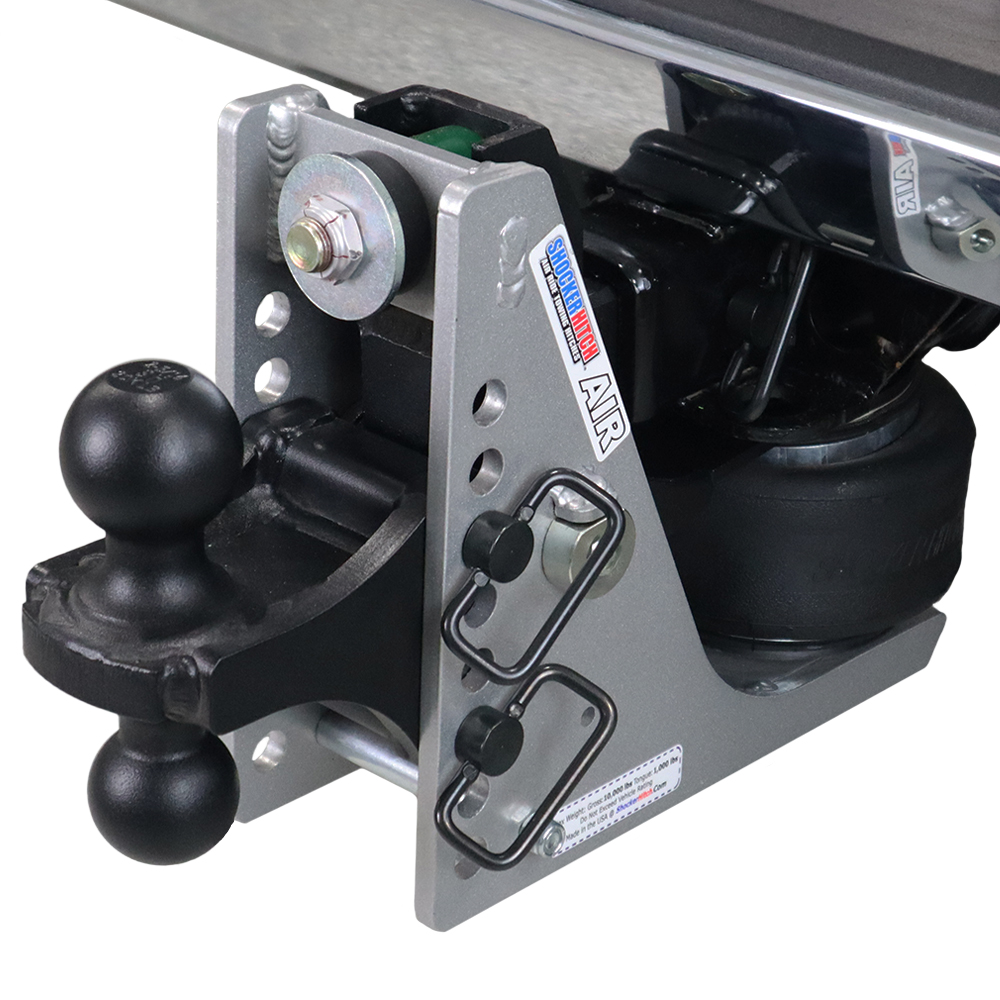
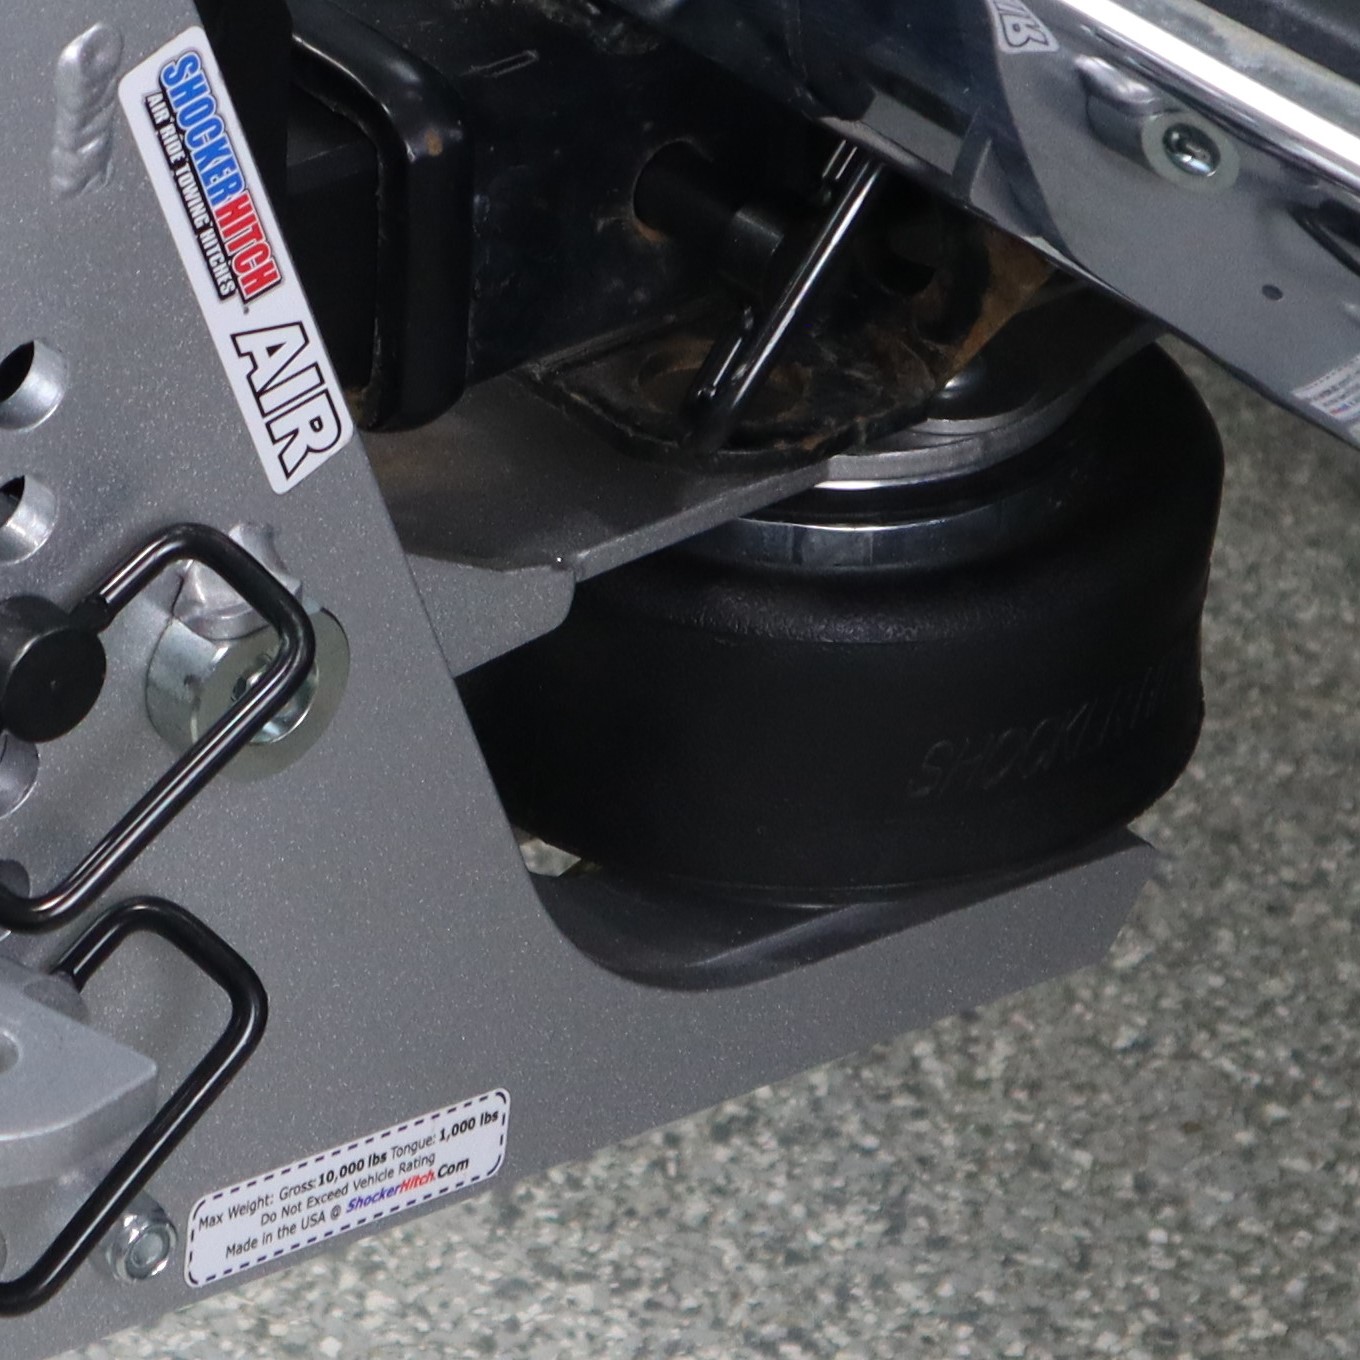
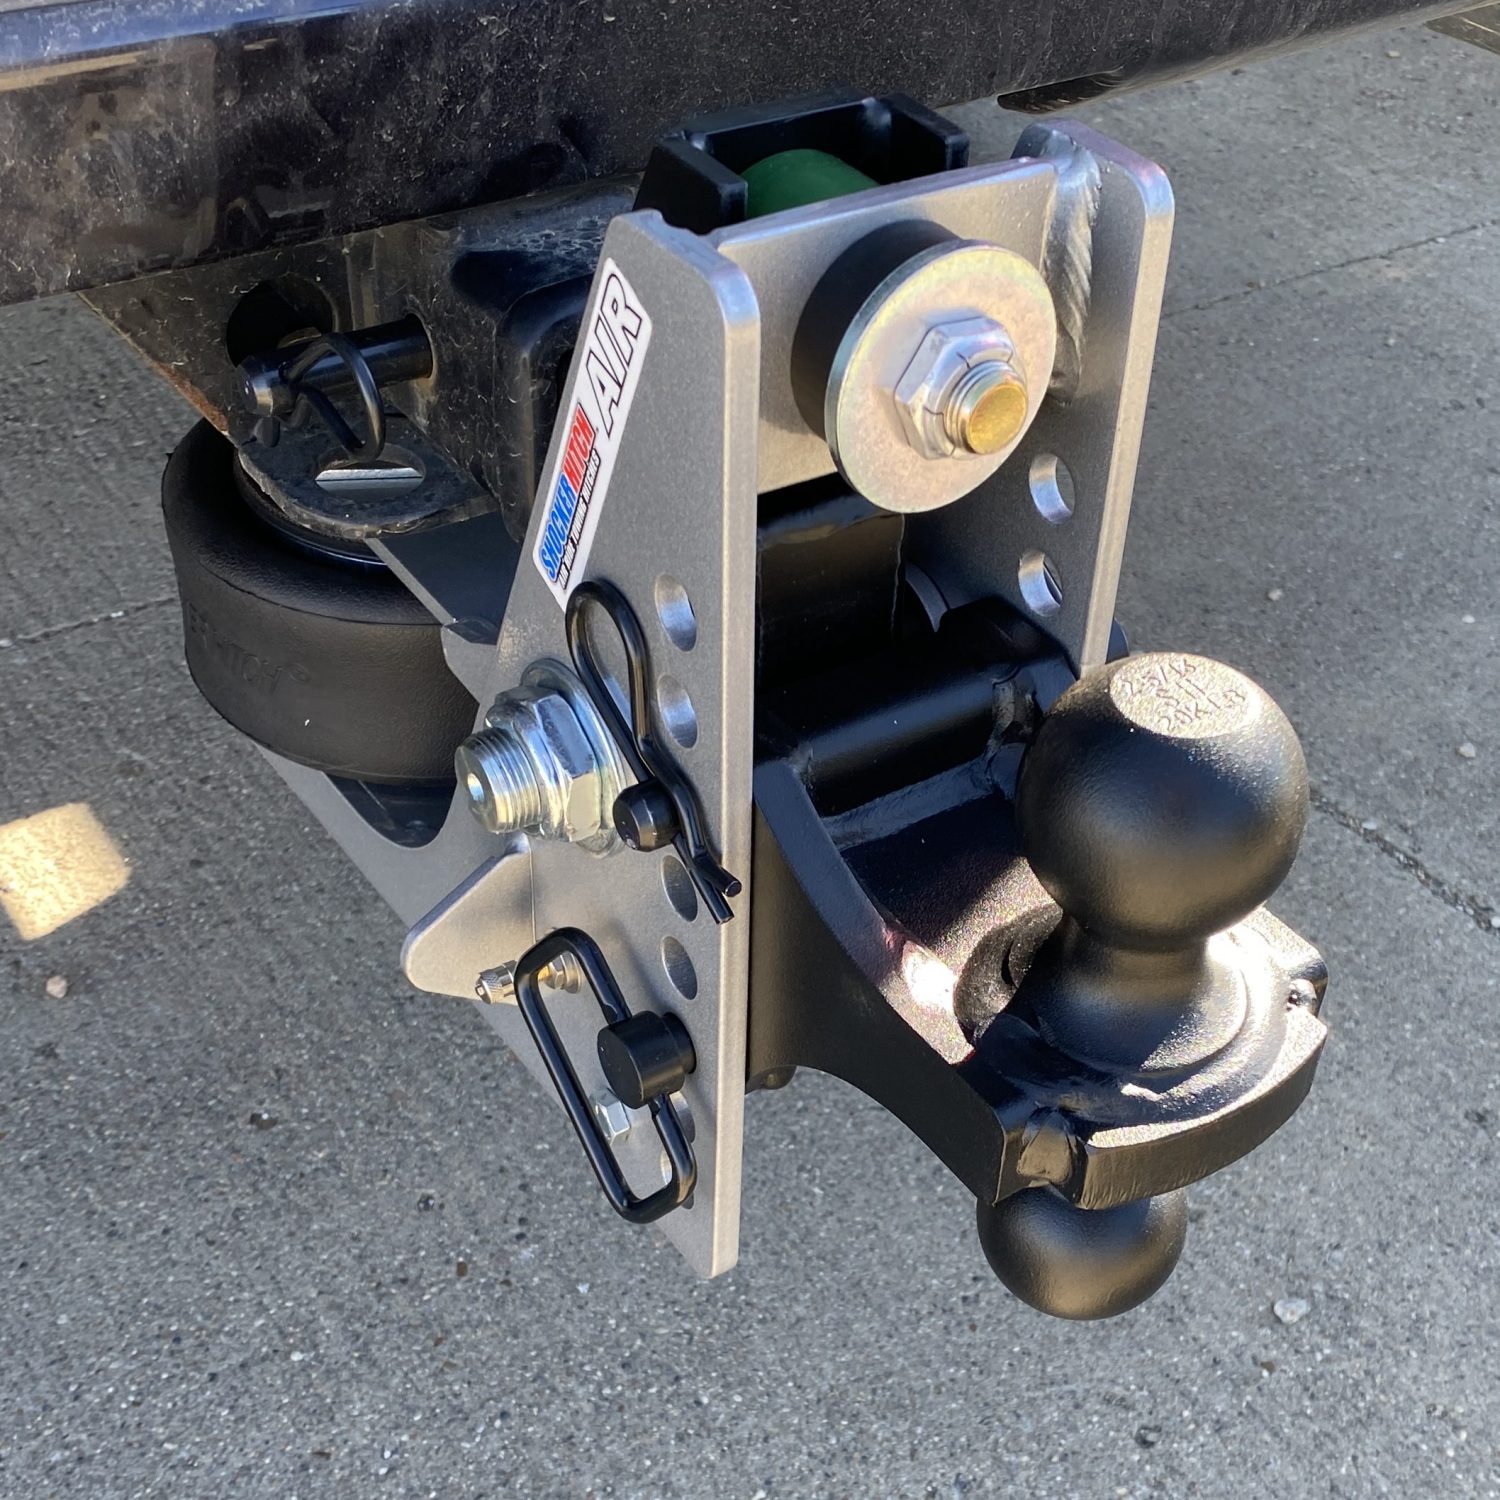
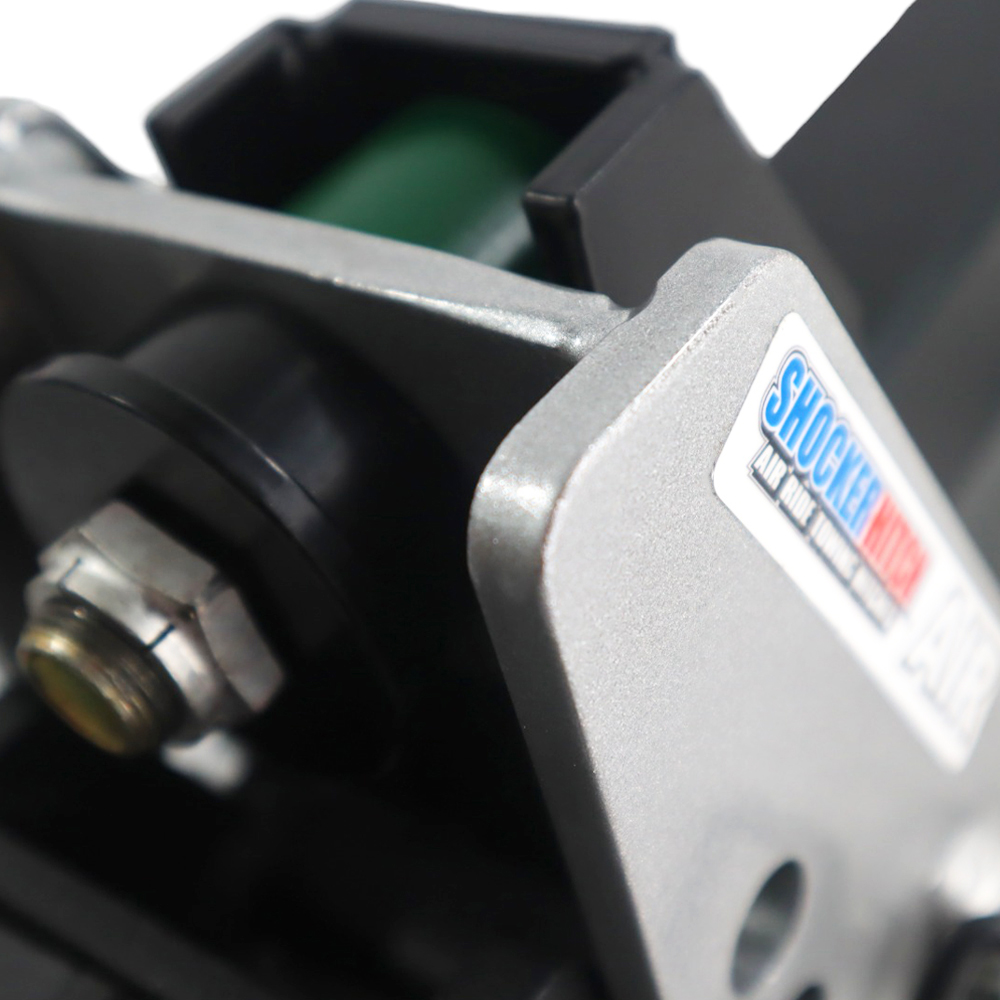
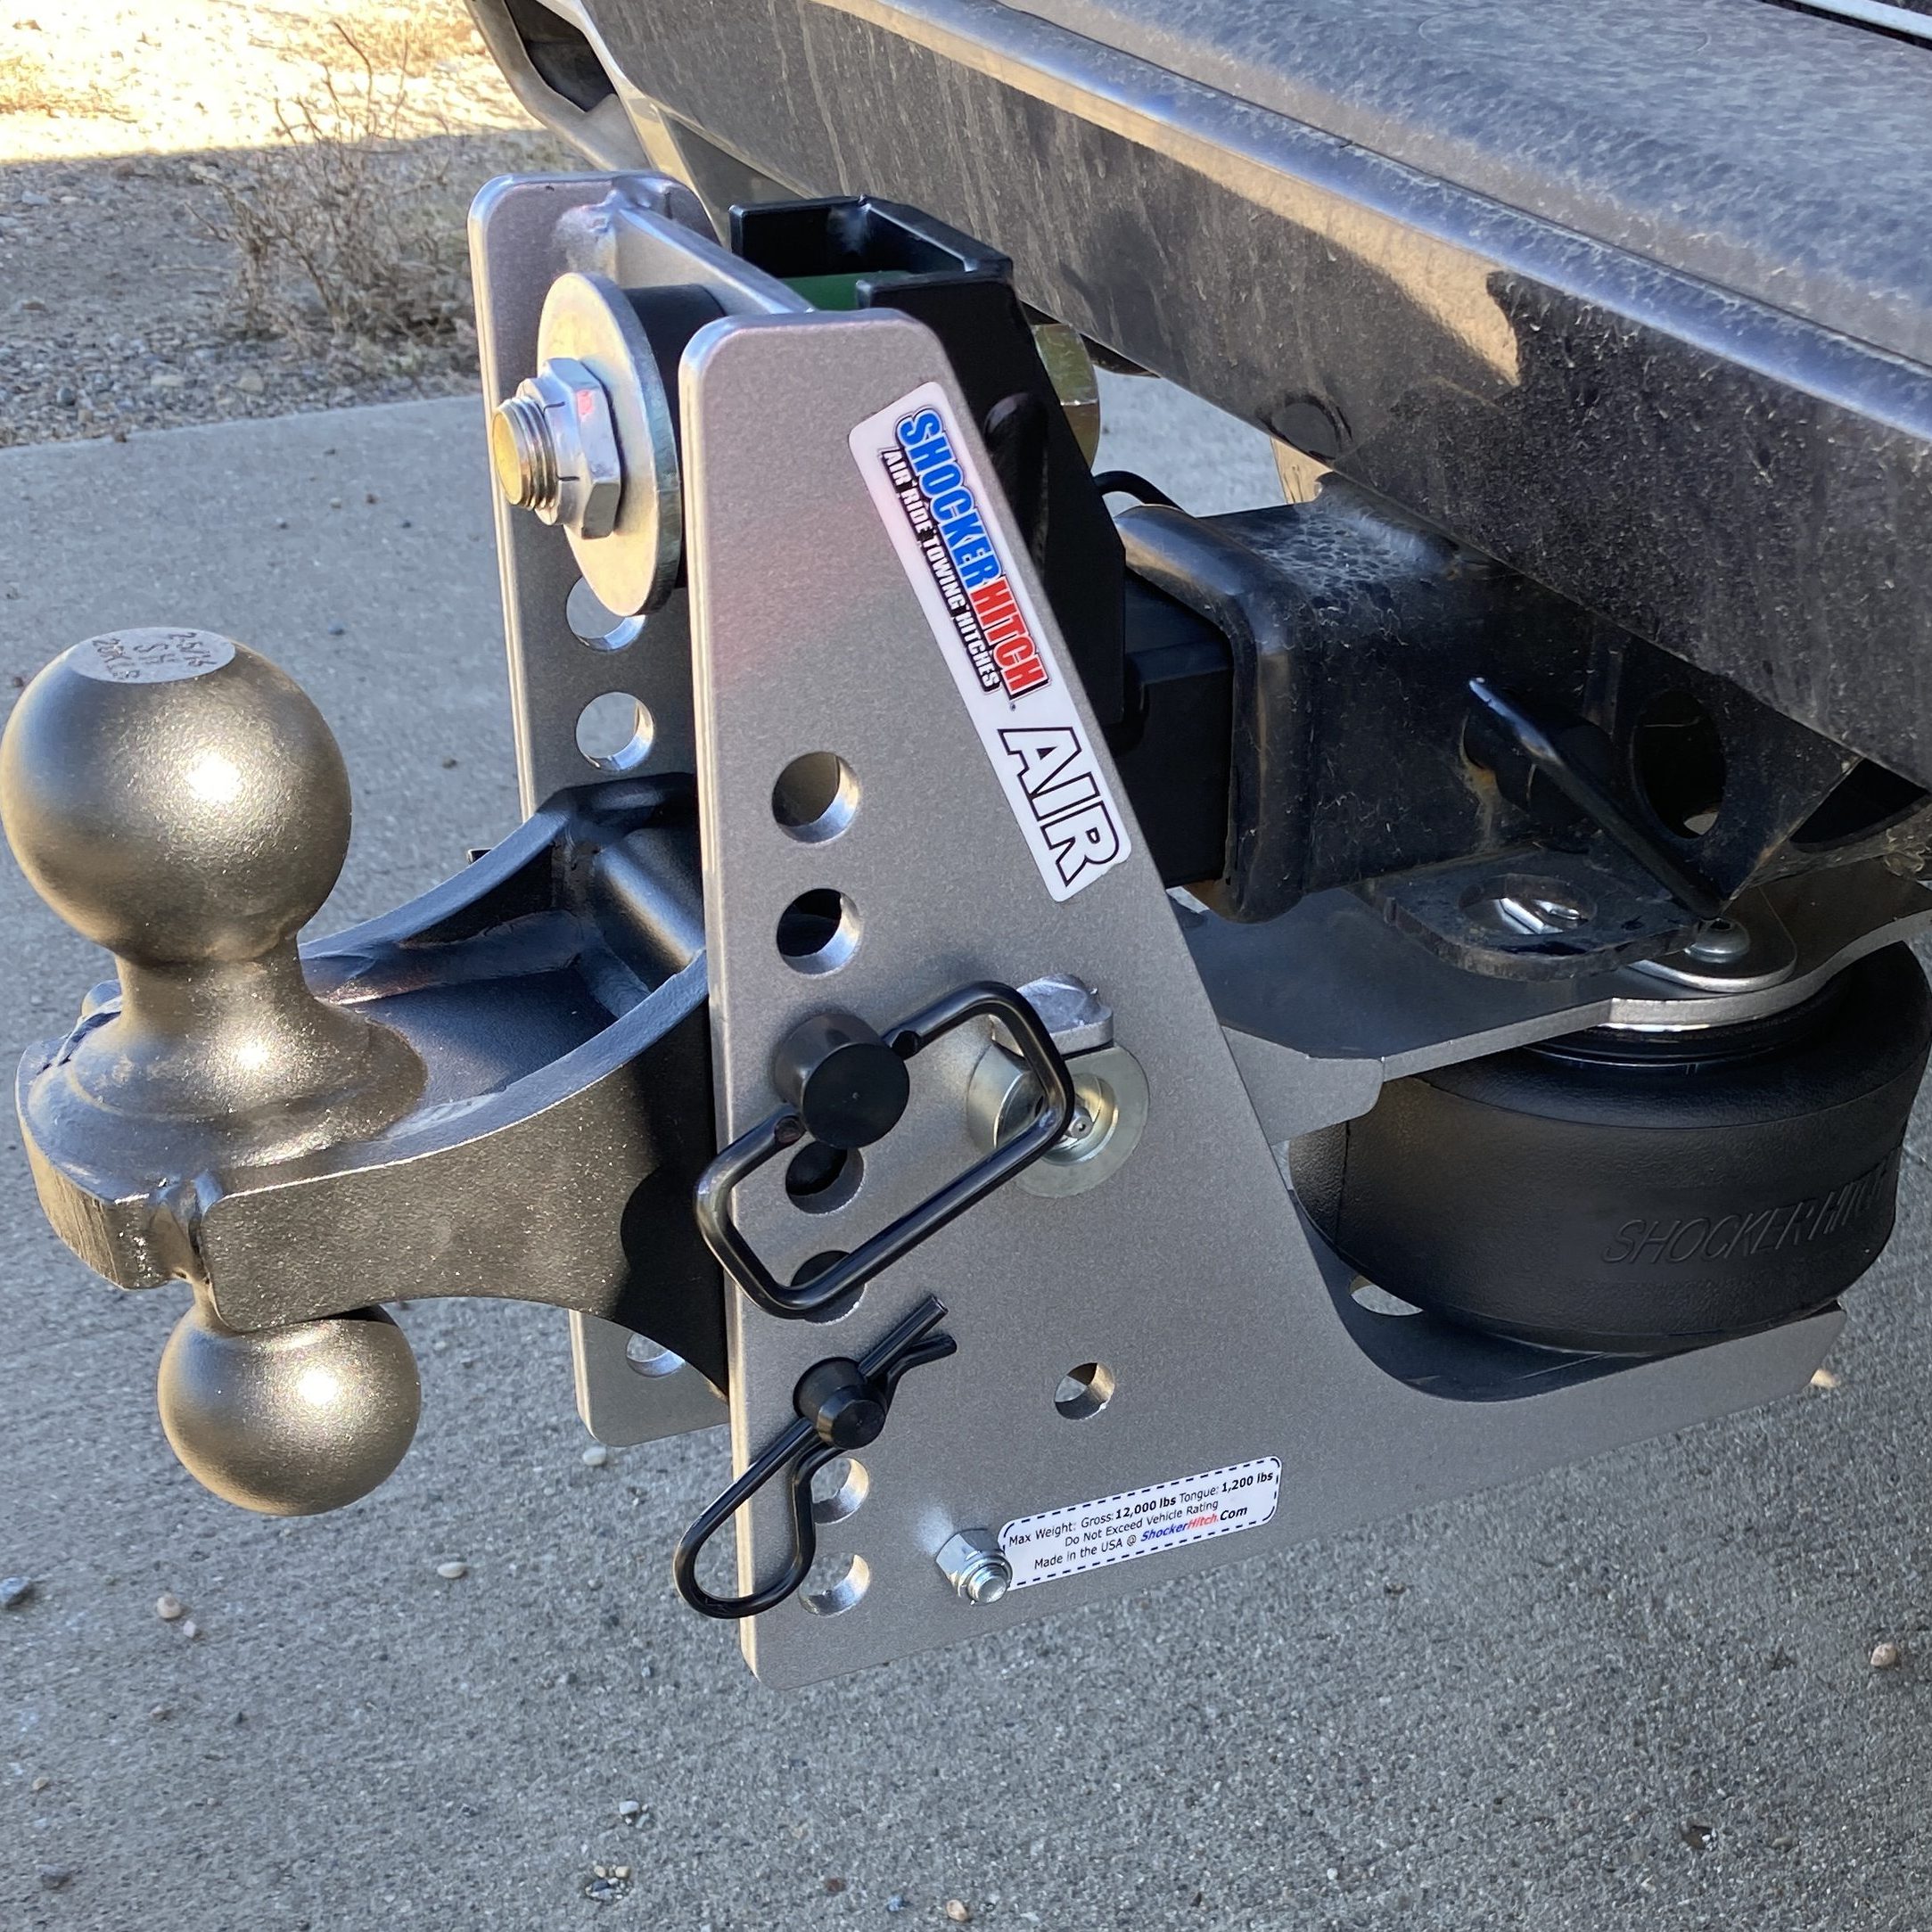
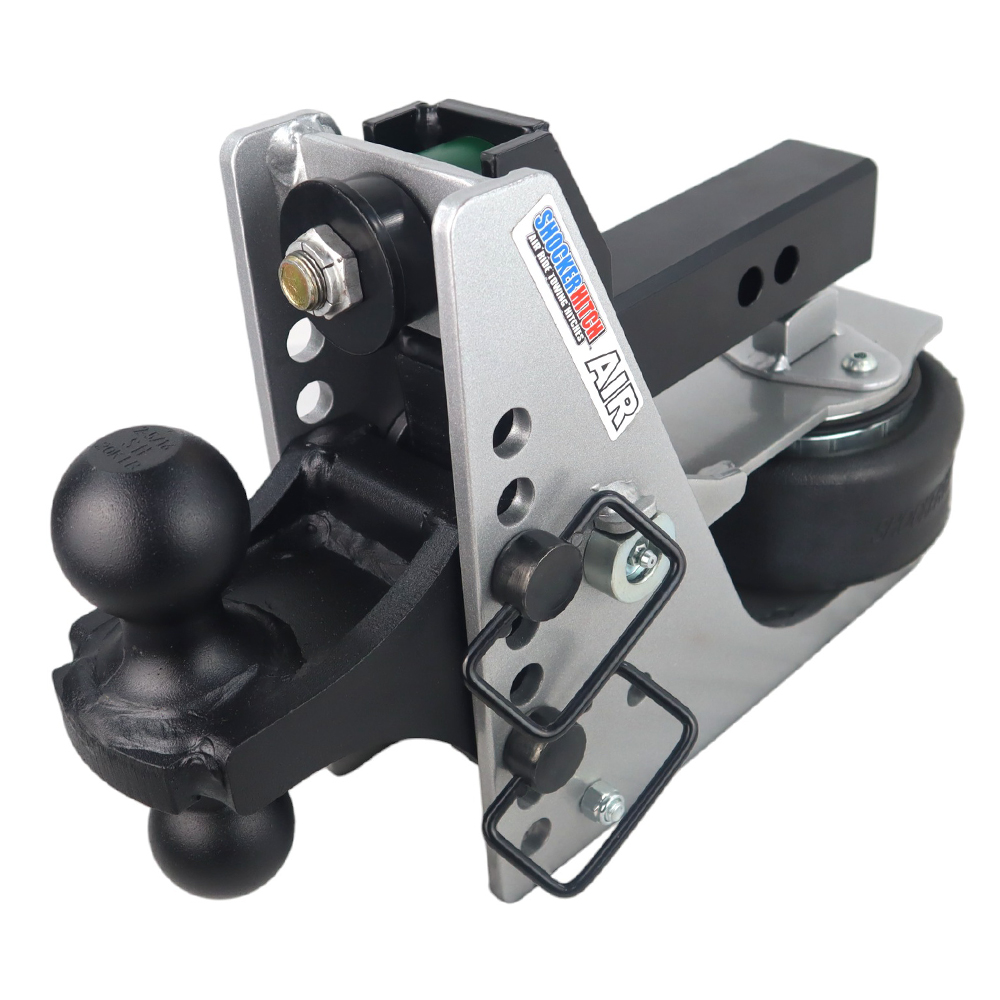
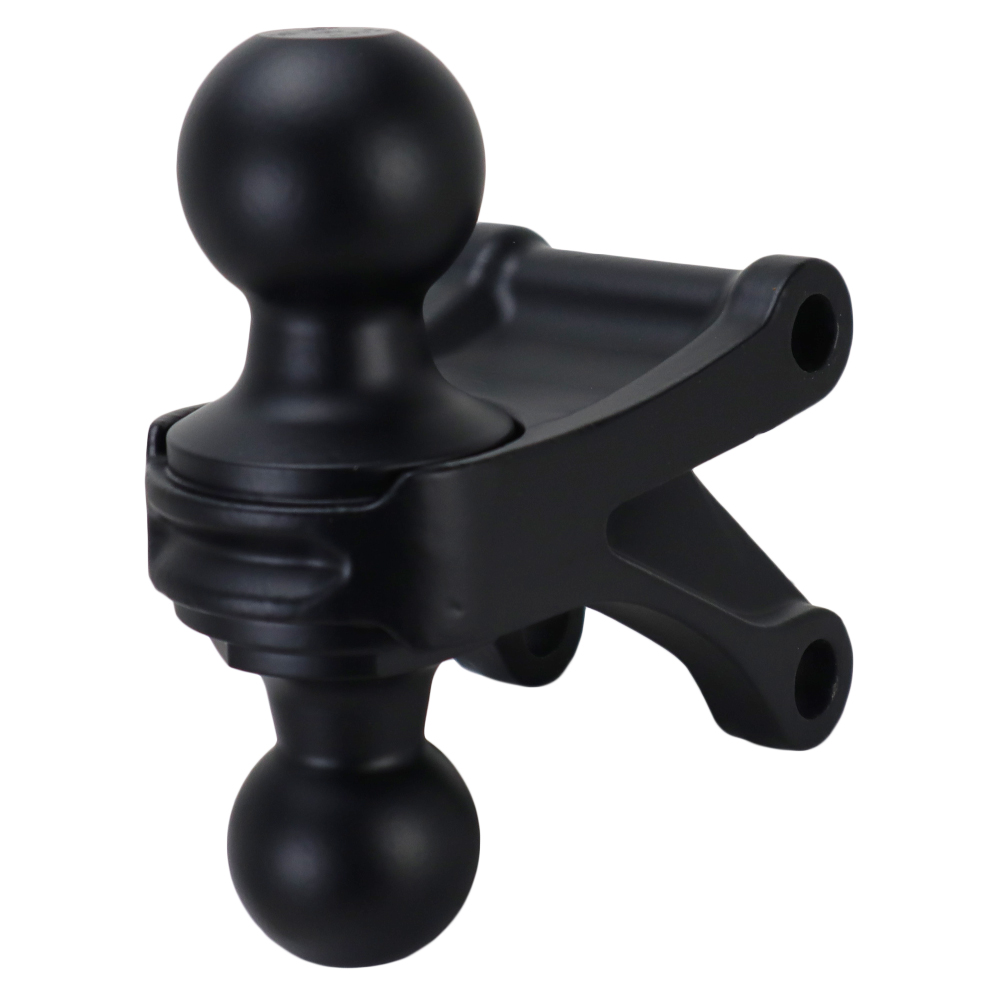
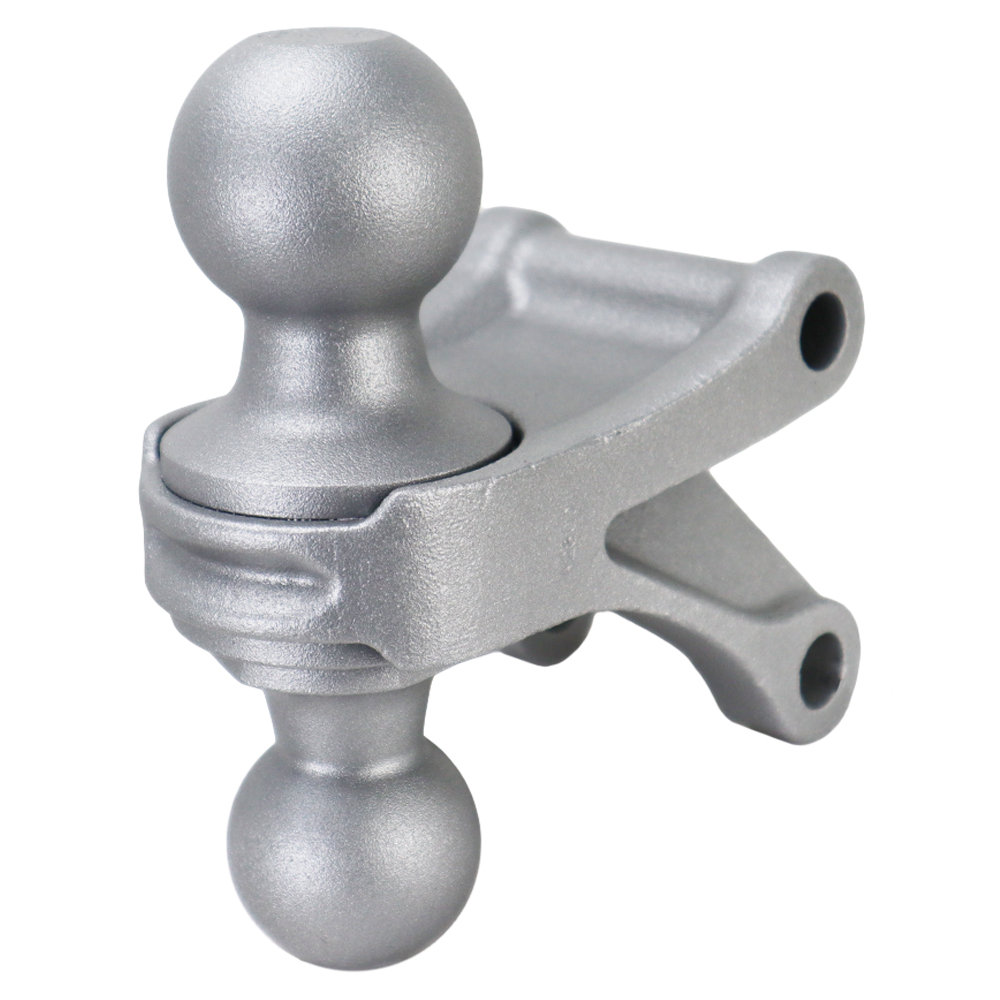
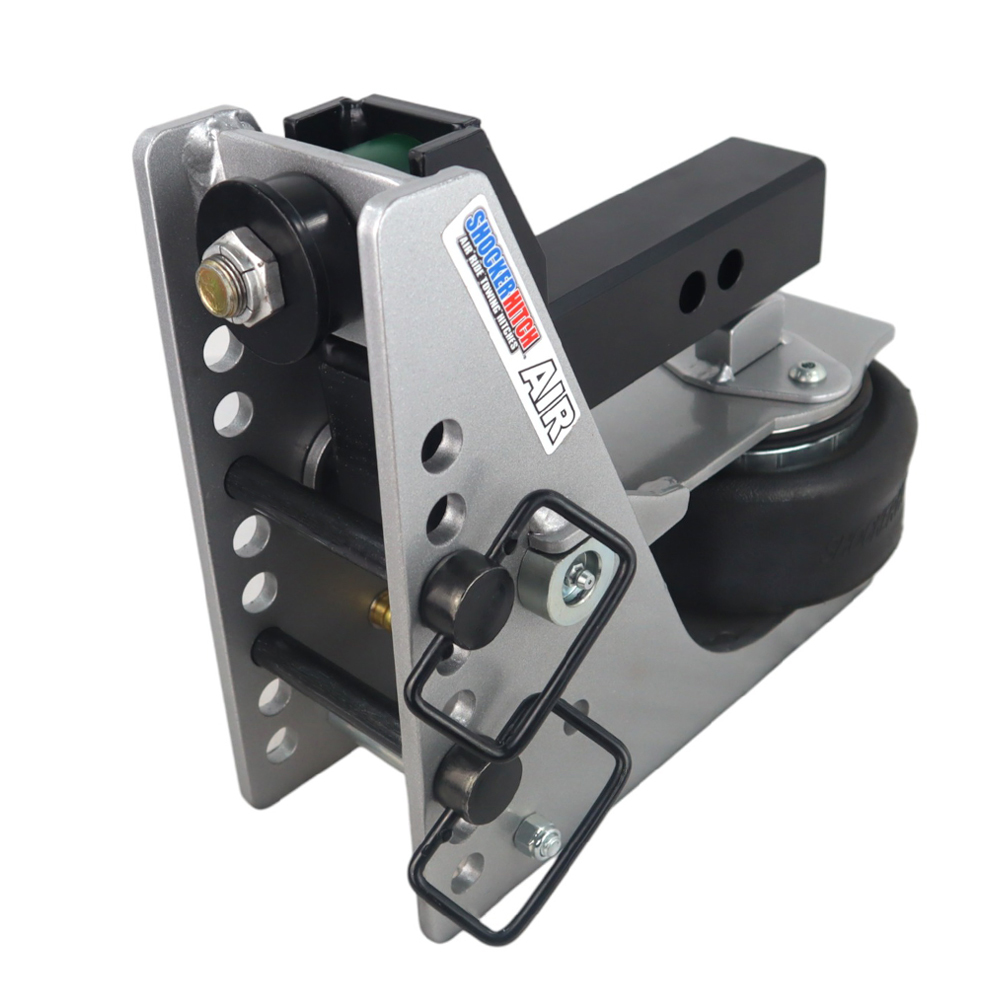
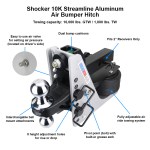
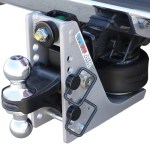
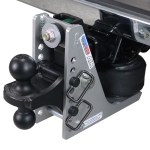
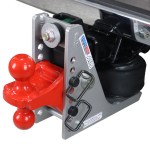
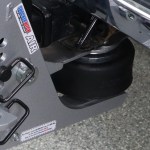
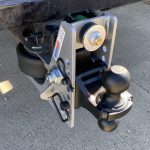
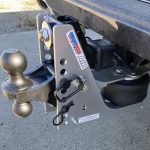
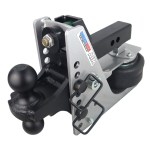
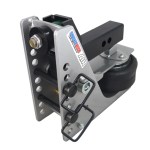

Refurbished Shocker 10K Streamline Aluminum Air Drop Hitch with Combo Ball

Rated 0 out of 5

Refurbished Shocker 10K Streamline Aluminum Air Drop Hitch with Combo Ball

This product is currently out of stock and unavailable.

-

  • Videos arrow

    Videos

    Streamline Air Receiver Hitch Videos

  • Drop/Rise Guide arrow

    Drop/Rise Guide

    Air Receiver Hitch: Drop, Rise & Tow Ratings

    This guide applies to the 8-hole air receiver frame. Use the separate guide for Original 7-hole, Trail Force 10-hole and Super Drop 12-hole frames.

    Your usable adjustment range depends on the selected attachment. Match its name below.

    Air Receiver Hitch: Drop, Rise & Tow Ratings
    Attachment Drop / rise range Maximum attachment trailer weight
    Combo Ball Level to 4.5″ Drop 2-5/16″ ball rated at 20,000 lbs & 2″ ball rated at 10,000 lbs.
    Drop Ball 4.5″ to 8.5″ Drop 2-5/16″ ball rated at 20,000 lbs & 2″ ball rated at 10,000 lbs.
    Raised Ball 2″ Rise to 2″ Drop 2-5/16″ ball rated at 20,000 lbs & 2″ ball rated at 10,000 lbs.
    Bolt on Pintle Hook 2.5″ Rise to 6.5″ Drop 10-Ton 20,000 lbs.
    Channel Style Pintle Hook 3″ to 7″ Drop 10-Ton 20,000 lbs.
    Raised Pintle Hook Level to 5″ Drop 10-Ton 20,000 lbs.
    Bolt on Pintle & Ball 2.5″ Rise to 6.5″ Drop Pintle: 16,000 lbs; 2″ ball: 12,000 lbs; 2-5/16″ ball: 16,000 lbs
    Drawbar Level to 4.5″ Drop 20,000 lbs.
    Clevis Mount 3.5″ Drop to 7.5″ Drop 20,000 lbs.
    Channel Style Pintle & Ball 3″ to 7″ Drop Pintle: 16,000 lbs; 2″ ball: 12,000 lbs; 2-5/16″ ball: 16,000 lbs

    Sway-control-tab mounts: Use the range and ball rating for the corresponding combo, drop or raised ball mount. Confirm compatibility with your selected hitch.

    No Ball Mount: A compatible, properly rated attachment is required for towing; the base alone does not provide a towing connection.

    Choose the drop or rise your trailer needs

    Measure on level ground with the trailer level. “Level” means zero drop or rise. How to choose the right drop hitch (opens in a new tab).

    Follow the lowest rating: These are attachment ratings, not a guarantee of your complete hitch capacity. Never exceed the lowest applicable trailer-weight or tongue-weight limit of the vehicle, receiver, hitch base, attachment, ball or trailer. A higher-rated attachment does not increase a lower-rated hitch base’s capacity. Use the marked tongue-weight rating; it is not calculated from towing capacity.

  • Install arrow

    Install

    Choose your air receiver hitch model

    Select your hitch to jump to its installation instructions.

    Set up your air receiver hitch

    Follow the installation steps for your model, then adjust air pressure with your trailer loaded for travel. Use these shortcuts for setup help and maintenance.

    Set air pressure for your loaded trailer

    100 PSI MAXIMUM — not the target setting.
    Use the truck-side bump cushion to judge the correct adjustment for your load. Never exceed 100 PSI.

    1. Load and connect your trailer. Follow your model’s installation steps and set up the trailer as you normally would for travel.
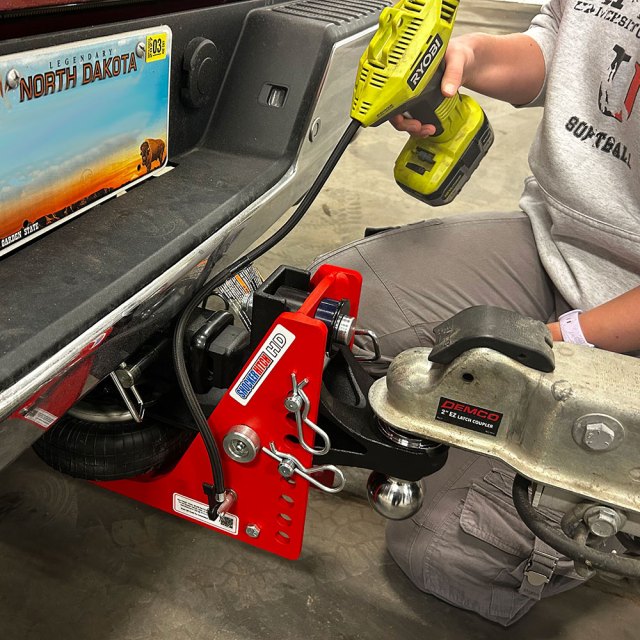
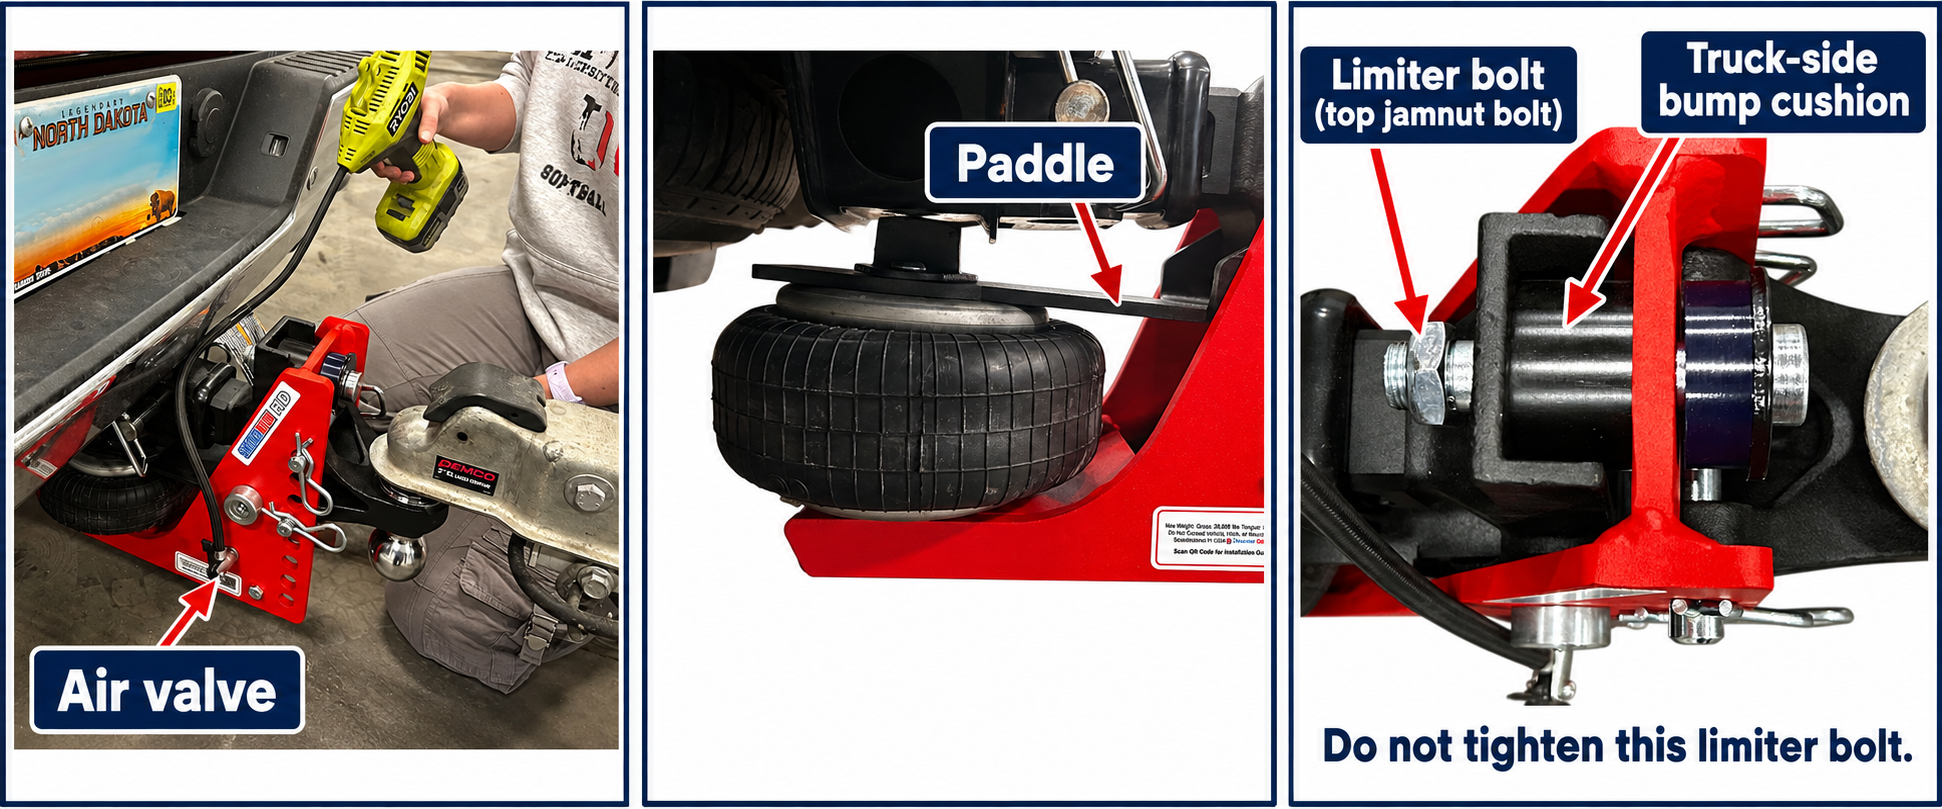
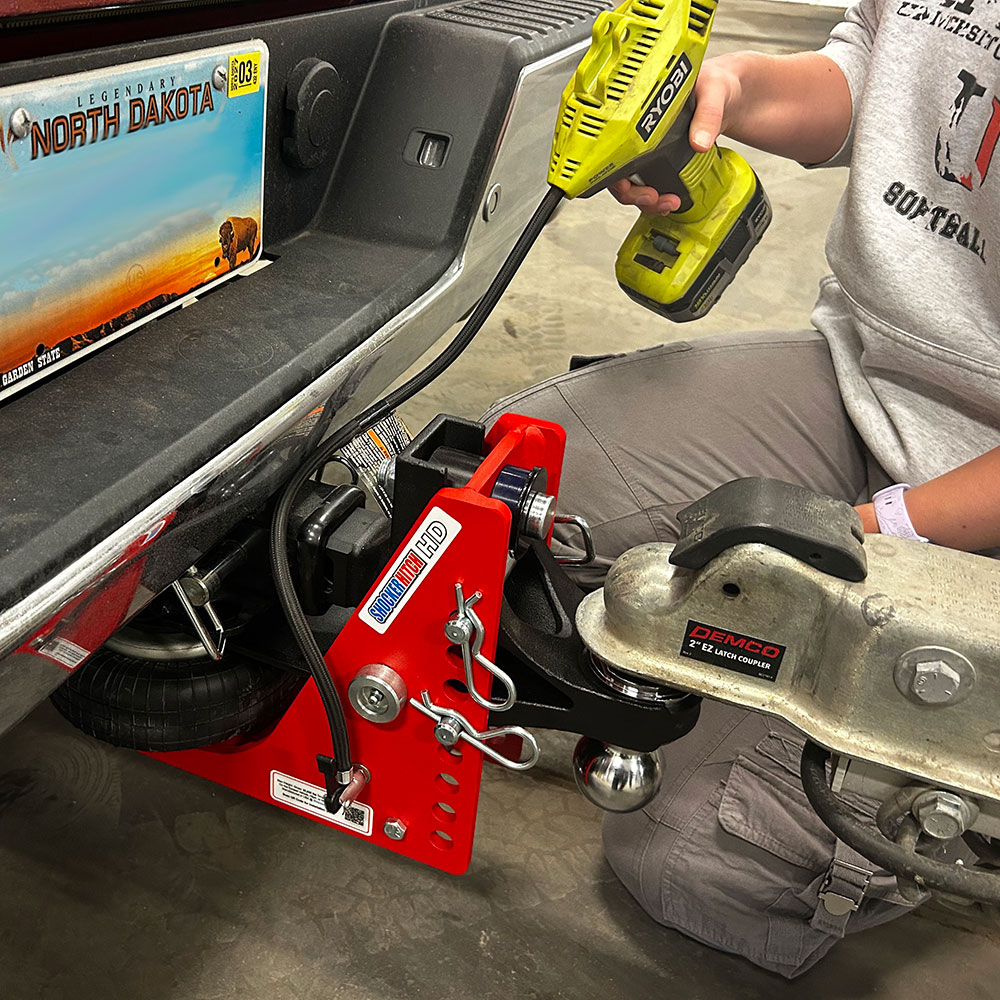
    2. Add air at your model’s valve. The photos below show where the air compressor connects.
    3. Watch the truck-side bump cushion. Stop adding air once the main frame lightly compresses the cushion closest to the truck (tailgate side). Follow the detailed instructions for your model below.
    Air compressor connected to the standard and HD air receiver hitch valve
    Standard / HD air receivers
    Add air at the valve shown where the compressor connects. Air-pressure steps
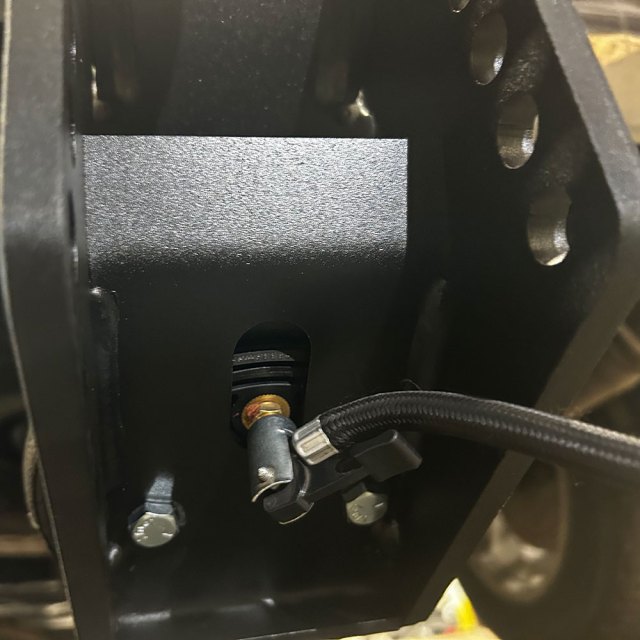
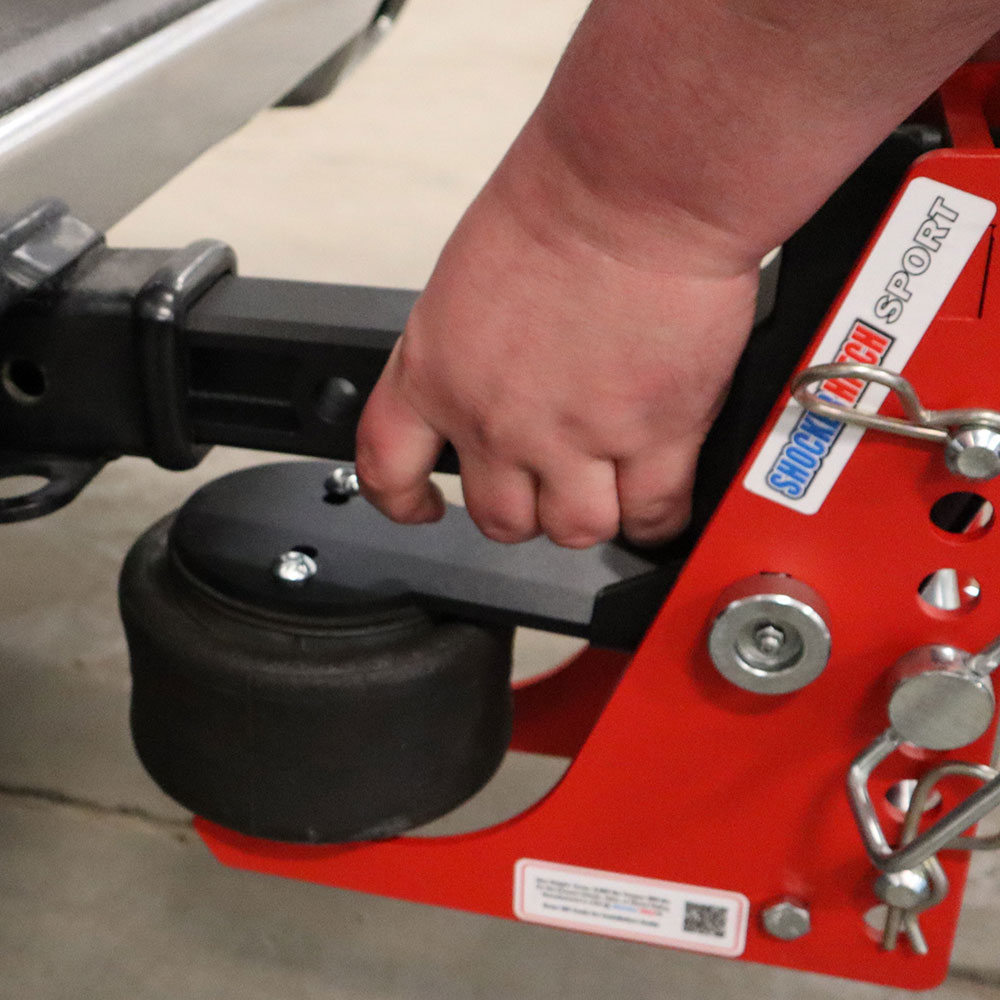
    Air compressor connection at the Sport air receiver hitch valve
    Sport™ air receiver
    Locate the valve shown in this close-up. Air-pressure steps
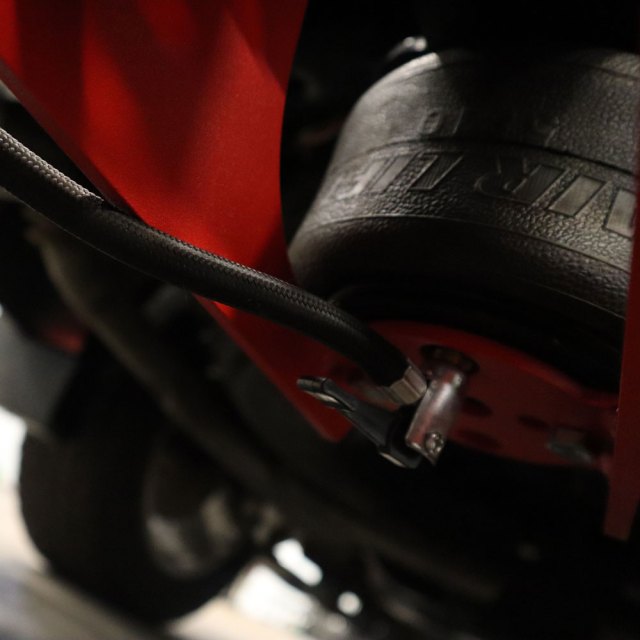
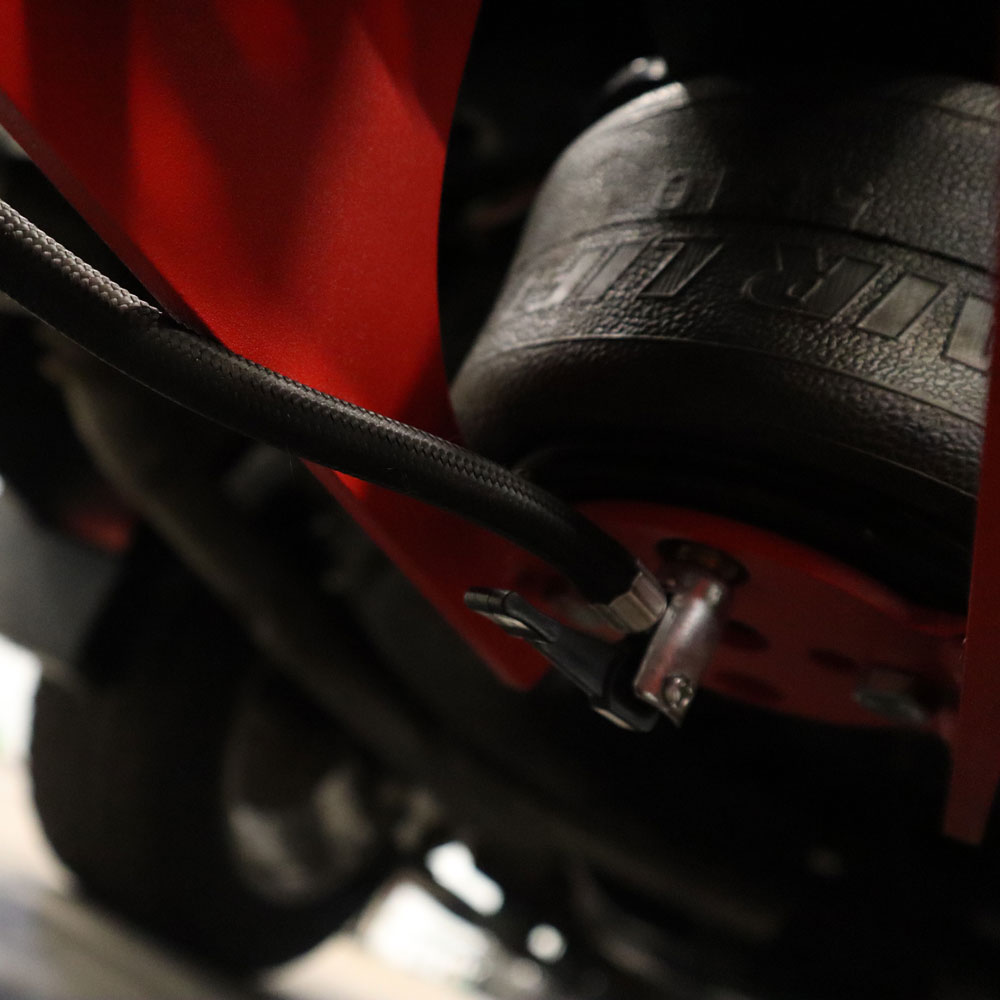
    Trail Force air hitch valve below the air spring with an air hose attached
    Trail Force® air receiver
    The air valve is below the air spring. Air-pressure steps
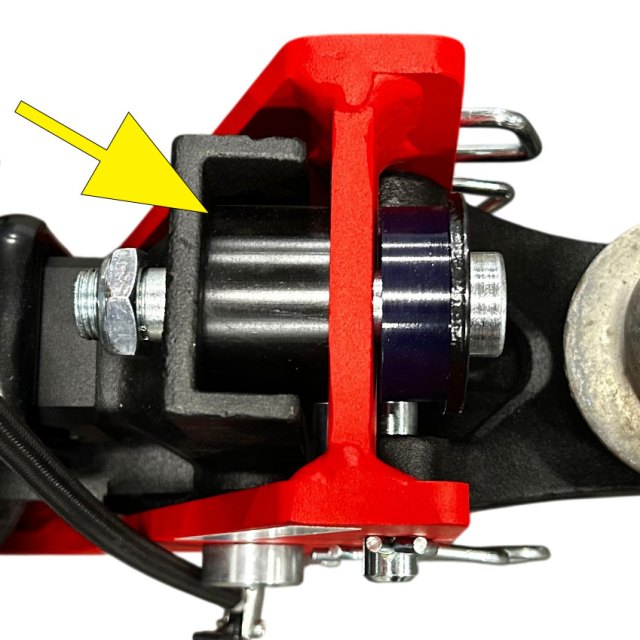
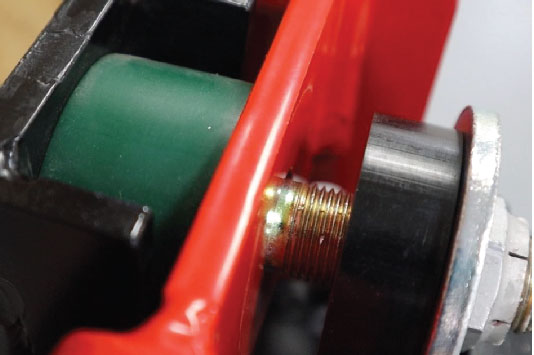
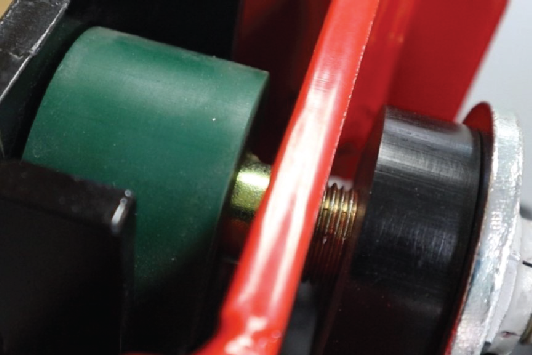
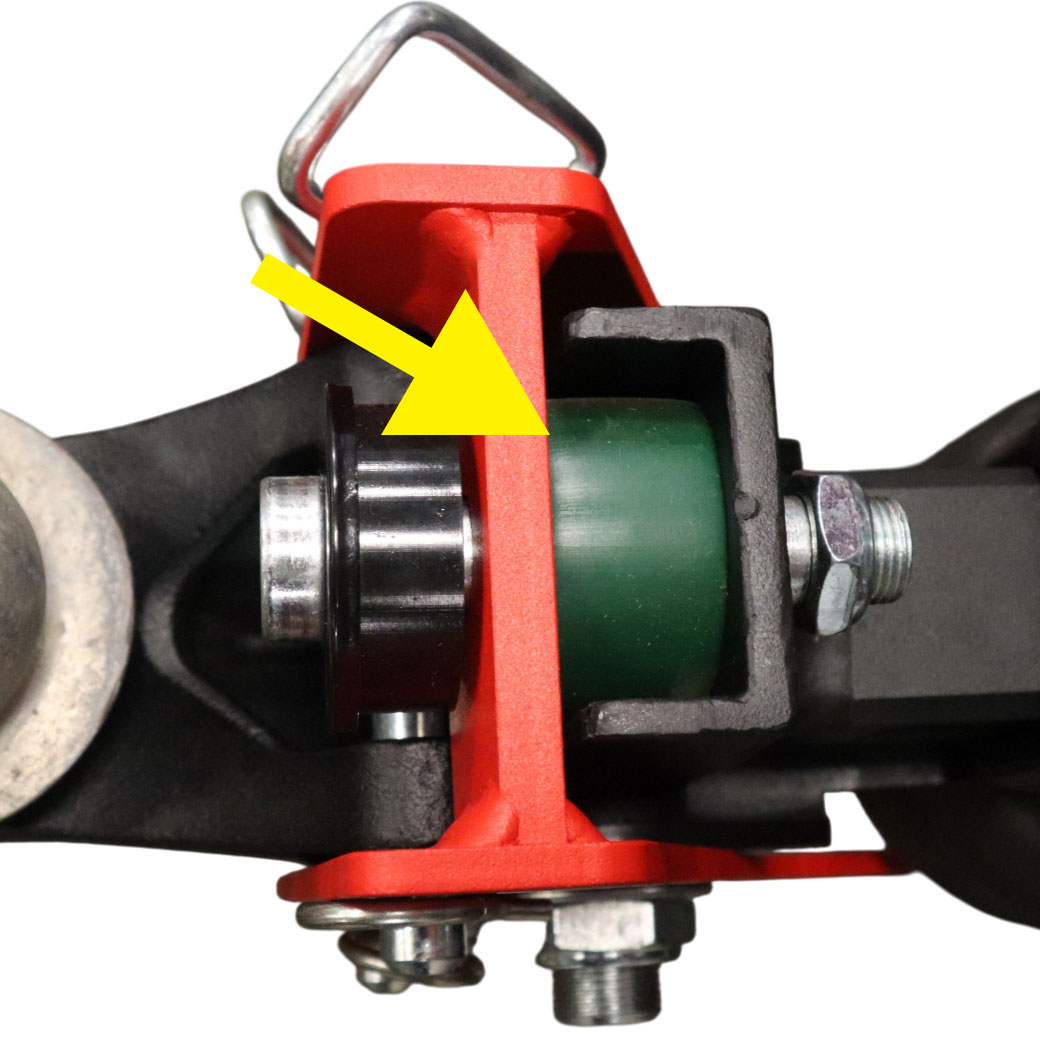
    Close-up of the truck-side bump cushion lightly compressed by the air receiver hitch frame
    Truck-side bump cushion at the correct light compression.

    Watch this cushion—not a preset PSI number

    Observe the cushion closest to the truck. With the trailer loaded, add air until the main frame lightly compresses that cushion. The pressure needed depends on the load.

    Recheck the adjustment when your trailer load changes. The 100 PSI limit is a ceiling, not an instruction to inflate to 100 PSI.

    See the add-air / stop-adding-air photos ↓

    Know your air receiver hitch components

    Select any photo to open the full-size labeled guide in a new tab.

    Air valve labeled where the compressor hose connects to the air receiver hitch
    Air valve — add air at the valve shown. Enlarge photo
    Paddle labeled on the flat steel plate above the air spring; spacer block shown on top
    Paddle — the flat steel plate above the air spring. This example also shows an installed spacer block. Enlarge photo

    Shocker Air Receiver Hitch Install Video

    Note: Always use a good hitch ball rated for the recommended tow weight.

    Safety Notice: Towing capacity is limited by the lowest rated component.

    Shocker Air Receiver Hitch Installation Instructions

    1. Compressing Air Spring (BEFORE INSTALLATION)

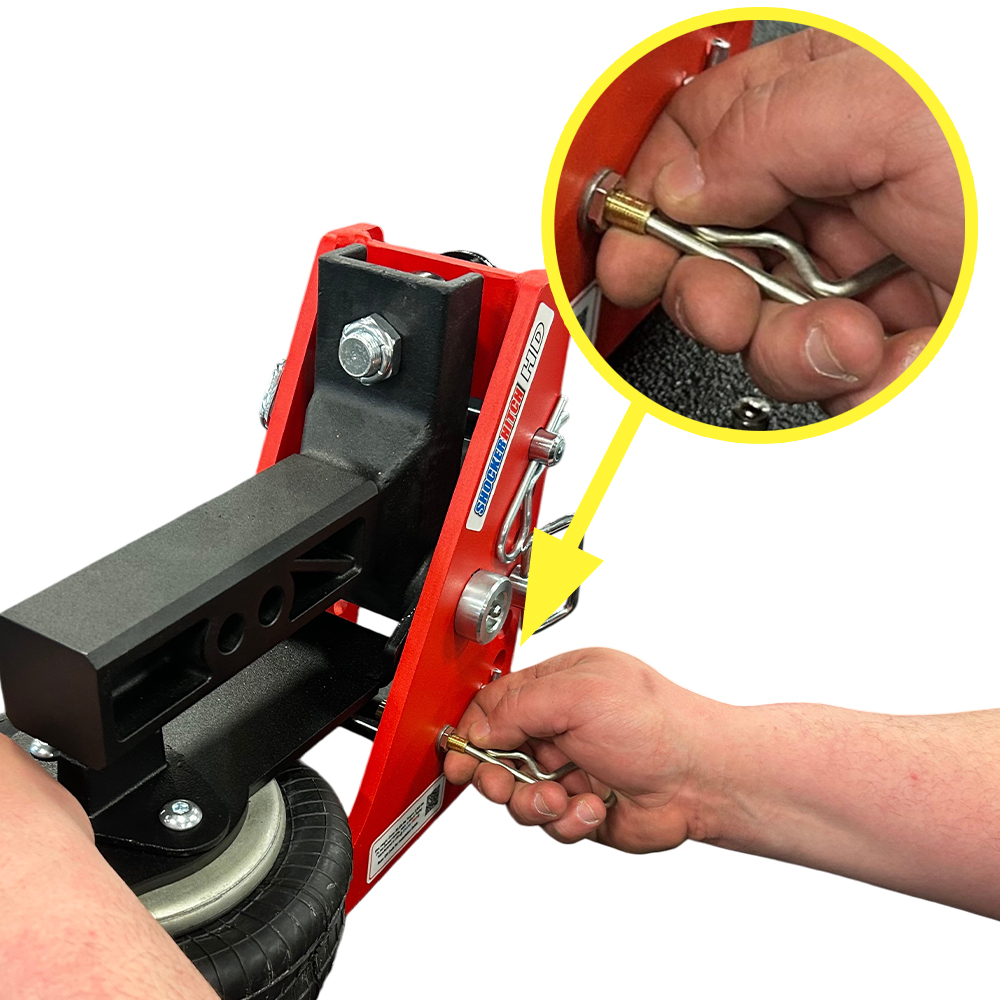
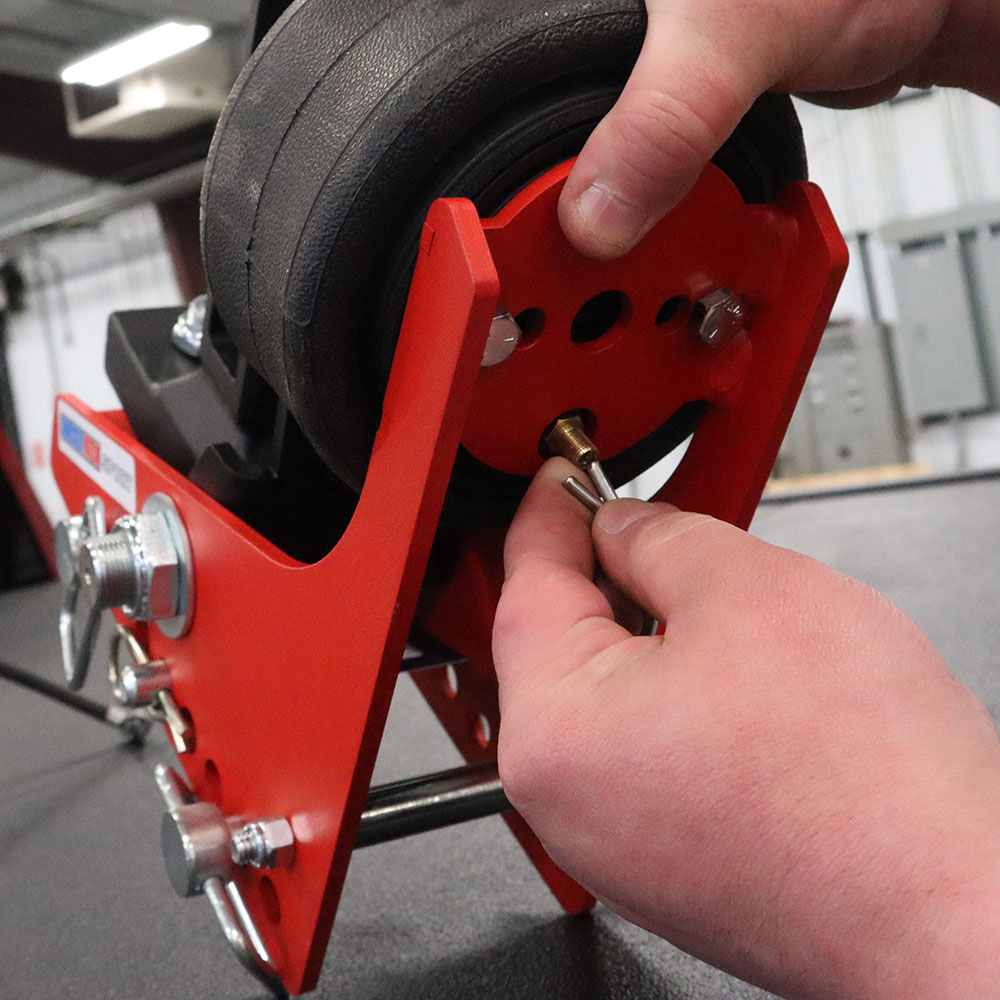
    Release Pressure: Use the provided cotter pin clip to push in on the valve core to release air pressure from the back.

    Compress: While releasing pressure, simultaneously push down on the air spring paddle or squeeze the plates together to exhaust the remaining air.
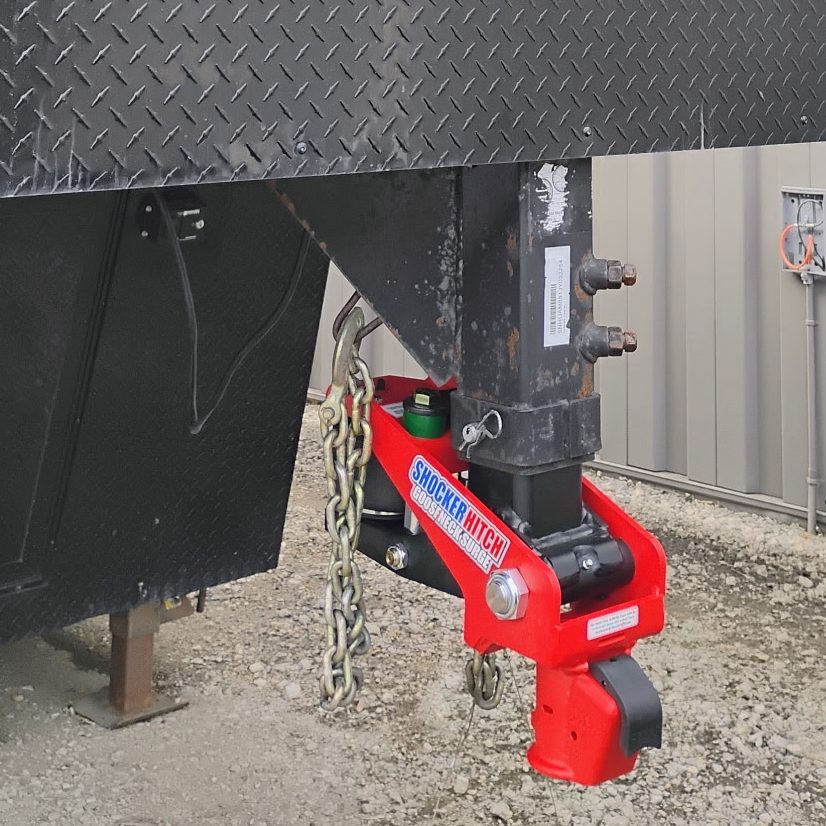
    Releasing air pressure with cotter pin clip and pressing down on paddle simultaneously
    2. Installing the Shocker Hitch into the Receiver

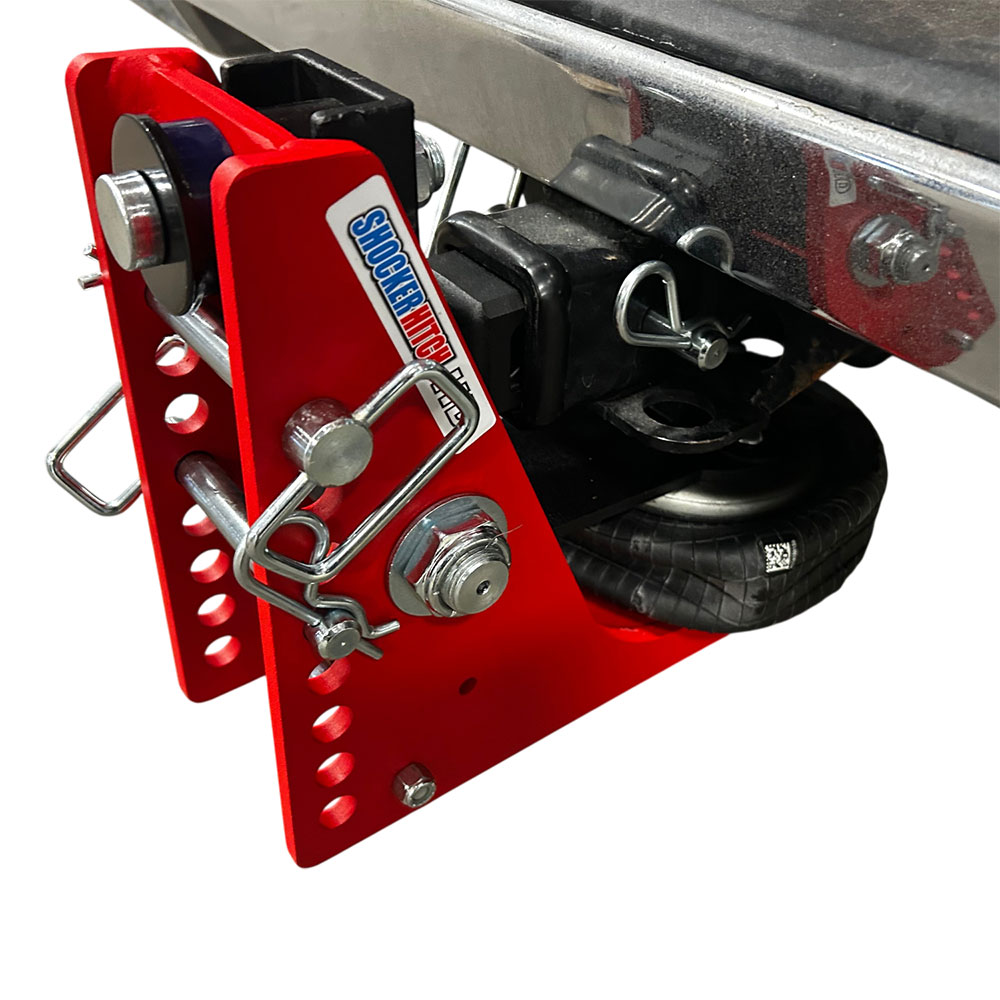
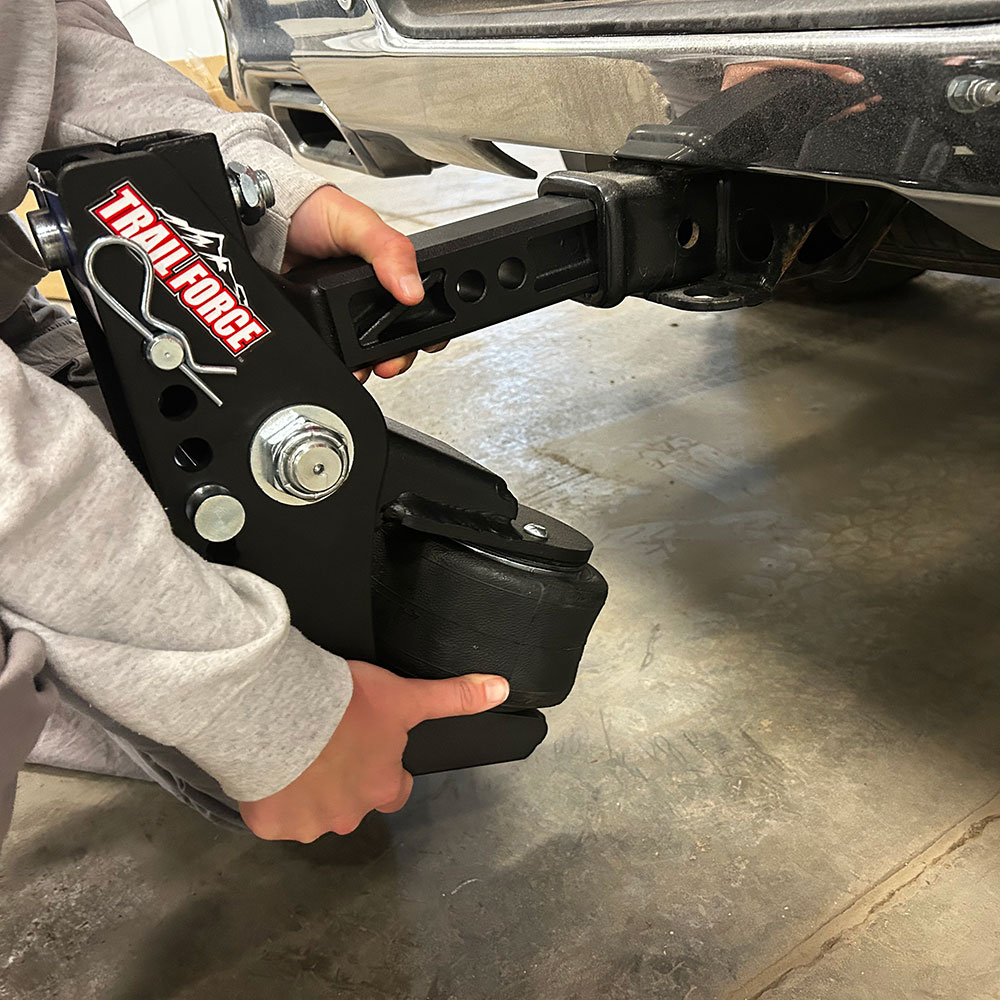
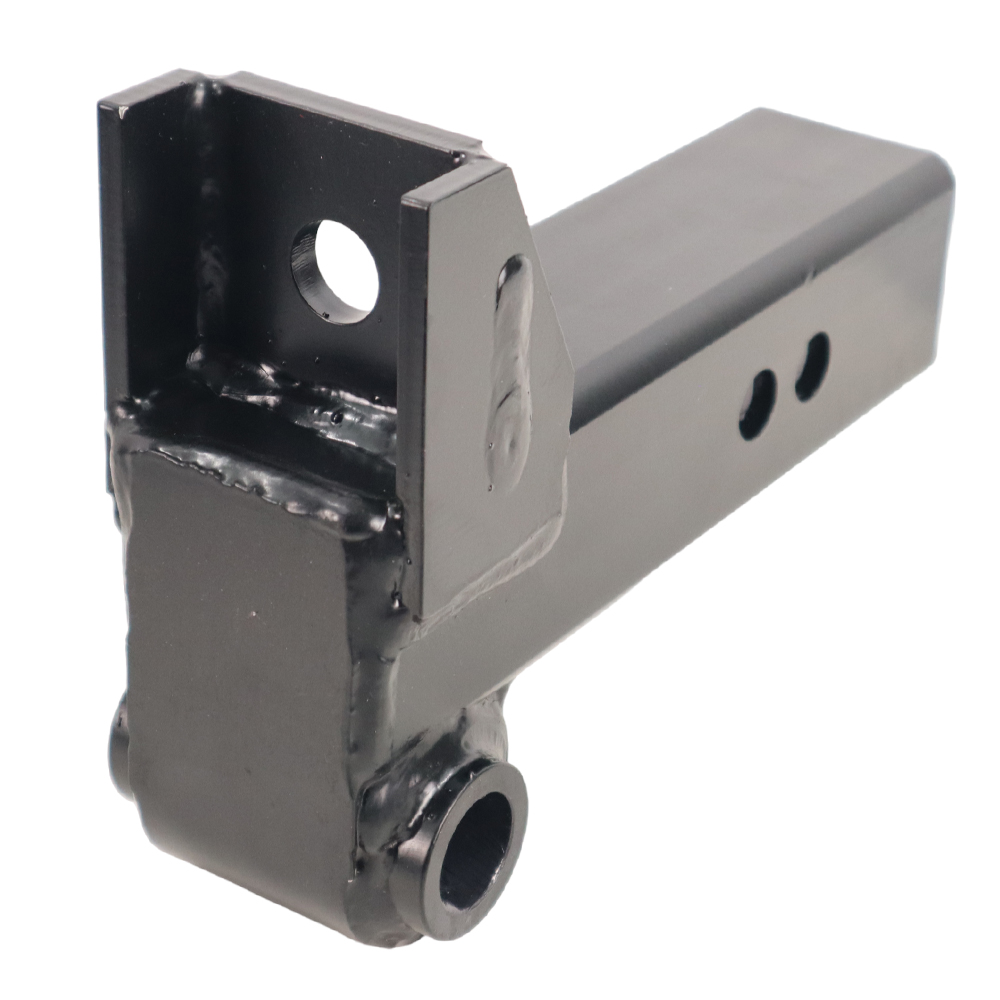
    Mounting: Slide the hitch shank fully into the receiver tube of your tow vehicle.

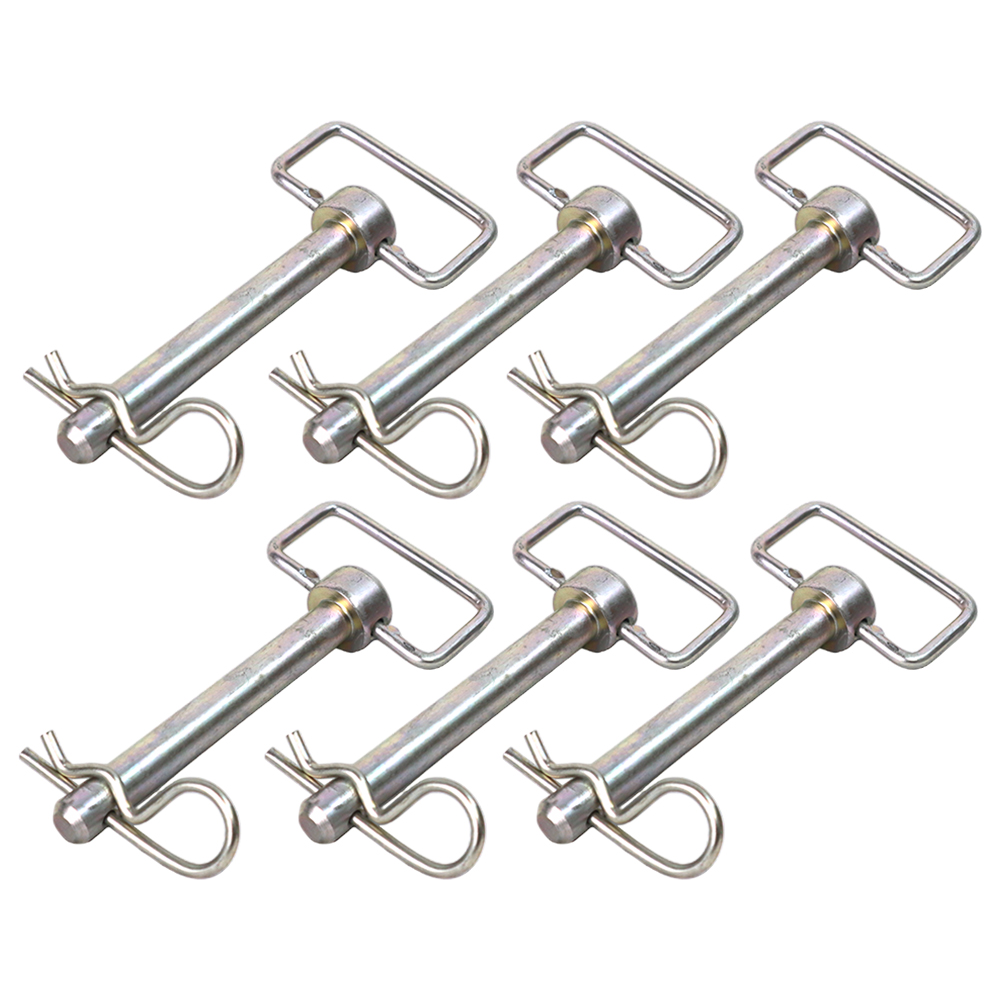
    Align and Secure: Align the pin holes and insert the 5/8” hitch pin. Lock it in place with the cotter pin clip.

    Shank inserted into receiver tube and secured with pin and cotter pin clip

    3. Install Attachment Ball Mount

    Selection: Choose an attachment that allows your trailer to sit level. Refer to “WHAT SIZE DROP HITCH DO I NEED” and “GROUND CLEARANCE GUIDE” for more information.

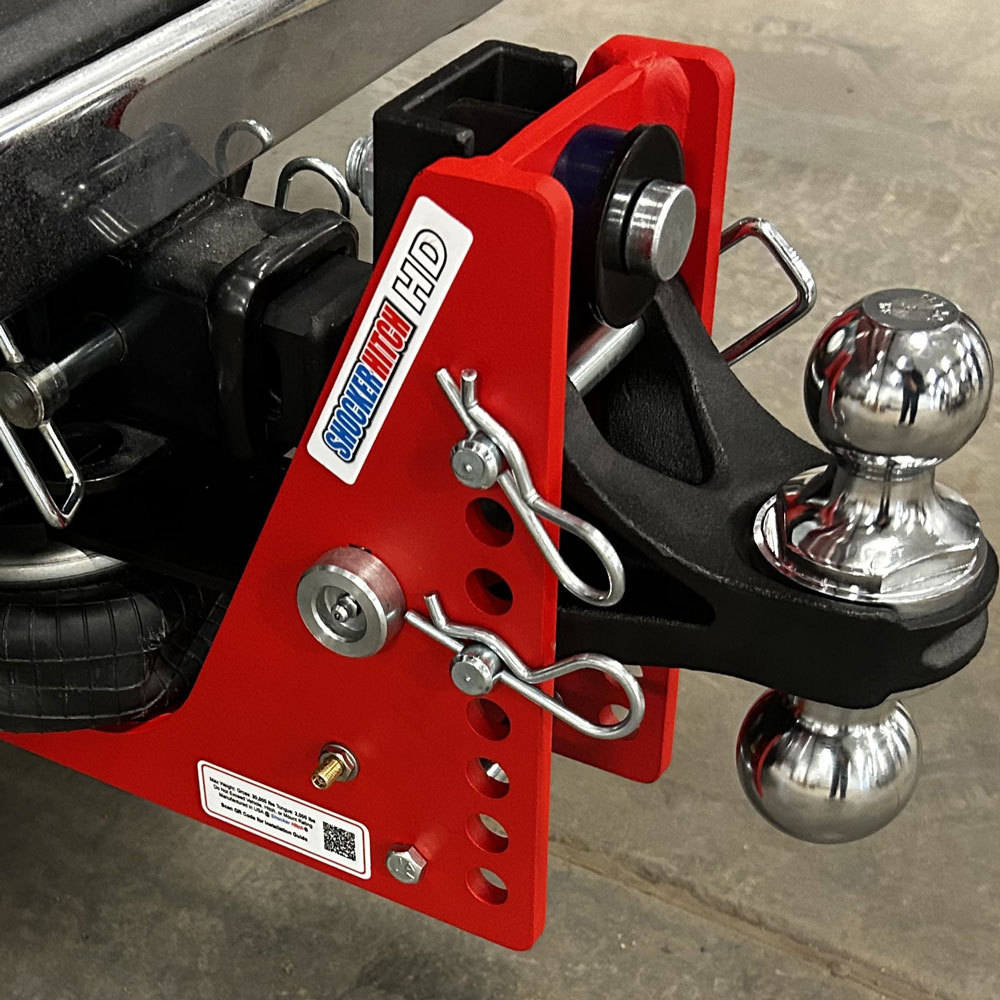
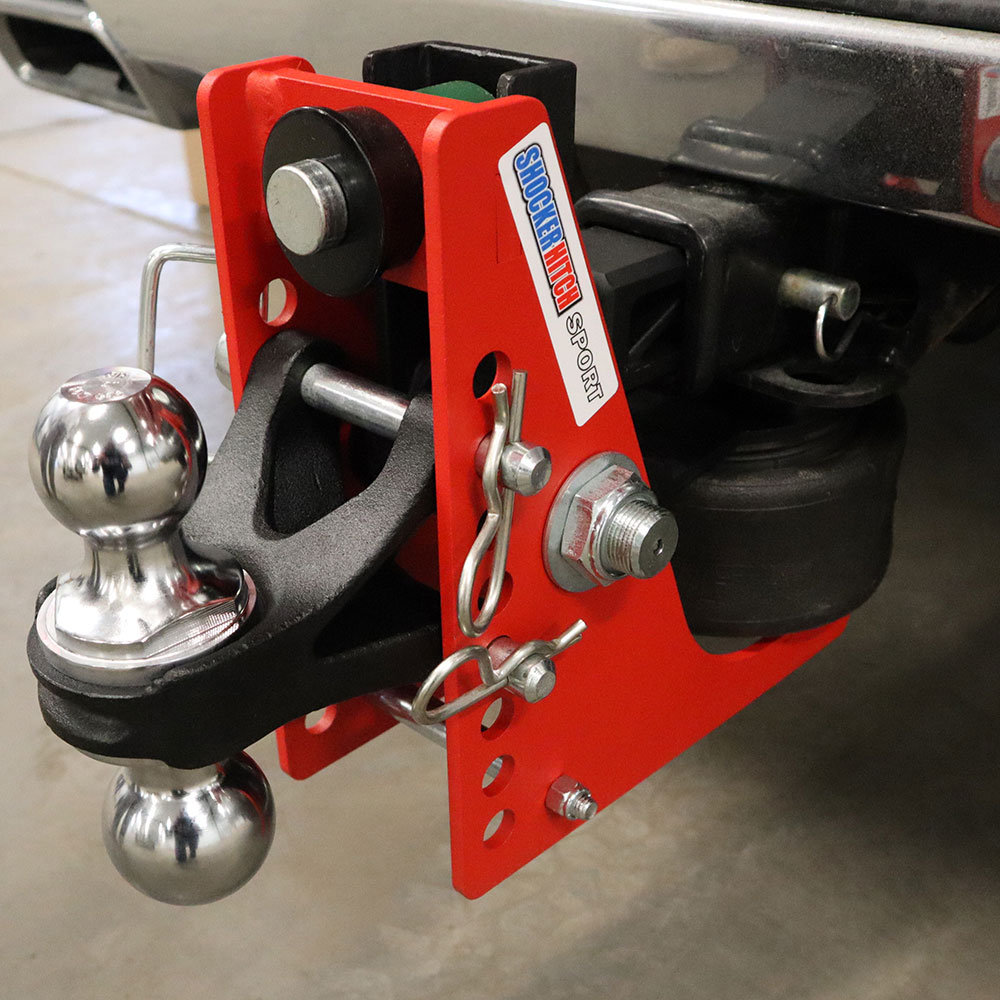
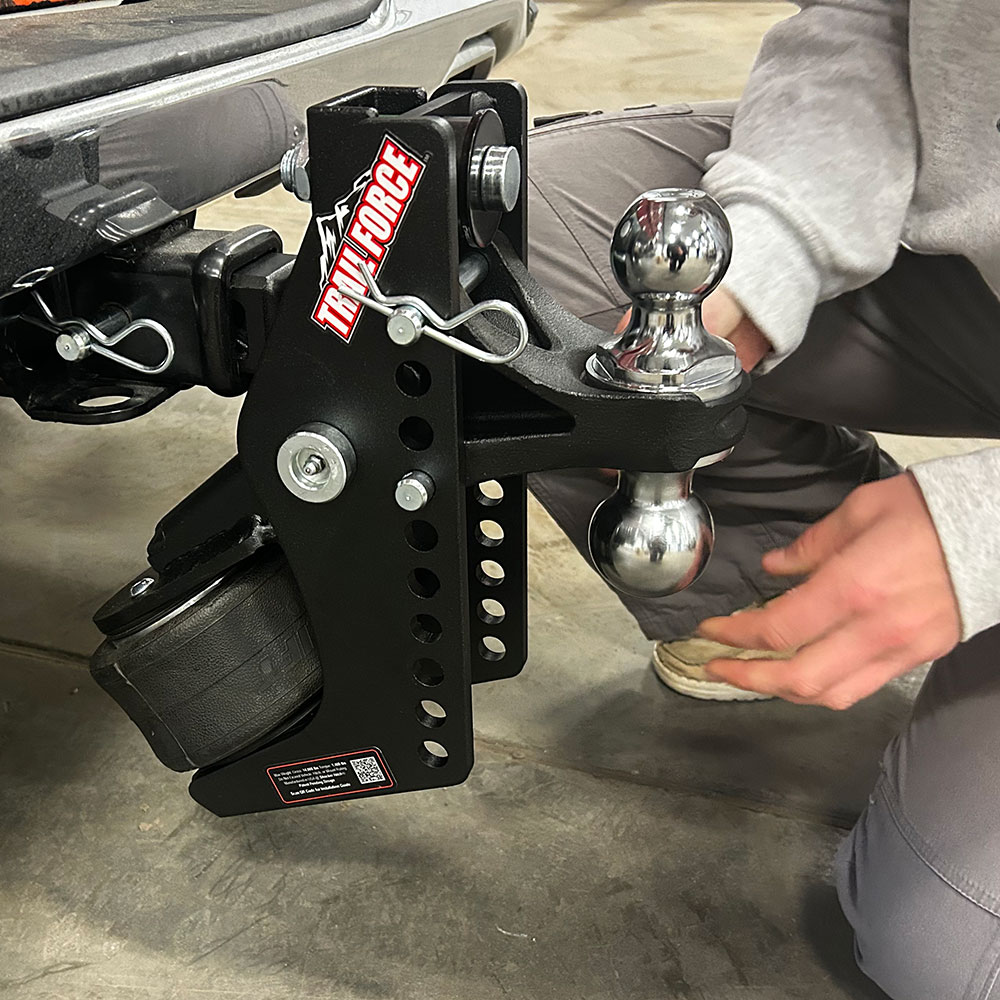
    Attachment: Install your chosen mount into the Shocker Hitch Frame.

    Secure: Use the hitch pins and cotter pin clips provided to lock the ball mount into place.

    Ball mount installed and secured with hitch pins and cotter pin clips

    4. Setting Air Pressure

    Load the Trailer: Hook up your trailer and load it as you normally would for travel.

    To Set Air: Hook up trailer using a properly selected ball adaptor and height adjustment to level trailer when loaded. Next, inflate the air spring. As air pressure increases, the unit will rotate, lifting the hitch point. Install enough air until the top of the hitch frame touches the top (tailgate side) bump cushion, or for heavy loads, until it compresses the tailgate side bump cushion by approximately 1/8″.

    Filling up air ride system using an air compressor on the valve stem

    The “Sweet Spot”

    Stop adding air once the main frame lightly compresses the truck side bump cushion.

    Truck side bump cushion compressed slightly showing proper air compression

    Proper Air Pressure Guide

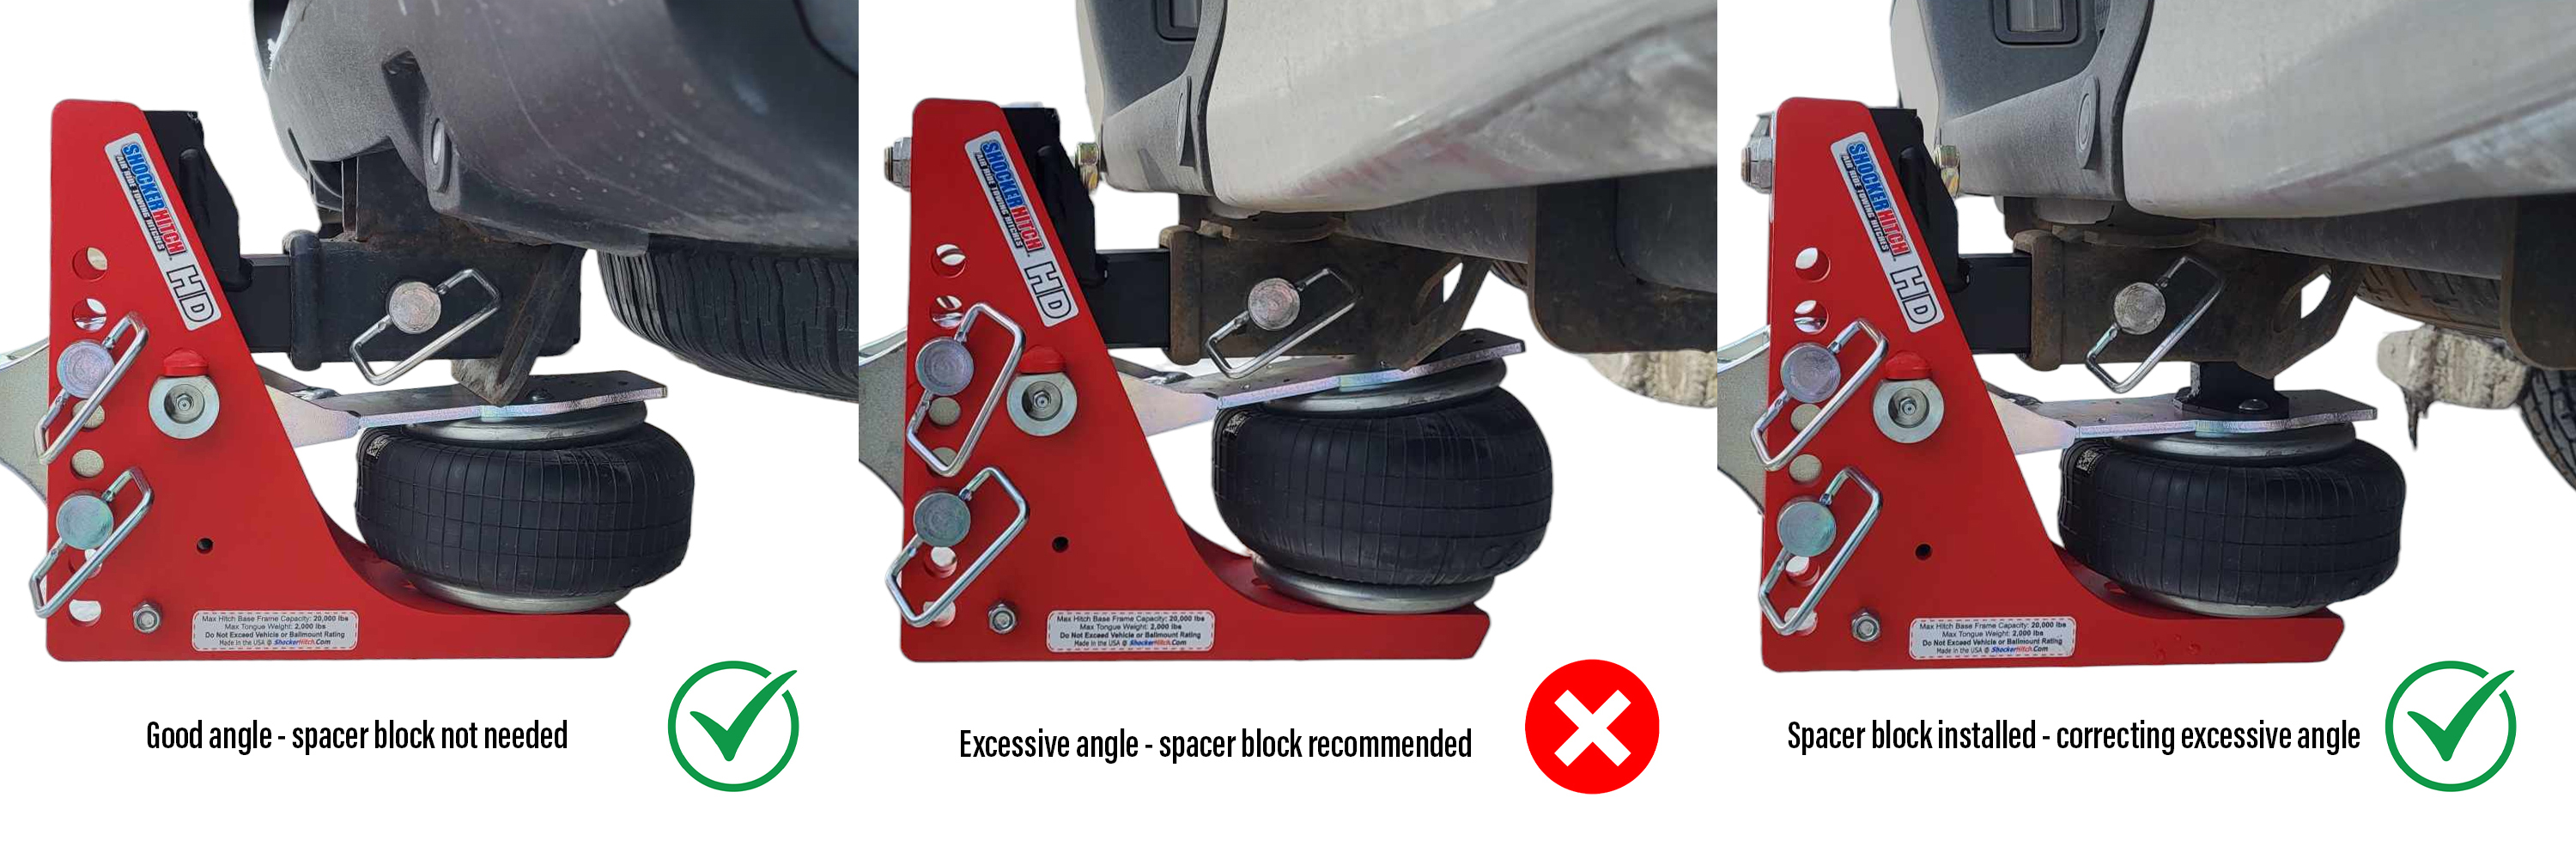
    Spacer-block decision guide

    Check alignment with your trailer connected, loaded for travel and the air pressure correctly set. The paddle above the air spring should be approximately parallel with the receiver tube.

    When is a spacer block needed?

    Correct paddle alignment without a spacer block
    1. Correct alignment
    Paddle approximately parallel with the receiver tube. A spacer is not needed to correct the angle shown.
    Excessive paddle angle before installing a spacer block
    2. Excessive angle
    If the paddle angle is more than 10 degrees with pressure correctly set, follow the spacer-block guidance for your model.
    Spacer block installed above the paddle to correct excessive angle
    3. Corrected alignment
    The spacer sits on top of the paddle against the underside of the receiver tube, correcting the excessive angle.

    Model notes: 20K HD hitches with a 2-inch receiver come with the spacer installed. Some HD models with a 2-1/2-inch receiver include it in the box. A spacer is generally not needed on 14K air receiver hitches because their air spring is 1 inch taller than the HD air spring.

    Maximum air pressure: 100 PSI. Do not use extra air pressure to exceed this limit while checking alignment. Read the full spacer-block guide.

    Watch: when do you need a spacer block?

    Use this short video alongside the alignment photos above to understand the spacer-block setup.

    Watch on YouTube

    Additional Set Up Notes:

    • When towing heavy trailers or trailers with high wind resistance, it may be necessary to increase air pressure in the Shocker.
    • It is highly recommended that the hitch ball be greased to reduce wear and improve shocker action.
    • Ensure you have connected your safety chains and electrical cord before towing.
    • DO NOT TIGHTEN THE TOP BOLT, IT IS A LIMITER STOP ONLY.

    Maximum Air Pressure: Do not exceed 100 psi in the air spring, as it may damage the air spring.

    Will the Shocker Air Bumper Hitch work with Equalizer or Weight-Distribution?  If you have an equalizer or weight distribution hitch, then it will not. However, check out our Shocker Air Equalizer for weight distribution hitches. If you are just using friction sway bars that hook to a mini ball (such as the shocker sway control arm bar kit), then yes, if you also have one of our sway bar tab mounts, such as the combo sway control ball mount attachment

    Sport Air Receiver Hitch Installation Instructions

    1. Compressing Air Spring (BEFORE INSTALLATION)

    Release Pressure: Use the provided cotter pin clip to push in on the valve core to release air pressure from the back.

    Compress: While releasing pressure, simultaneously push down on the air spring paddle or squeeze the plates together to exhaust the remaining air.

    Releasing air pressure with cotter pin and pressing down on paddle

    2. Installing the Shocker Sport Hitch into the Receiver

    • Mounting: Slide the hitch shank fully into the receiver tube of your tow vehicle.

    Align and Secure: Align the pin holes and insert the 5/8” hitch pin. Lock it in place with the cotter pin clip.

    Shank inserted into receiver tube and secured with pin and cotter pin clip

    3. Install Attachment Ball Mount

    Selection: Choose an attachment that allows your trailer to sit level. Refer to “WHAT SIZE DROP HITCH DO I NEED” and “GROUND CLEARANCE GUIDE” for more information.

    Attachment: Install your chosen mount into the Shocker Sport Hitch Frame.

    Secure: Use the hitch pins and cotter pin clips provided to lock the ball mount into place.

    Ball mount installed and secured with hitch pins and cotter pin clips

    4. Setting Air Pressure

    Load the Trailer: Hook up your trailer and load it as you normally would for travel.

    To Set Air: Hook up trailer using a properly selected ball adaptor and height adjustment to level trailer when loaded. Next, inflate the air spring. As air pressure increases, the unit will rotate, lifting the hitch point. Install enough air until the top of the hitch frame touches the top (tailgate side) bump cushion, or for heavy loads, until it compresses the tailgate side bump cushion by approximately 1/8″.

    Filling up air spring using an air compressor on the valve stem

    The “Sweet Spot”

    Stop adding air once the main frame lightly compresses the truck side bump cushion.

    Truck side bump cushion compressed slightly showing proper air compression

    Trail Force Receiver Hitch Installation Instructions

    1. Installing the Trail Force Air Hitch into the Receiver

    • Mounting: Slide the hitch shank fully into the receiver tube of your tow vehicle.

    Align and Secure: Align the pin holes and insert the 5/8” hitch pin. Lock it in place with the cotter pin clip.

    Shank inserted into receiver

    2. Install Attachment Ball Mount

    Selection: Choose an attachment that allows your trailer to sit level. Refer to “WHAT SIZE DROP HITCH DO I NEED” and “GROUND CLEARANCE GUIDE” for more information.

    Attachment: Install your chosen mount into the Trail Force Hitch Frame.

    Secure: Use the hitch pins and cotter pin clips provided to lock the ball mount into place.

    Ball mount installed and secured with hitch pins and clips

    3. Setting Air Pressure

    Load the Trailer: Hook up your trailer and load it as you normally would for travel.

    To Set Air: Hook up trailer using a properly selected ball adaptor and height adjustment to level trailer when loaded. Next, inflate the air spring. As air pressure increases, the unit will rotate, lifting the hitch point. Install enough air until the top of the hitch frame touches the top (tailgate side) bump cushion, or for heavy loads, until it compresses the tailgate side bump cushion by approximately 1/8″.

    Filling up air spring using an air compressor on the valve stem

    The “Sweet Spot”

    Stop adding air once the main frame lightly compresses the truck side bump cushion.

    Truck side bump cushion compressed slightly showing proper air compression

    Download Shocker Air Receiver Hitch Install Instructions

    Download: Shocker Air Bumper Hitch Installation Manual

    Shocker Air Receiver Hitch Air Pressure PSI Tuning Video

    Air receiver hitch troubleshooting

    Start with your trailer connected and loaded for travel. Follow the instructions for your model above; do not use extra air pressure or bolt adjustments to compensate for an incorrect setup.

    The ride feels stiff

    Recheck the air setting against the truck-side bump cushion rather than aiming for a preset PSI. The main frame should lightly compress that cushion. Check routine lubrication, too.

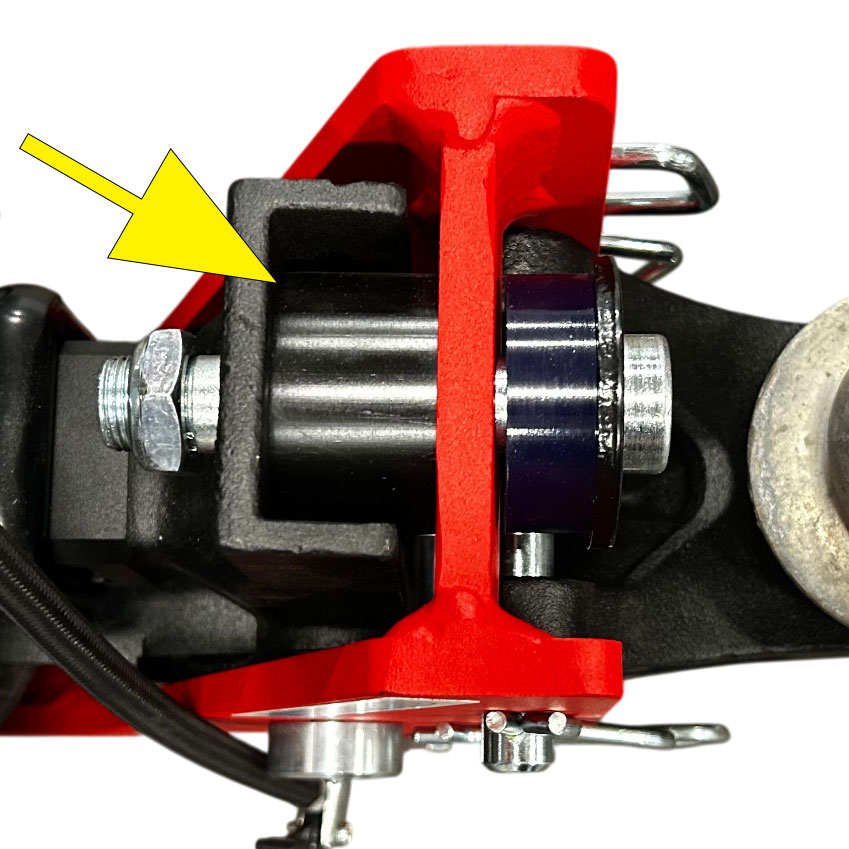
    Do not tighten the top jamnut bolt (limiter bolt). If it has already been adjusted, contact our team before making further adjustments.

    See the labeled bolt and cushion · Maintenance steps

    The hitch seems to be losing air

    A changed trailer load, temperature change or a new air spring settling can affect pressure. Recheck the loaded setup. Persistent or substantial pressure loss needs a leak check; use the air receiver section of our detailed guide.

    Never inflate an air spring outside its hitch frame. If the spring will not hold air or appears damaged, contact our team before towing.

    Air-pressure loss troubleshooting

    The paddle angle looks excessive

    With air pressure correctly set, compare your setup with the three alignment examples. The paddle above the air spring should be approximately parallel with the receiver tube. Spacer requirements depend on the model and receiver size.

    Never exceed 100 PSI to try to correct alignment.

    Check the spacer-block decision guide

    Routine Maintenance Guide:

    1. Routine Lubrication
      Pivot Bolt: Regularly grease the Shocker Hitch unit using the built-in grease zerk located on the main pivot bolt.
      Over-Greasing: You cannot over-grease the unit; frequent lubrication ensures the air-ride pivot remains fluid and responsive.
      Hitch Ball: It is highly recommended to grease the trailer coupler ball to reduce friction and prevent premature wear.
    2. Critical Adjustments
      Top Jamnut Bolt: DO NOT tighten the top jamnut bolt.
      Factory Specs: This bolt is set to factory specifications out of the box; overtightening will cause a stiff towing experience and limit the airbag’s effectiveness.
      Attachment Swapping: When changing between different ball mounts (Combo, Pintle, Clevis, etc.), ensure the pins and cotter pin clips are fully seated and locked.
    3. Air System Integrity
      Max Pressure: Never Exceed 100PSI in the air spring.
      Component Protection: Excessive pressure can lead to permanent damage to the air spring or the internal bump cushions.
      Pre-Tow Inspection: Always check your air pressure after loading the trailer to ensure the frame is lightly compressing the bump cushion.

    Common Replacement Part:

    Air receiver hitch installation FAQs

    Quick answers for standard and HD air receivers, Sport™ and Trail Force® models.

    How much air pressure should I use?

    There is no single PSI setting for every trailer. With the trailer connected and loaded, add air until the main frame lightly compresses the truck-side bump cushion, following your model’s steps. Recheck after changing the load. 100 PSI is the maximum, not the target.

    See the air-pressure photos and steps

    Which valve and bump cushion should I look at?

    Use the air valve shown for your model. Watch the cushion nearest the truck, also called the tailgate-side cushion. The paddle is the flat steel plate above the air spring; the limiter bolt is not an air-pressure adjustment.

    View the labeled component photos

    Do I need a spacer block?

    Check the paddle angle with the trailer loaded and air pressure set. An angle greater than 10 degrees calls for reviewing the spacer guidance for your model. The 20K HD with a 2-inch receiver comes with the spacer installed; some HD 2-1/2-inch models include it in the box. A spacer is generally not needed on 14K air receivers.

    Read the full spacer-block guide

    How do I choose the receiver size and ball-mount height?

    Measure the inside opening of your vehicle’s receiver and match the hitch shank to it. Select a ball mount with enough drop or rise to keep the loaded trailer level, then check ground clearance.

    Measure receiver size · Drop hitch calculator · Ground-clearance guide

    Can I use a weight-distribution hitch or friction sway control?

    The air receiver hitches covered here are not for use with a weight-distribution system. See the Shocker Air Equalizer for that application and confirm compatibility with your setup. Friction sway control requires the appropriate sway-bar-tab ball mount and compatible sway-control components; it is a different setup from weight distribution.

    Sway-control guide · Ask about compatibility

    Does adding air increase my towing capacity?

    No. Stay within the vehicle, receiver, hitch, ball mount, ball, coupler and trailer ratings. The lowest-rated component limits the setup, including its applicable tongue-weight limit.

    Understand towing capacity

    What should I check before the first tow?

    Check that the receiver pin, attachment pins and their retaining clips are fully secured; the coupler is locked on the correct ball; and the safety chains and electrical connection are in place. Confirm loaded trailer height, ground clearance and air adjustment, then complete the full pre-tow checks.

    Open the towing checklist

    How do I choose a replacement air spring or cushion?

    Match the part to your exact hitch model and air-valve or air-line configuration. Do not select by appearance alone. Use the replacement-part links on this page, or send our team your model number and a photo before ordering.

    View replacement parts · Get setup help

    We’re here to help. Contact Us

  • FAQ arrow

    FAQ

    Answers to Frequently Asked Questions

    How much air do I put in the Shocker Air Bumper Mount Receiver Hitch?
    Hook up a trailer using a properly selected ball mount attachment and height adjustment in order to a level trailer when loaded. Next, inflate the air ride system. As air pressure increases, the unit will rotate lifting the hitch up. Add air pressure until the top of the hitch frame touches the (tailgate side) top bump cushion. Add enough air pressure to lightly compress top bump cushion or until top (tailgate side) bump cushion is compressed is approximately 1/8″.  If the weight of your trailer changes or there is a huge temperature, you may need to add or reduce air pressure. See our quick How To Set PSI in Shocker Bumper Hitch Video.

    Will the Shocker Air Bumper Hitch work with Equalizer or Weight-Distribution?  If you are just use sway bars that hook to a mini ball, then yes, if you order the combo sway control ball mount attachment. If you have a equalizer or weight distribution hitch then it will not. However, check out our Air Equalizer for weight distribution hitches.  Note: If your pickup suspension can handle the weight of your trailer and doesn’t “squat” when you hook up your trailer to pickup, then you really don’t need a weight distribution hitch. A load leveling weight distribution hitch, distributes the weight between the pickup and trailer and is generally used if your pickup can’t handle the static trailer tongue weight load.

    How long will it hold air? This is a sealed system that will hold air for weeks or months. If you haul the same trailer with the same load weight, it should be good for quite some time.

    How long will the airbag last? Our airbags are an industrial bag and will last for years and years. They are similar to truck airbags but have been beefed up internally for our towing applications.

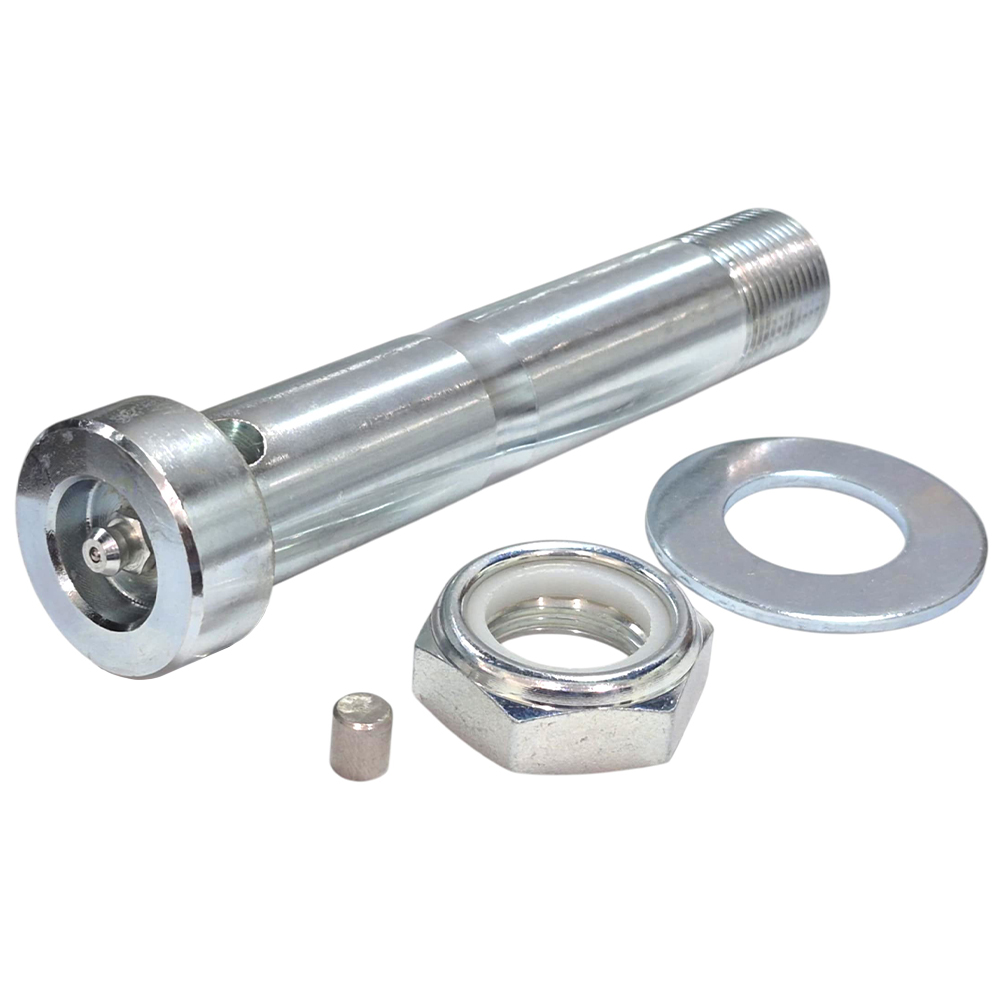
    How strong is the center pivot bolt?  The main pivot bolt with grease zerk, or center pivot bolt, used on the shocker air bumper hitch, is a custom made 1 inch diameter 1045 medium carbon steel bolt. Strategically heat treated to prevent wear and includes a machined grease passage for easy lubrication and maintenance. It should be noted that the yield strength of the 1″ pivot bolt exceeds the two 5/8″ bolts used to hold the typical ball coupler or receiver hitch.

    How do I know the Shocker Air receiver hitch will fit my truck?
    We have made sure that the receiver air shocker will fit into most Ford, Chevy, GMC Dodge, Toyota, Nissan & Honda Pickups, Vans & SUV’s (SUV’s were the receiver is under the bumper). There are some clearance issues with the Chevy Envoy, Ford Explorer, some imports and service body vehicles where the body extends below the receiver tube or the receiver tube is inside the bumper.  The Shocker Air receiver hitch is available in a 2″, 2 1/2″ & 3″ shank.

    How far below my pickup does the receiver air shocker hang? Five inches below bottom of receiver tube.

    How often do I grease it? The grease does not just lube the pivot; it also keeps water and dirt out. You cannot over grease it, once every few months should do it.

    Does the receiver air hitch work with sway bars?
    Yes, it works with the friction style sway control bar, however you want to order a ball mount with sway bar tabs. See our sway bar tab ball mount attachments.

    How does the Air hitch work? The Receiver air shocker is like a teeter totter. One end is an air bag, a pivot in the middle, and a ball at the other end. This gives a “pillow” effect at the ball end.

    Should I tighten up the top jam nut on the receiver shocker? No. The air shocker needs at least one half inch of play to work properly.

    How long do the bump cushions last? This depends on if the hitch is left on the truck year round or not. If they bump cushions become mushy, you should replace them. Typical life expectancy is 5-7 years.

    How much does an Shocker Air bag receiver hitch weigh? The Receiver Air Shocker weighs 50-55 pounds

  • Warranty arrow

    Warranty

    This product is refurbished, like new product or a used products is does NOT come with a warranty. It is sold at a discount in as is condition.  Our new products are backed by the Shocker Hitch Manufacturer Warranty and the Shocker Hitch ✅ 60 Day Money Back Smooth Towing Guarantee!. View our online Warranty Registration Form to register your Shocker Hitch.

    60-DAY MONEY BACK GUARANTEE

    We want you to be 100% satisfied. You’ve got 60 days to ensure your hitch fits your lifestyle.

    SMOOTHER TOWING

    We guarantee whatever you are towing, the ride on your pickup and trailer will be smoother with any of our air & cushion products period.
    Installation Help

    FREE SHIPPING* & FREE RETURNS

    If you are not satisfied, you can return it for free the first 60 days. See our free shipping* & free return policy.

    HOMETOWN CUSTOMER SERVICE

    We are here to help. We are happy, when you are happy.
    Made in the USA

    INSTALL HELP

    We’re glad to answer any questions you have. support is here 8am‐5pm, Mon‐Fri at 701-707-2666 or you can email anytime.

    MADE IN THE USA

    All of our products are custom made with good all American folks in Jamestown, ND USA
    The Shocker Hitch Guarantee applies to products purchased from ShockerHitch.com.
  • Q & A arrow

    Questions and answers of the customers

    There are no questions yet. Be the first to ask a question about this product.

  • Reviews (0) arrow

    Customer Reviews

    There are no reviews yet.

    Reviews

    Be the first to review “Refurbished Shocker 10K Streamline Aluminum Air Drop Hitch with Combo Ball”

    Your email address will not be published. Required fields are marked *

You may also like…

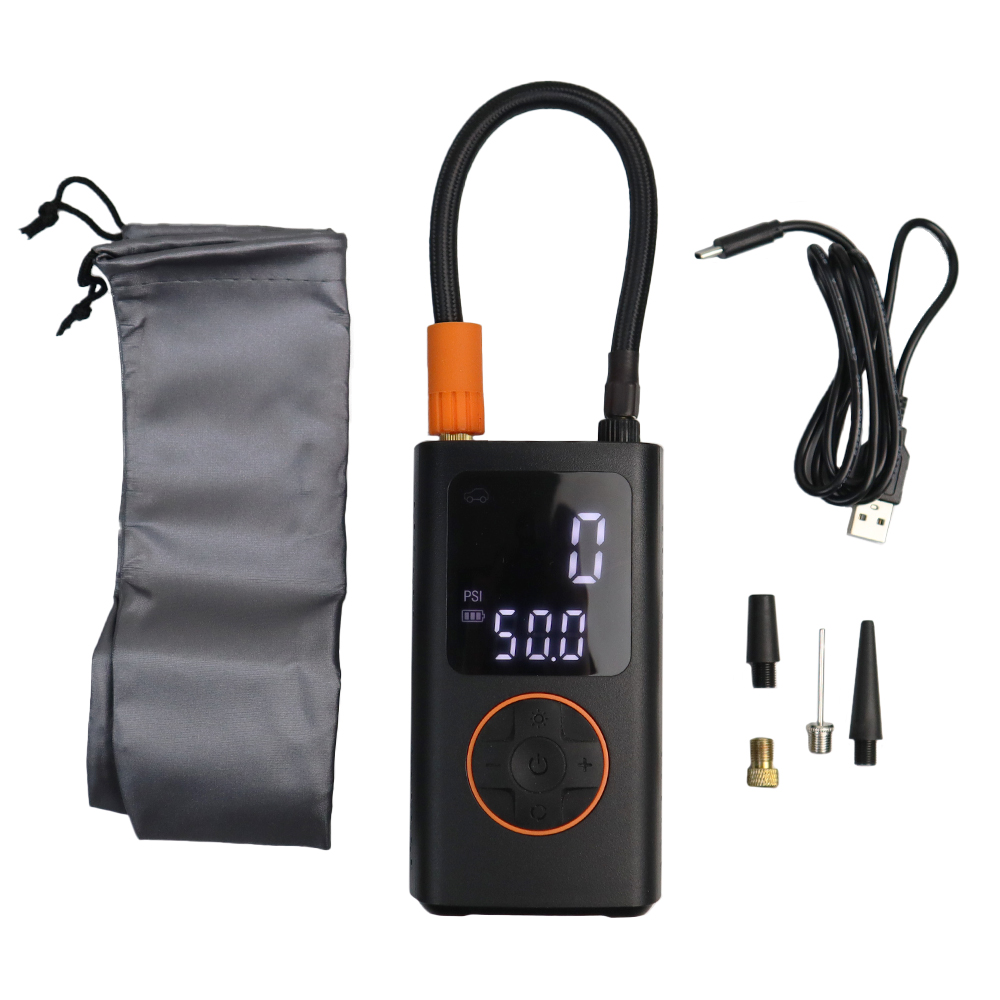
  • Shocker Compact Portable Air Compressor with Digital Gauge

    Shocker Compact Portable Air Compressor with Digital Gauge

    From:  $69.99
    Rated 5.00 out of 5

    -

  • Extra 22% off3-Pack (2 Mount & 1 Receiver Pins)

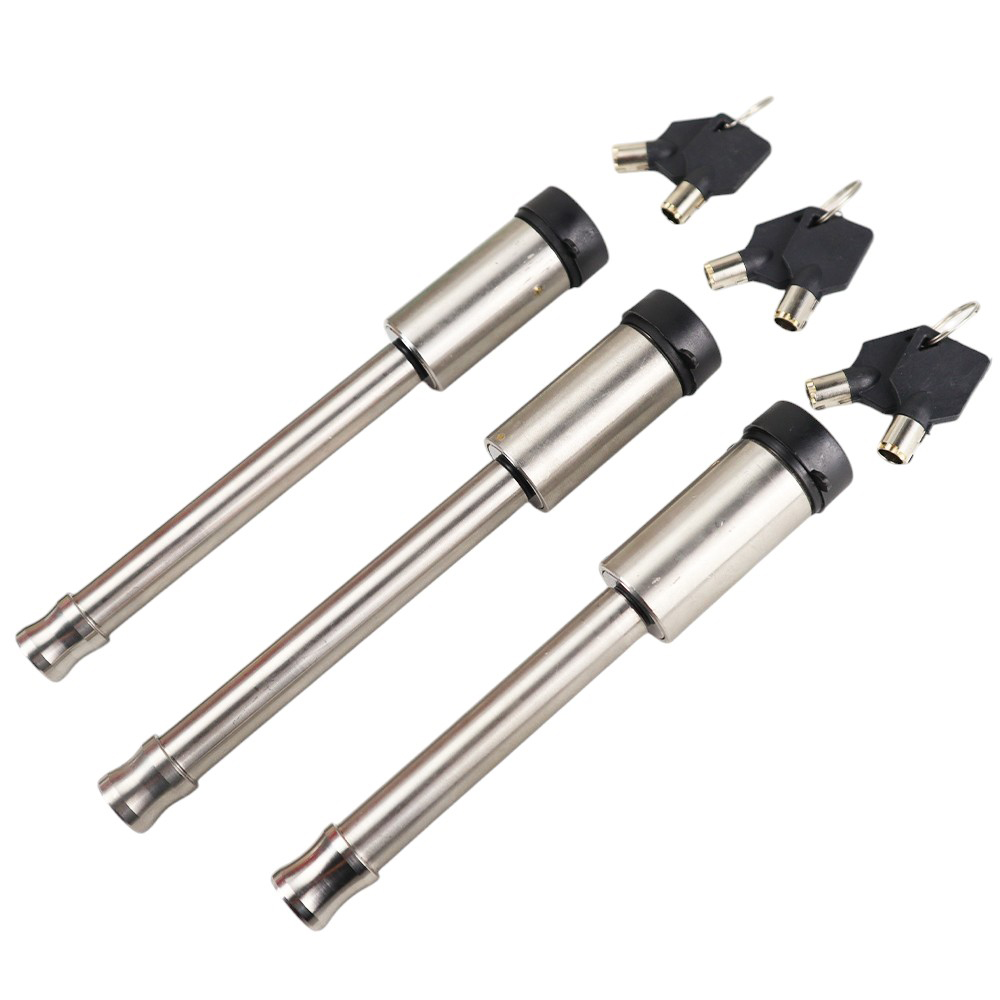
    Shocker Receiver Hitch Locking Hitch Pins

    From:  $22.23$28.50
    Rated 4.86 out of 5

    -

  • All Shocker Receiver Hitch Attachments and Mounts

    Shocker Receiver Hitch Attachments

    From:  $64.99
    Rated 5.00 out of 5

    -