



Set up your Air Equalizer and weight-distribution hitch
Choose the manual for your Air Equalizer and weight-distribution system. Use the installation photos and videos to follow the setup sequence and check your air setting.
The Shocker Hitch Air Equalizer is easy to install. Below you can find downloadable PDF files and videos to help guide you.
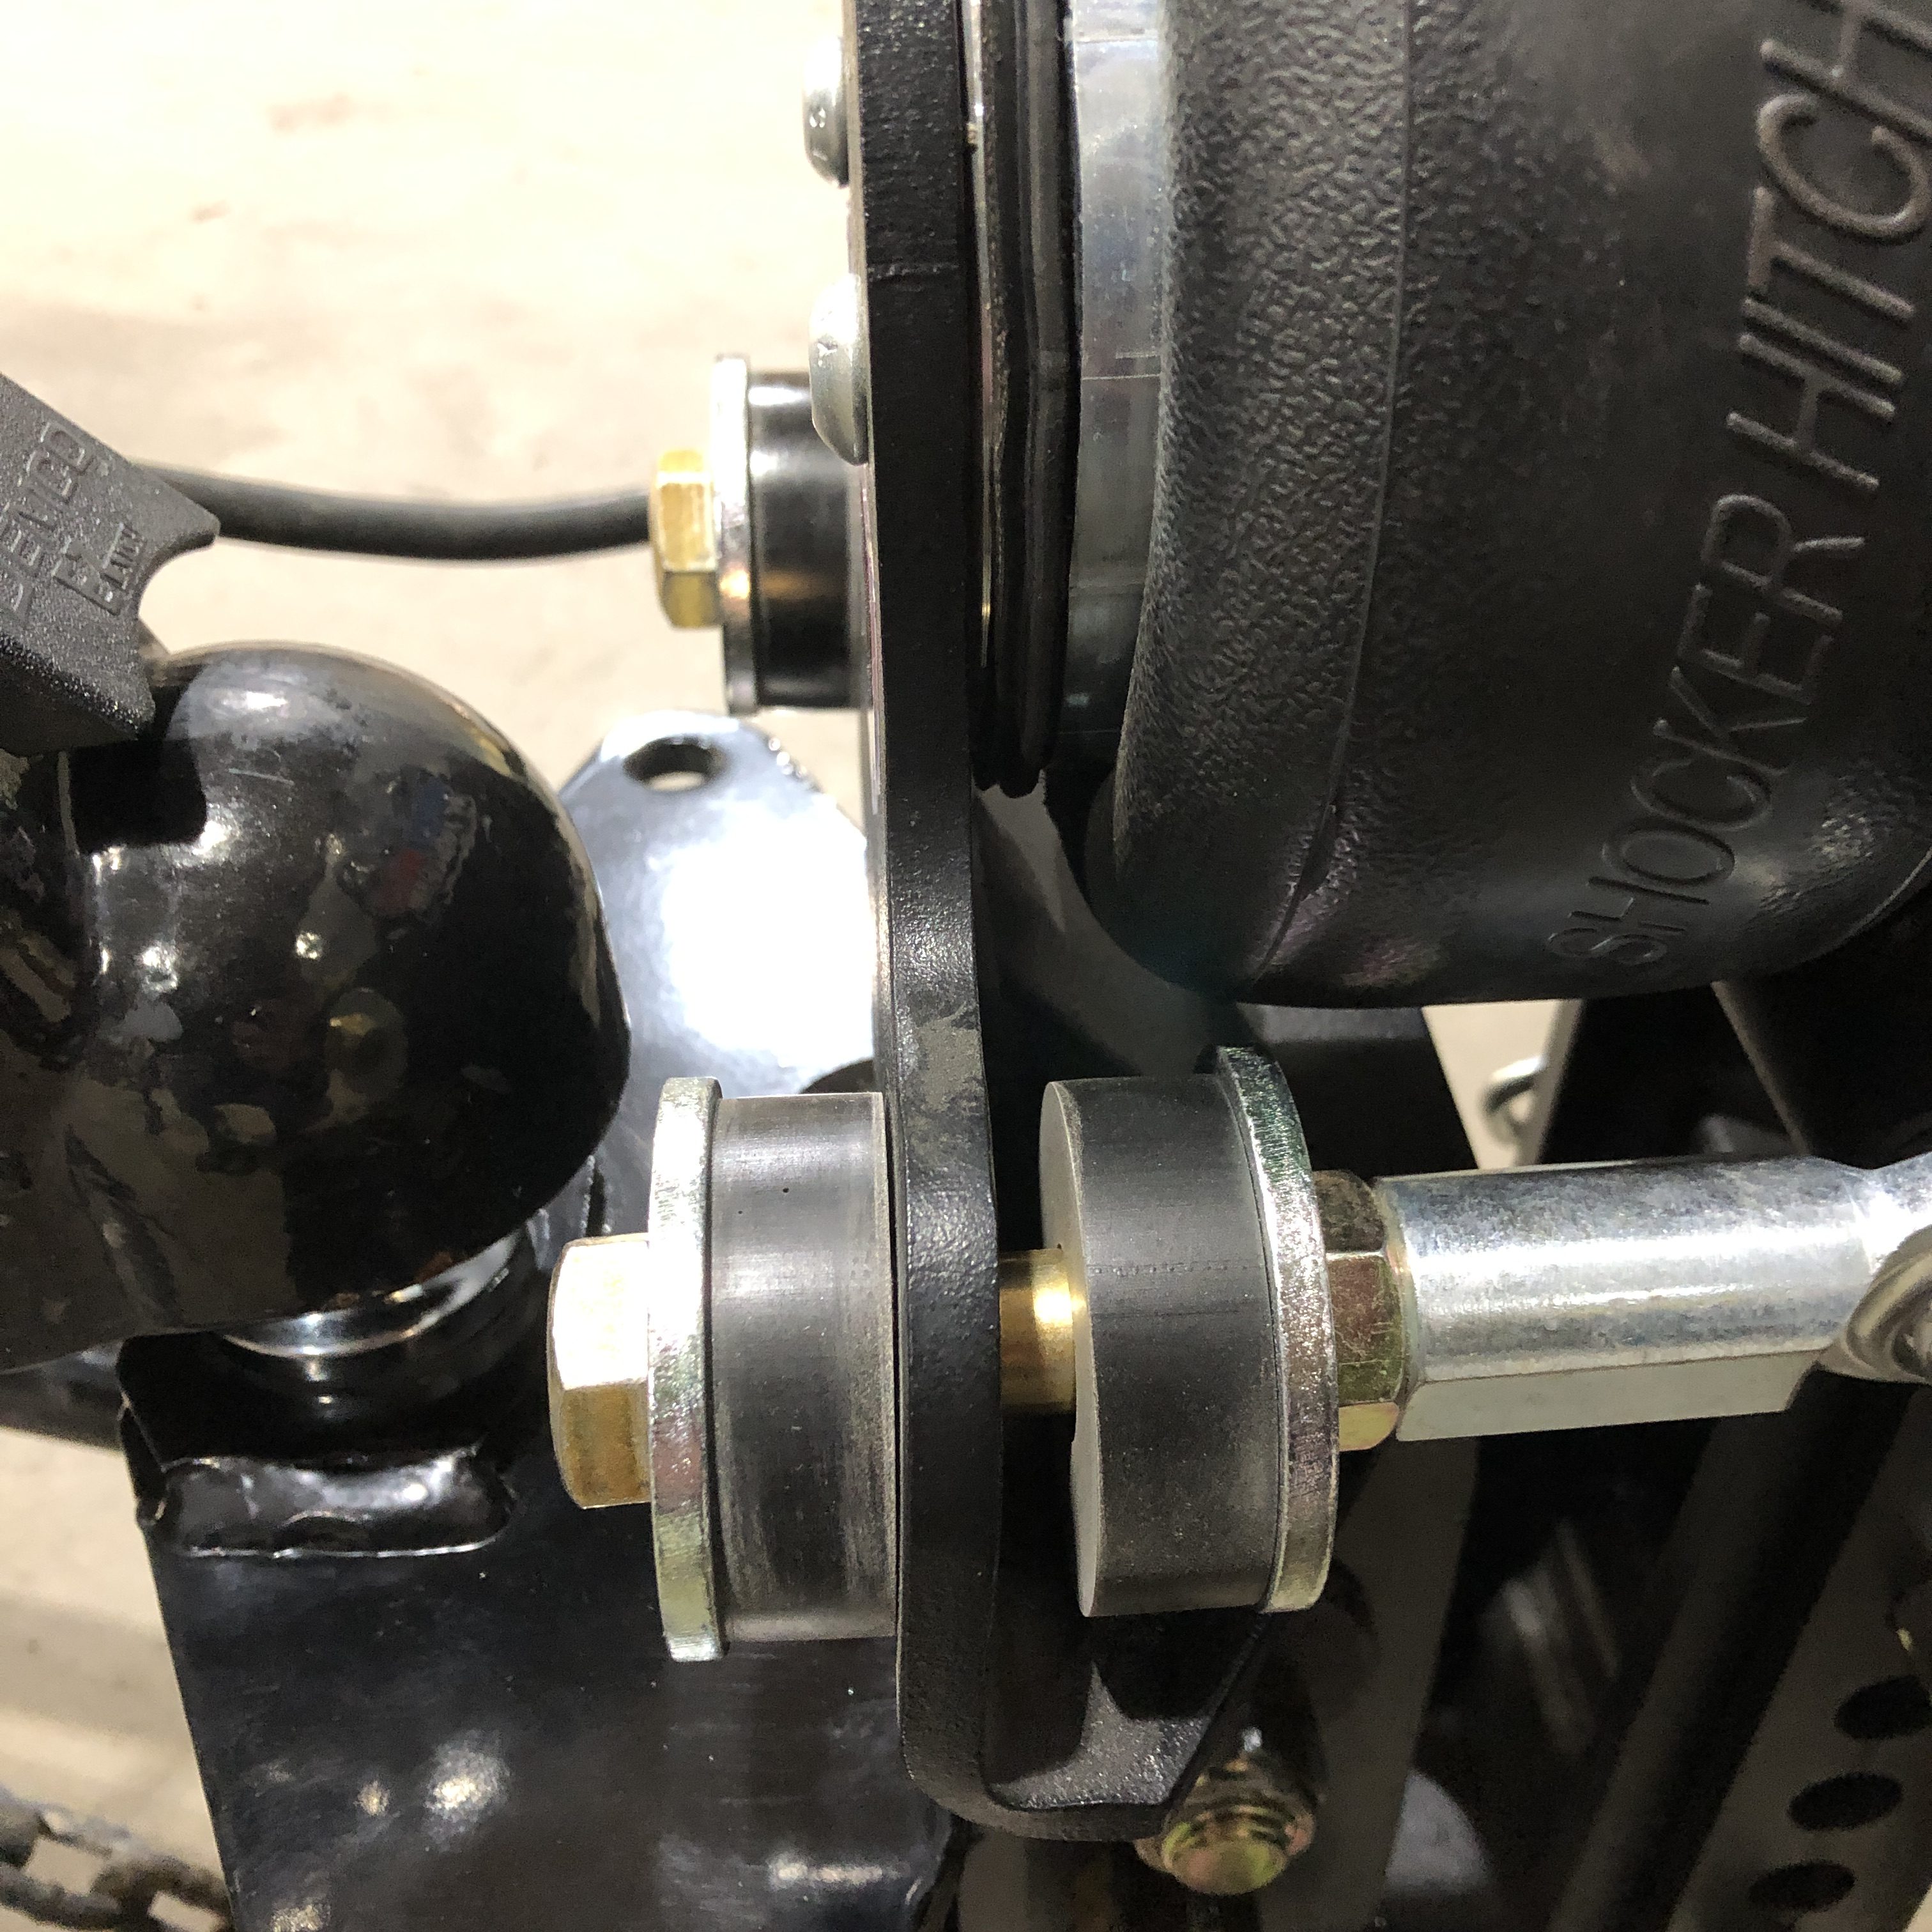
Quick Install: Load the tow vehicle and trailer as they will be towed. Couple and secure the trailer, then install and set the weight-distribution bars using the instructions for the exact system. Retract the jack to transfer the load. Add air until the main frame just touches the bump cushions closest to the trailer without compressing them, and the forward washers closest to the truck are free. Use these physical checks to set the air pressure; 40-60 PSI is an average reference, not a required target. Never exceed 100 PSI. If this endpoint cannot be reached within the limit, stop and contact Shocker Hitch to check the weight-distribution setup, hitch height and actual tongue weight. Do not tighten the factory-set travel-limiter bolts.
Download Installation Guide: Shocker Air Equalizer Instructions – Setup Guide
Download Installation Guide: Shocker Air Equalizer Instructions – with Round Bar WD Hitch
Download Installation Guide: Shocker Air Equalizer Instructions – with Chain Style WD Hitch
Download Installation Guide: Shocker Friction Sway Arm Kits Instructions
Air Equalizer Hitch – Quick Installation


Shocker Air Equalizer Hitch Installation Video
Optional Shocker Friction Sway Bar Kit – Installation Video
Installation Issues? Contact us!
We want you to have the best possible towing experience with your product and proper installation is important. If you need help, we are here for you. Just give us a call at 701-707-2666 or use our contact us form. You can also look up the items product page on our website and view the installation tab. Most products on our website have a set-up guide and installation video.